In this post, we will look at how you can integrate Google Drive with WhatsApp. Once the integration is completed, your team members will receive automatic WhatsApp notifications for any new files uploaded to your Google Drive.
This automation requires a one-time setup, for which we will use Pabbly Connect.
Initially, we will connect Google Drive with Pabbly Connect to capture details of newly uploaded files. Next, we will link Pabbly Connect with WhatsApp to deliver a message to team members notifying them of the uploaded file.
Steps to Get WhatsApp Notification When New File is Uploaded to Google Drive
1. Sign In / Sign Up to Pabbly Connect and Create a Workflow
2. Setup Google Drive as the Trigger App to Gather Files
3. Setup WhatsApp Cloud API as the Action App to Send Messages
4. Compose a Message Template
5. Map the Necessary Fields
Step 1:- Sign In / Sign Up to Pabbly Connect and Create a Workflow
A. Sign In / Sign Up
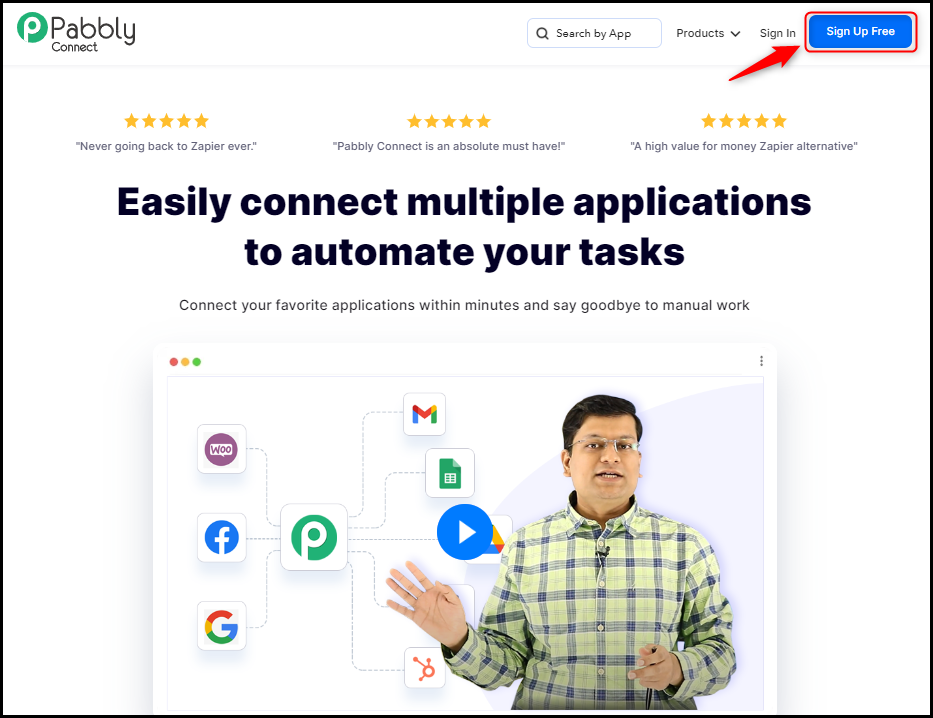
To begin this process, visit Pabbly Connect and create your account by clicking on the ‘Sign Up Free’ button. You can also click on Sign In if you already have an account.
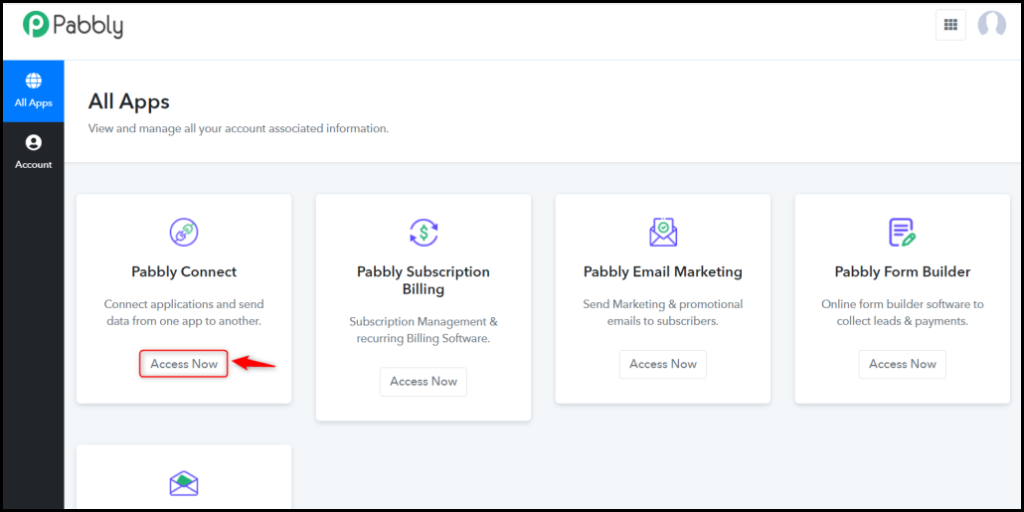
Click on the Pabbly Connect ‘Access Now’ button
B. Create Workflow
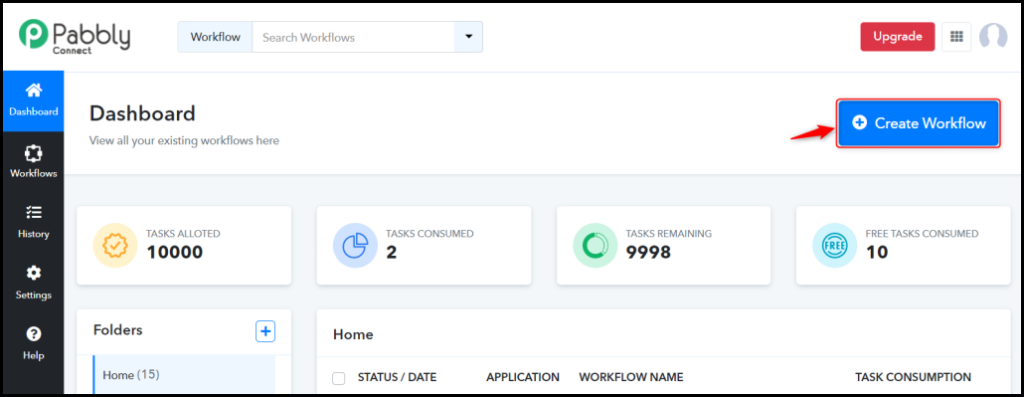
To create a new workflow, click the ‘Create Workflow’ button.
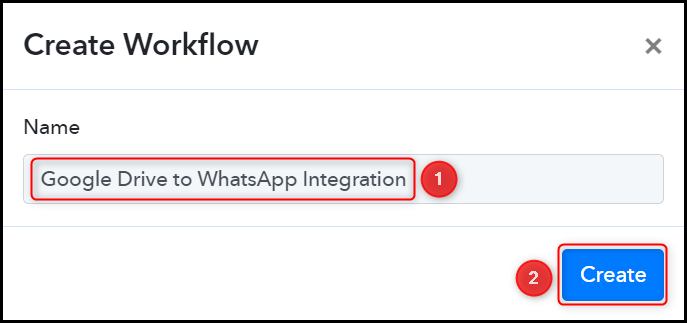
Name your workflow, and click on ‘Create’.
Step 2:- Setup Google Drive as the Trigger App to Gather Files
Let’s go over the process of connecting Google Drive with Pabbly Connect, which will enable us to access files from a particular folder in your Google Drive.
A. Trigger App
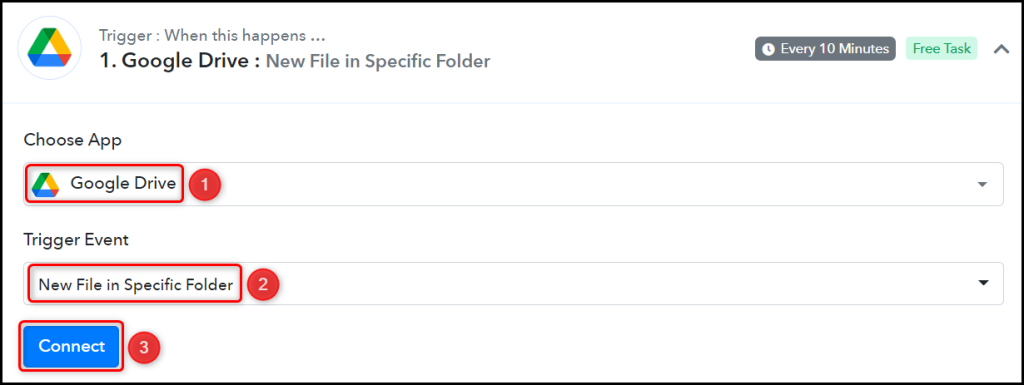
Trigger allows us to choose the application that will receive the data for Pabbly Connect. In our case, it would be Google Drive.
Choose ‘Google Drive’ as the Trigger App, select ‘New File in Specific Folder’ as an Action Event, and click on ‘Connect’.
B. Connect Google Drive Account
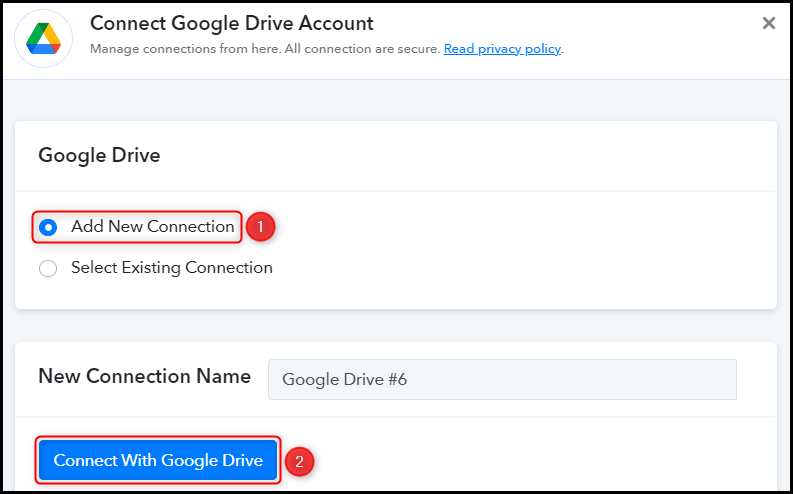
To establish a connection with your Google Drive account, select ‘Add New Connection’ and click on ‘Connect With Google Drive’. Then, proceed to grant the required authorization.
Select the folder that holds the file you want to retrieve, and then click ‘Save & Send Test Request’.

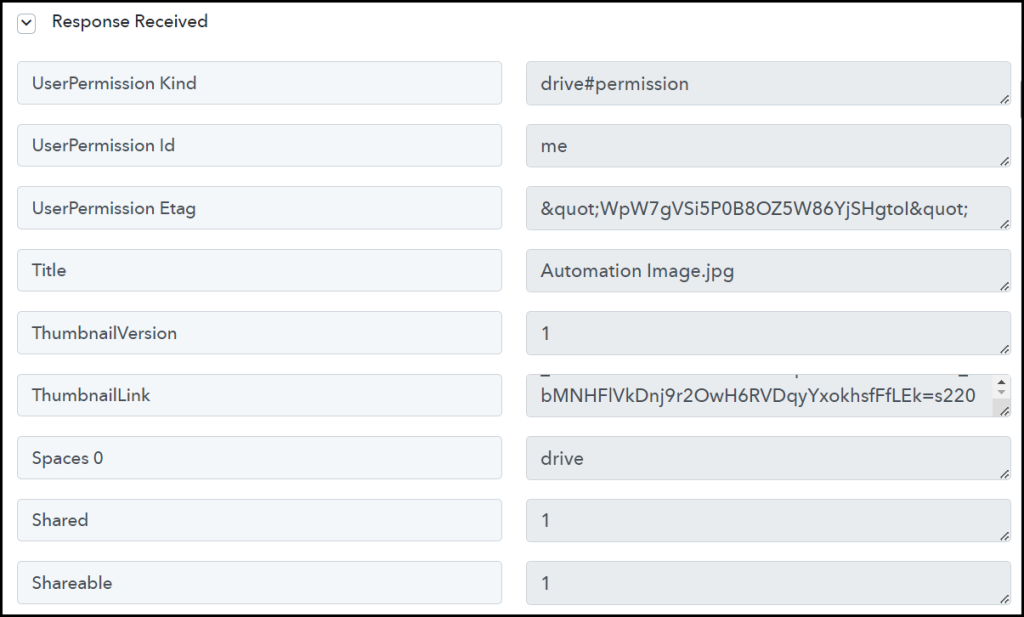
Once you click on ‘Save & Send Test Request’, Pabbly Connect will automatically retrieve the most recently uploaded file in your Google Drive.
Step 3:- Setup WhatsApp Cloud API as the Action App to Send Messages
Action allows us to choose the application that will get executed by the workflow trigger.
Our primary objective is to inform our team members of the newly uploaded files in Google Drive by sending them a message on WhatsApp. Therefore, WhatsApp Cloud API will be our Action App.
Note: Follow steps 1 to 3 of this blog to create a new Whatsapp Business Cloud API account in case you don’t already have one.
A. Action App
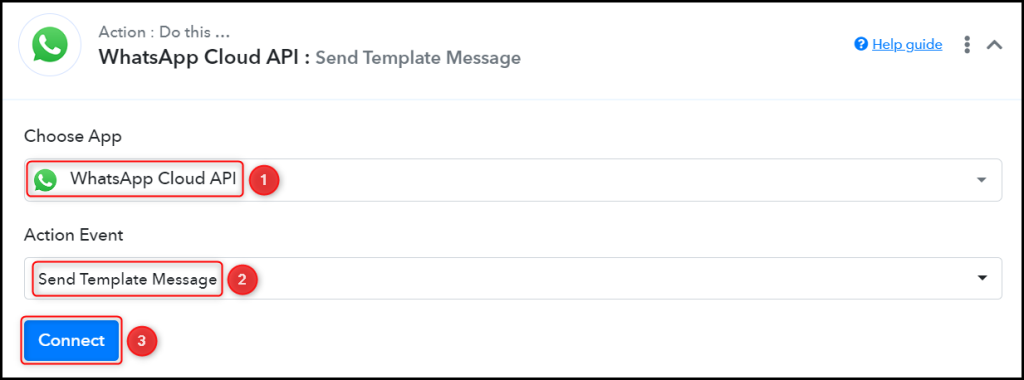
Choose ‘WhatsApp Cloud API’ as your Action App, select ‘Send Template Message’ as an Action Event, and click on ‘Connect’.
B. Connect WhatsApp Cloud API Account
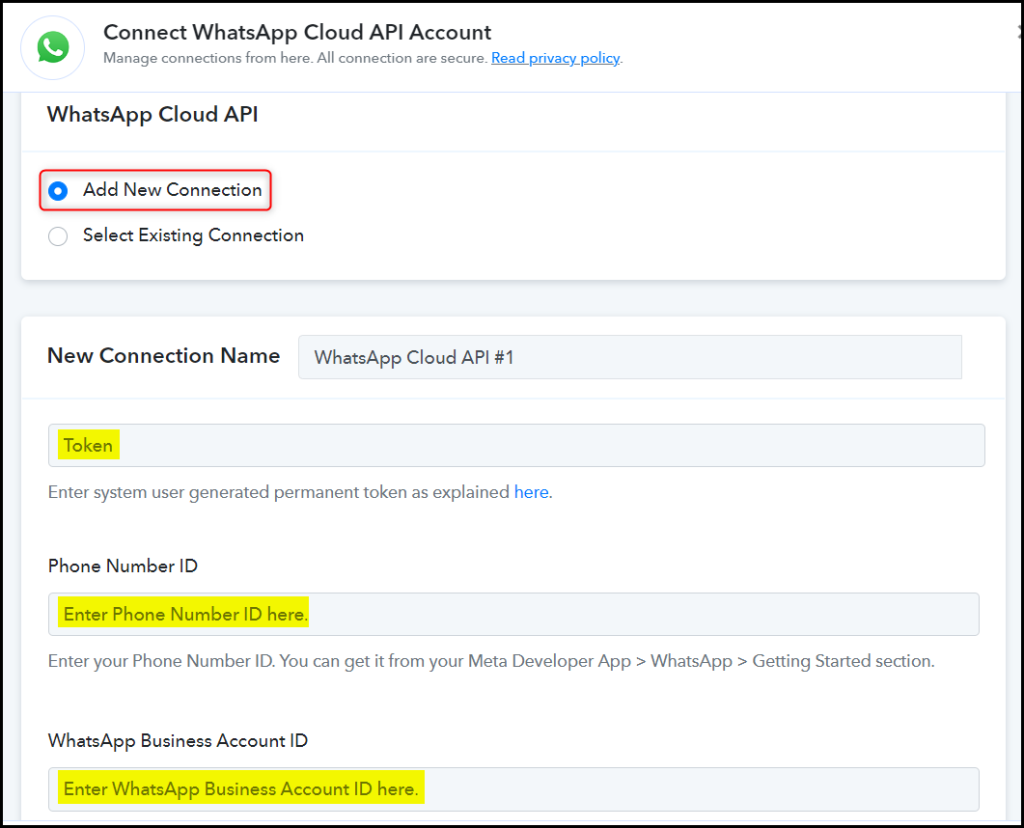
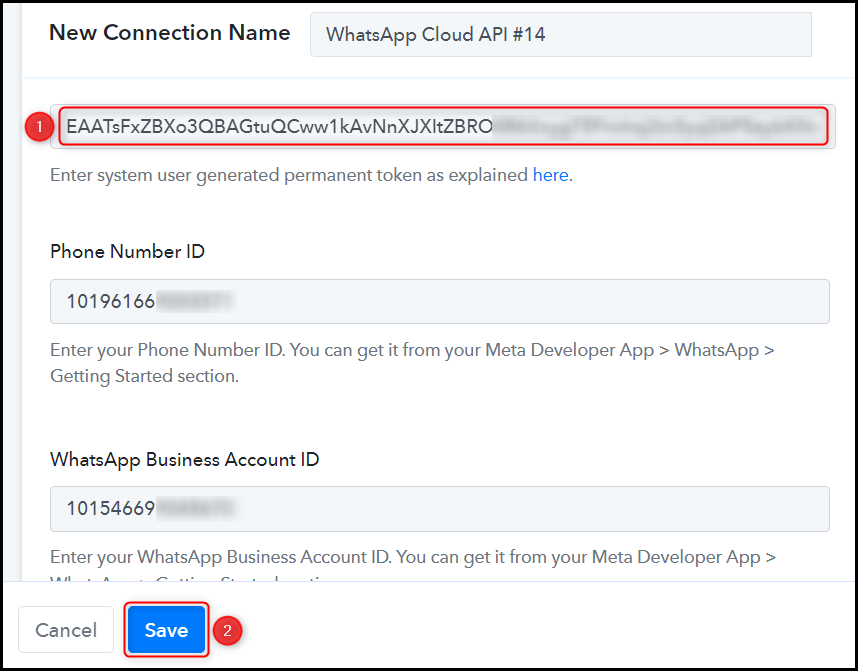
To connect with your WhatsApp Cloud API account, select ‘Add New Connection’. You will be asked to enter your Permanent Token, Phone Number ID, and WhatsApp Business Account ID.
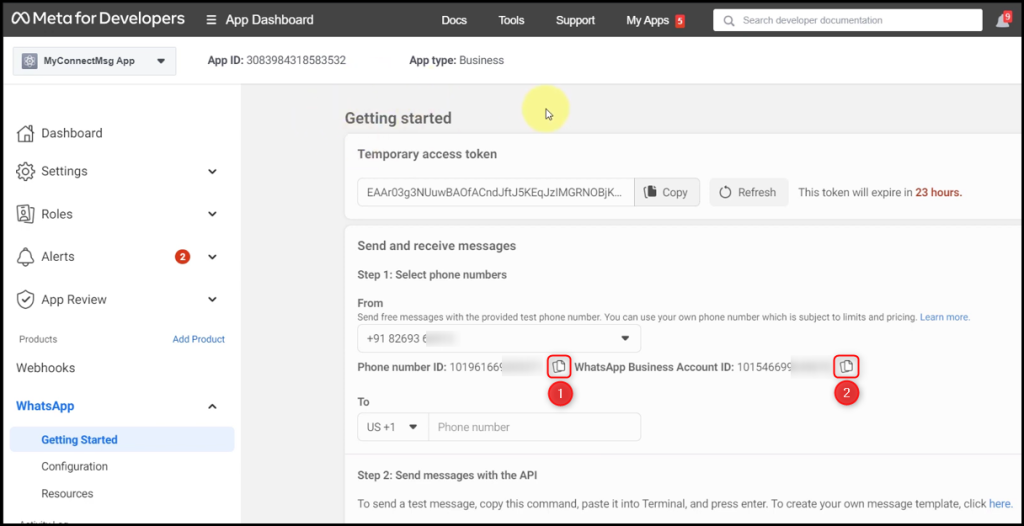
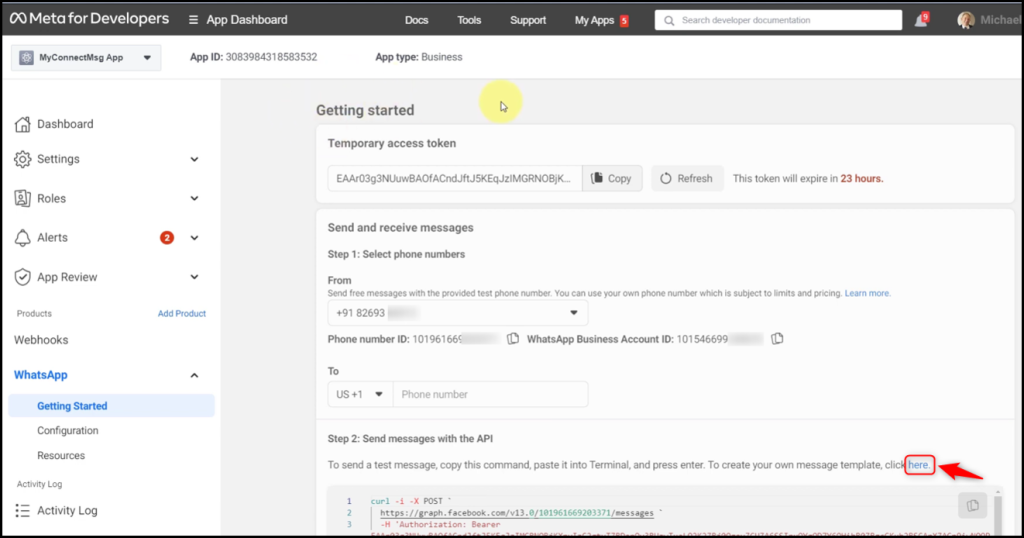
Navigate to your Facebook Developer dashboard, and copy the Phone Number ID and WhatsApp Business Account ID.
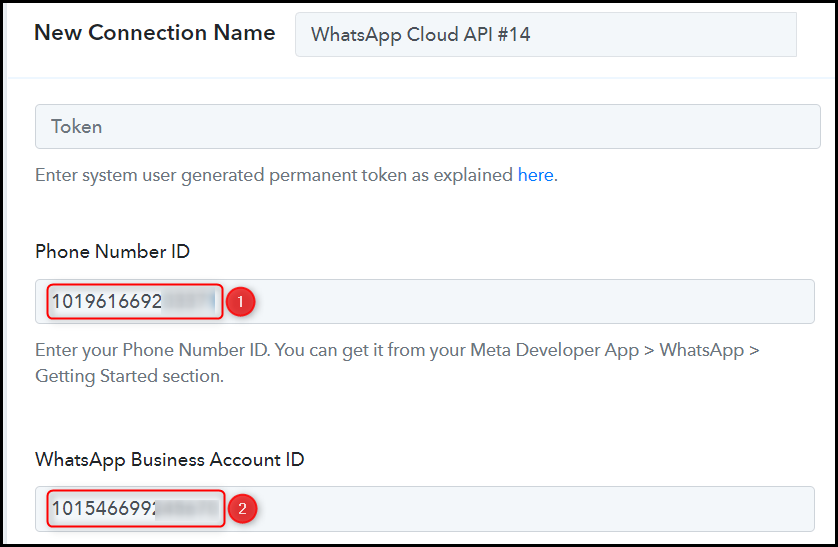
Paste both IDs in their designated fields.
The Token displayed on your dashboard is temporary and expires after 24 hours. For our workflow, we need a Permanent Token. To obtain a Permanent Access Token, refer to the steps outlined in this post.
Paste the Permanent Token into its given field, and click on ‘Save’.
Step 4:- Compose a Message Template
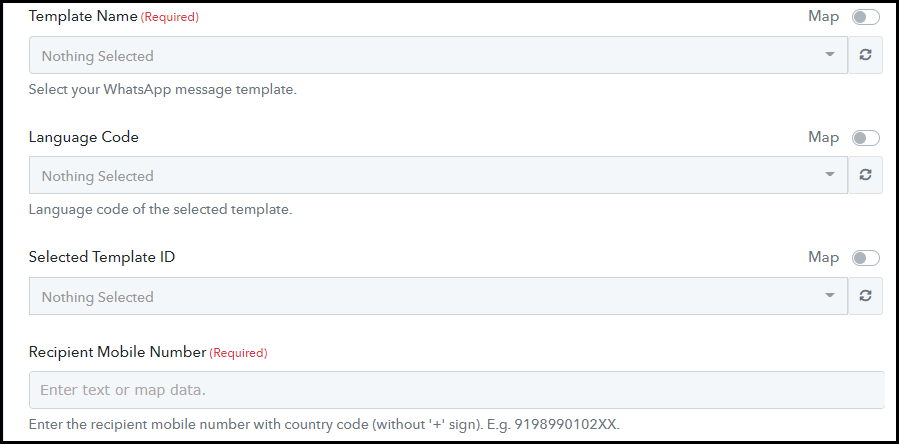
When prompted, you will be required to fill in a few fields. You may choose your Template Name from the existing list if you have one already prepared, or alternatively, follow the outlined steps to create a new message template.
A. Create a Message Template
Switch to your WhatsApp Cloud API dashboard, and click on the ‘here’ hyperlink. This will redirect you to a new page.
Click on ‘Create Message Template’.

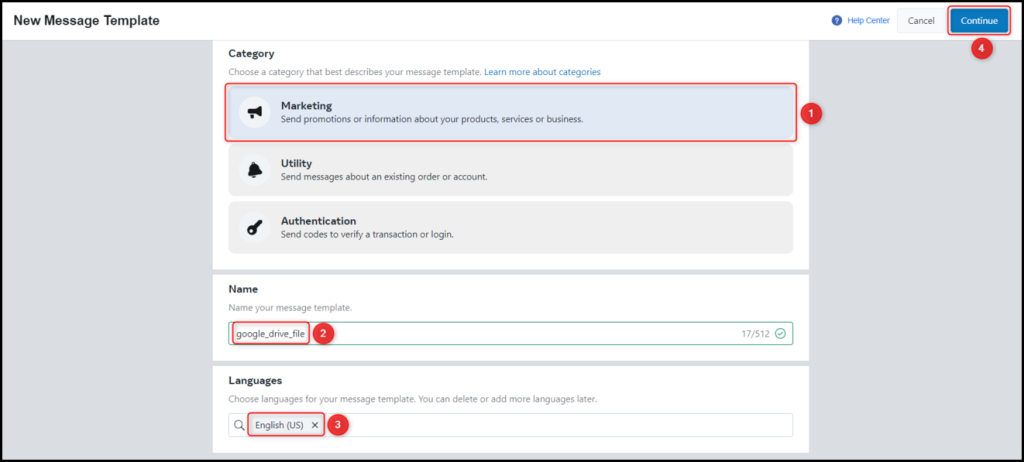
Select a Category, Name the template, and pick a Language. Click on ‘Continue’.
B. Body with Dynamic Data Tags
Compose your message in the Body field. To personalize your message, utilize Dynamic Data Tags within the template.
Dynamic Data Tags enable us to insert placeholders in our template that will be substituted with specific data in your message. This data may include names, email addresses, dates, times, ID numbers, and more. To insert a dynamic tag into your template, simply enclose your variables within double curly braces {{variable}}.
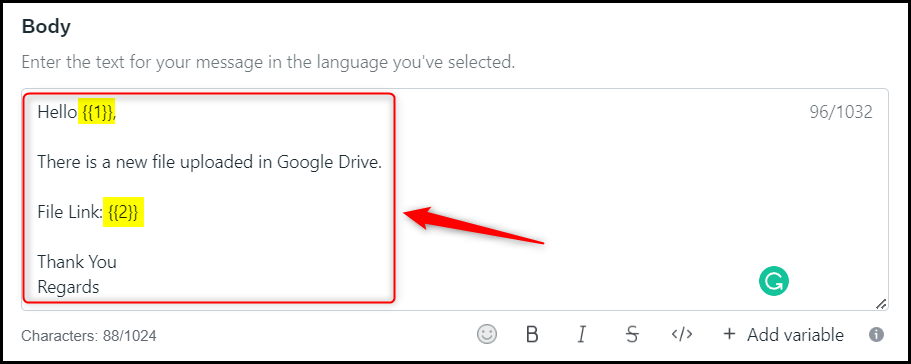
‘Submit’ your message and ‘Confirm’.

Once you submit your template, it may be approved immediately or sent to Facebook for manual review, which can take anywhere from a few minutes to a few hours. Refresh your page to verify if your template has been approved and is accessible, indicated by the green color.
Step 5:- Map the Necessary Fields
After successfully linking your WhatsApp account, the next step is to map the file details from the step above. Mapping ensures that our data remains dynamic and adjusts to reflect the responses we receive.
Select your Template Name.

Enter the Recipient Mobile Number along with the country code.

Remember the Dynamic Data Tags we talked about? Those tags will be substituted with the data that is contained within the Body Fields.
In Body Fields, enter or map the lead details from above. This may differ depending on the variable you choose. Click on ‘Save & Send Test Request’.
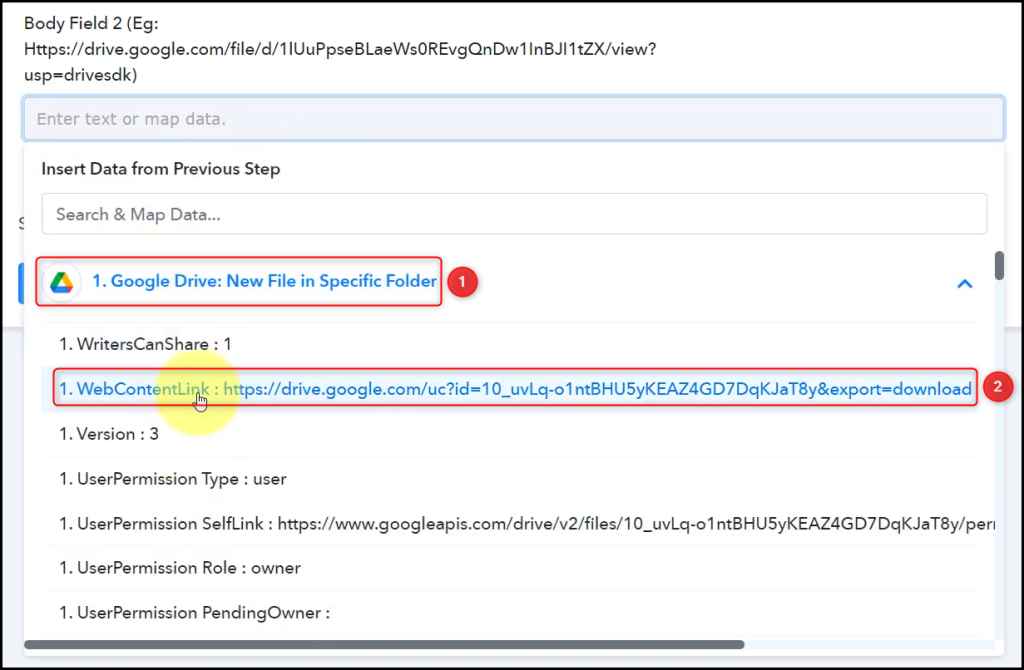

Once you click on Save & Send Request, a WhatsApp message will be delivered to the mobile number of your team member.
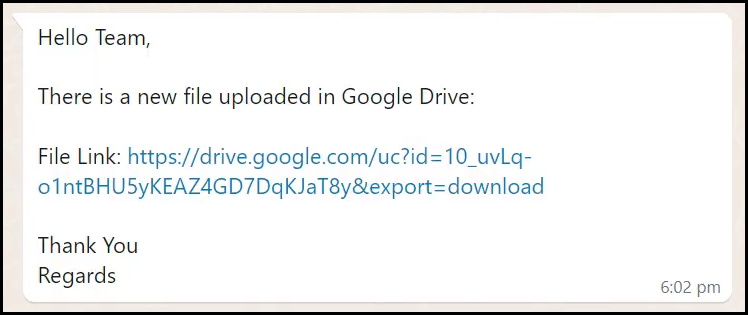
The automation process is finished, and we have successfully integrated Google Drive with WhatsApp. Henceforth, whenever a new file is uploaded to your Google Drive, a notification will be automatically sent to your team members via WhatsApp.
Sign Up for a free Pabbly Connect account, and start automating your business
Subscribe to our Youtube Channel for more such automation
For any other queries, visit our forum
