This section will explore the process of integrating Telegram with Notion to automatically save any new messages received in a Telegram group or channel as an item in your Notion database.
To set up this automation, you’ll need to perform a one-time setup using Pabbly Connect.
The first step is to link Telegram with Pabbly Connect to capture the new messages. Then, we’ll connect Pabbly Connect with Notion and use the captured messages to save them as items in your Notion database.
Steps to Automatically Save New Telegram Messages to Notion Database
1. Sign In / Sign Up to Pabbly Connect and Create a Workflow
2. Setup Telegram as the Trigger App to Fetch New Messages
3. Add a Filter to the Workflow
4. Setup Notion as the Action App to Save Messages
Step 1:- Sign In / Sign Up to Pabbly Connect and Create a Workflow
A. Sign In / Sign Up
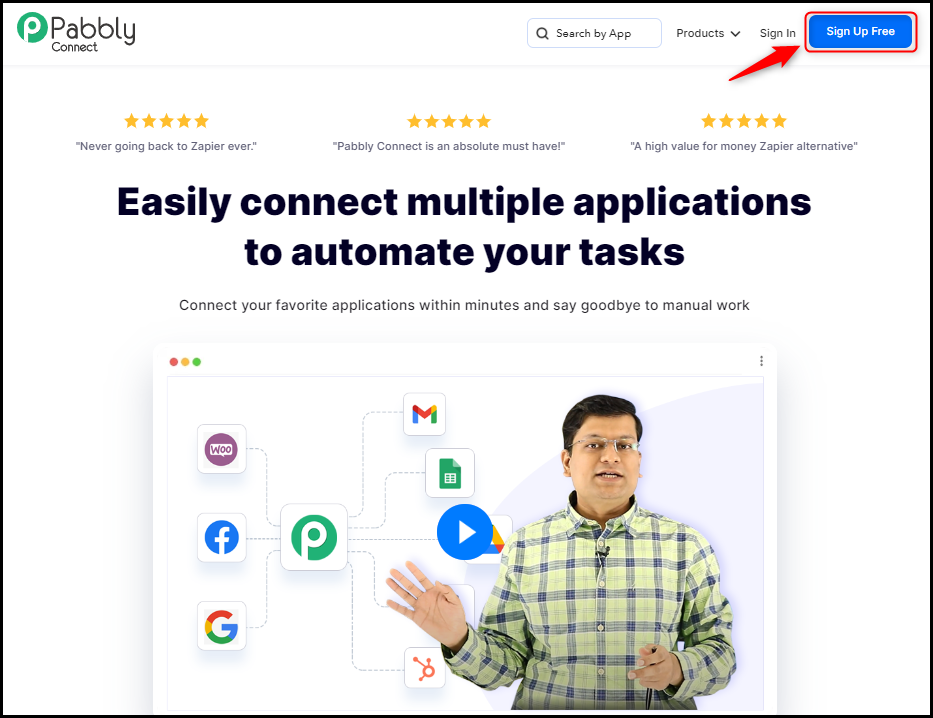
To begin this process, visit Pabbly Connect and create your account by clicking on the ‘Sign Up Free’ button. You can also click on Sign In if you already have an account.
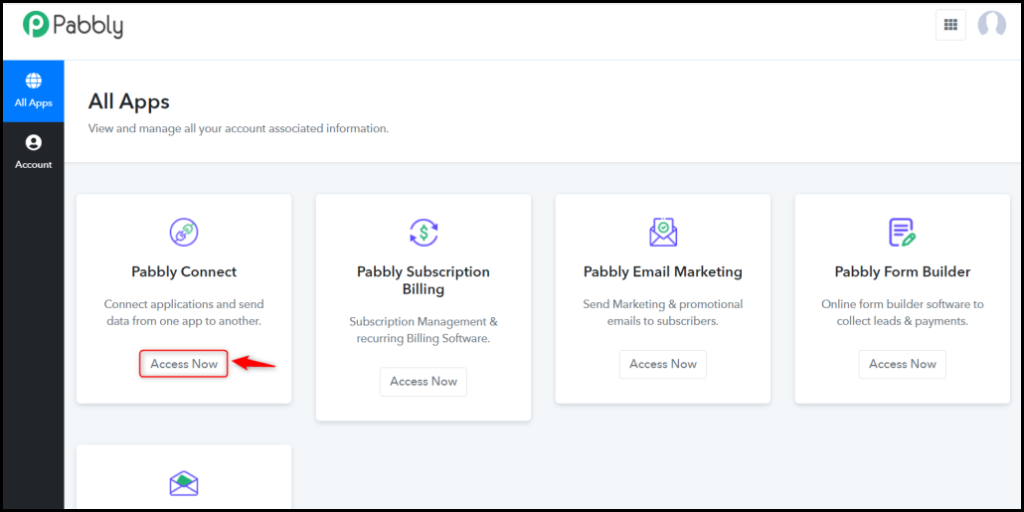
Click on the Pabbly Connect ‘Access Now’ button
B. Create Workflow
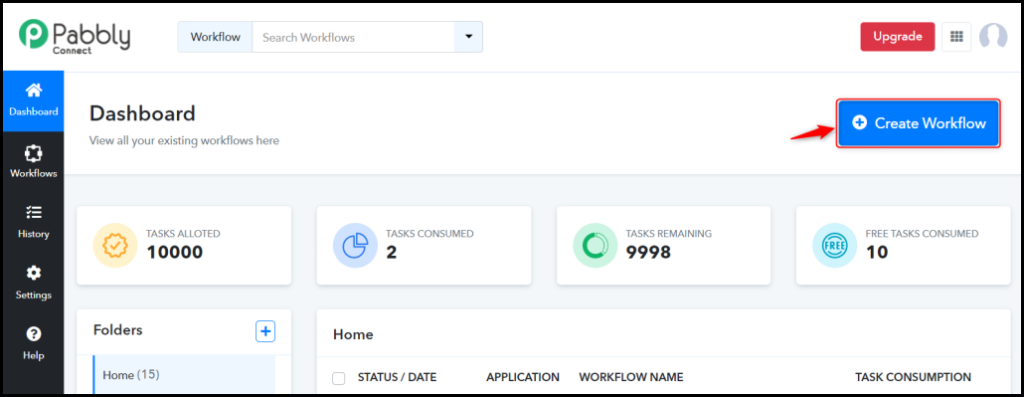
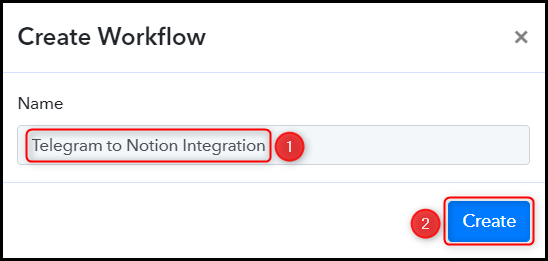
To create a new workflow, click the ‘Create Workflow’ button.
Name your workflow, and click on ‘Create’.
Step 2:- Setup Telegram as the Trigger App to Fetch New Messages
Next, we will look at the procedure for creating a connection between Telegram and Pabbly Connect. This connection will allow us to capture any new messages received in your Telegram group or channel.
A. Trigger App
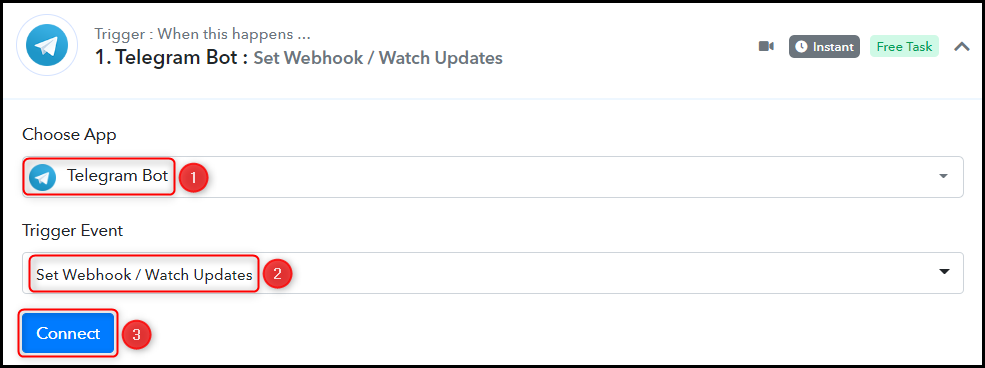
Trigger allows us to designate the application that will obtain data for Pabbly Connect. In our case, it would be Telegram Bot.
Choose ‘Telegram Bot’ as the Trigger App, select ‘Set Webhooks / Watch Updates’ as an Action Event, and click on ‘Connect’.
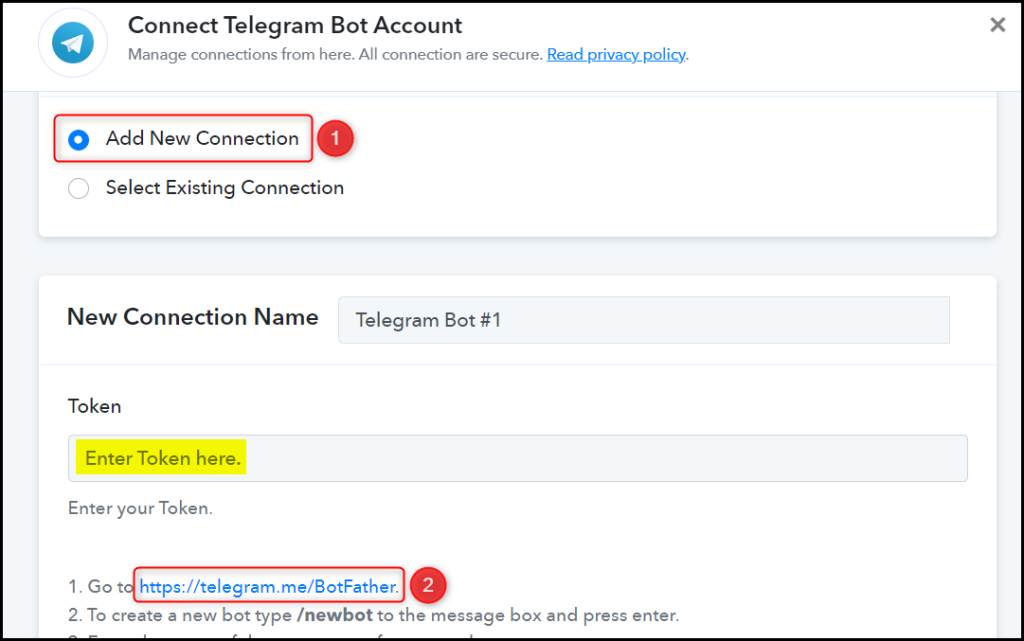
B. Connect Telegram Account
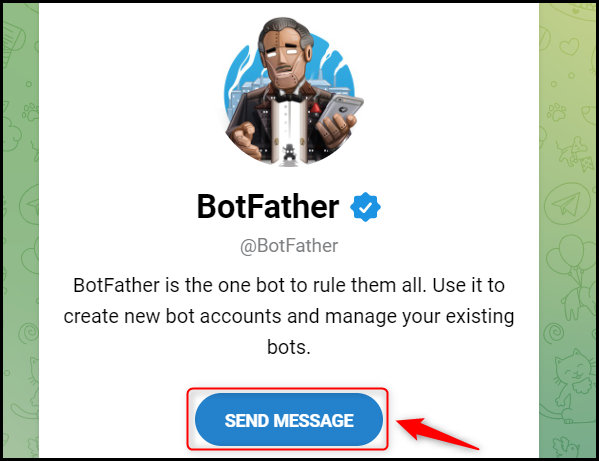
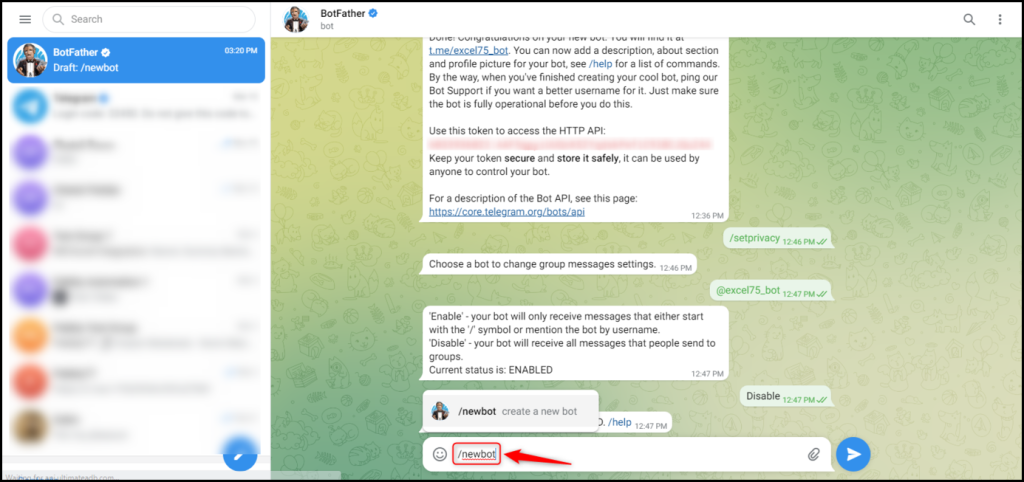
To establish a connection with your Telegram account, click on ‘Add New Connection’ and provide your Token when prompted. To obtain your Token, visit https://telegram.me/BotFather and click on ‘Send Message’.
C. Create a New Bot
To be able to capture files from Telegram, it is necessary to have a bot. To create a bot, type ‘/newbot’ and send the message.
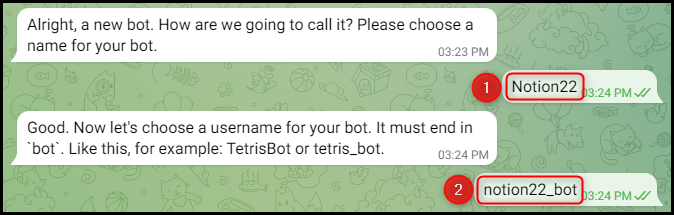
When prompted, provide a Name and Username for your newly created bot.
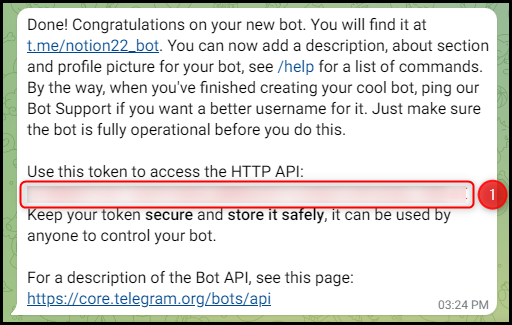
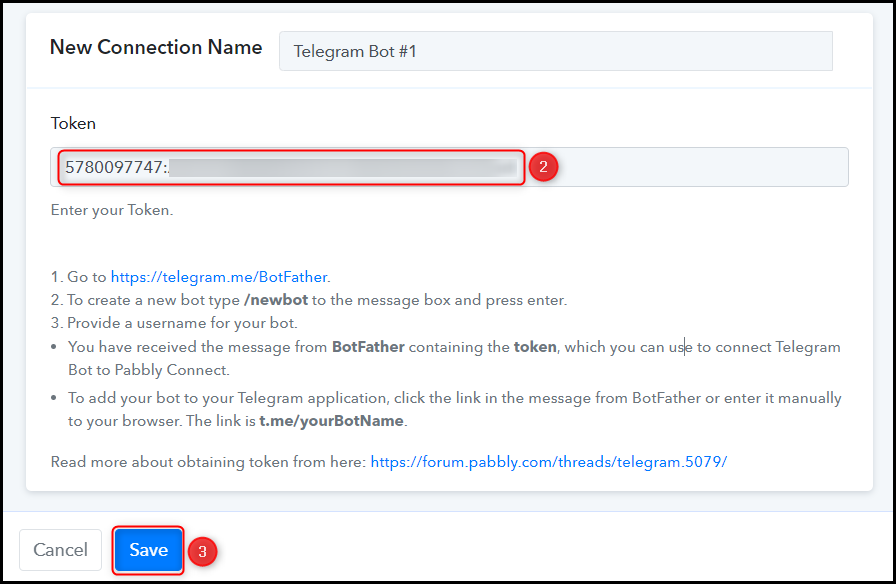
Copy the API Token and paste it into the designated field. Then, click ‘Save’ to proceed.
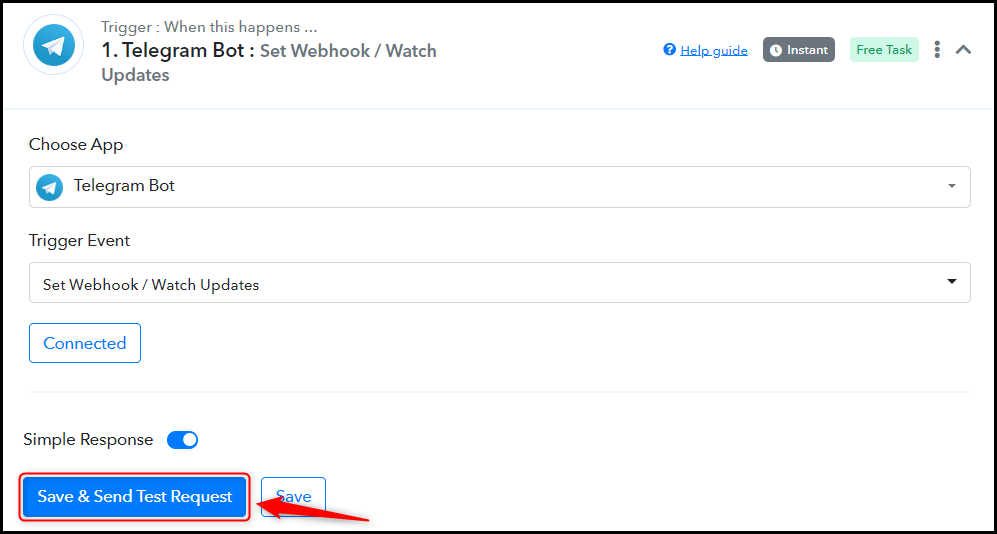
Now, click on ‘Save & Send Test Request’.
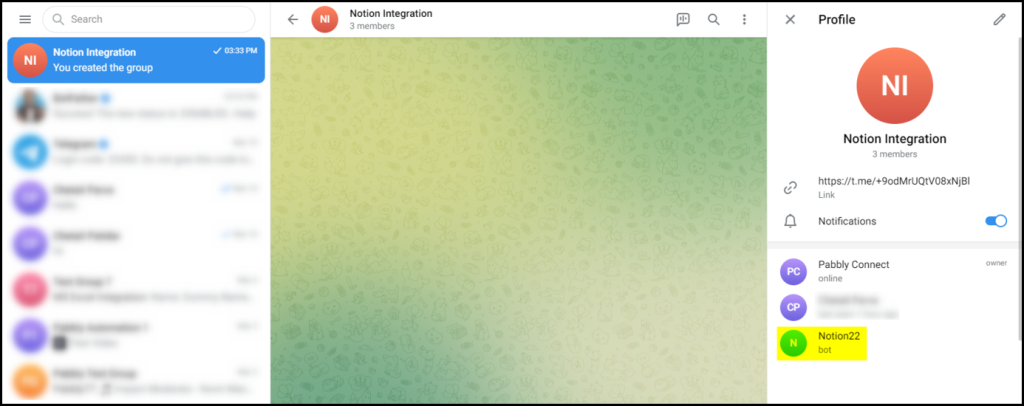
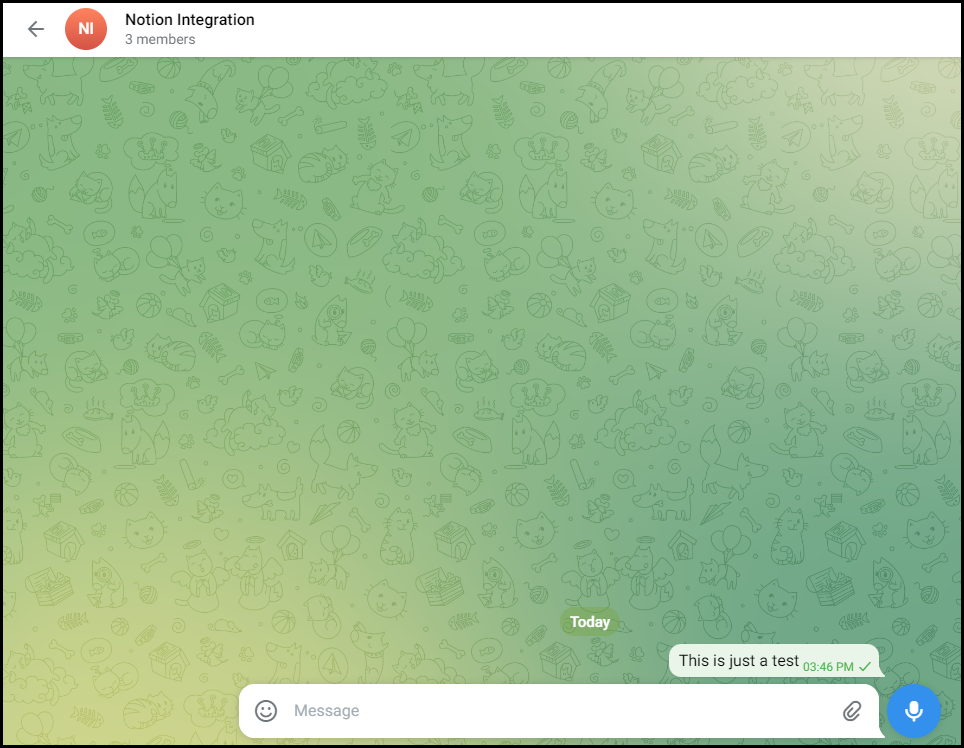
Give your Bot access to the messages, and add it to the group from which you intend to collect messages. Also, send a new message for testing.
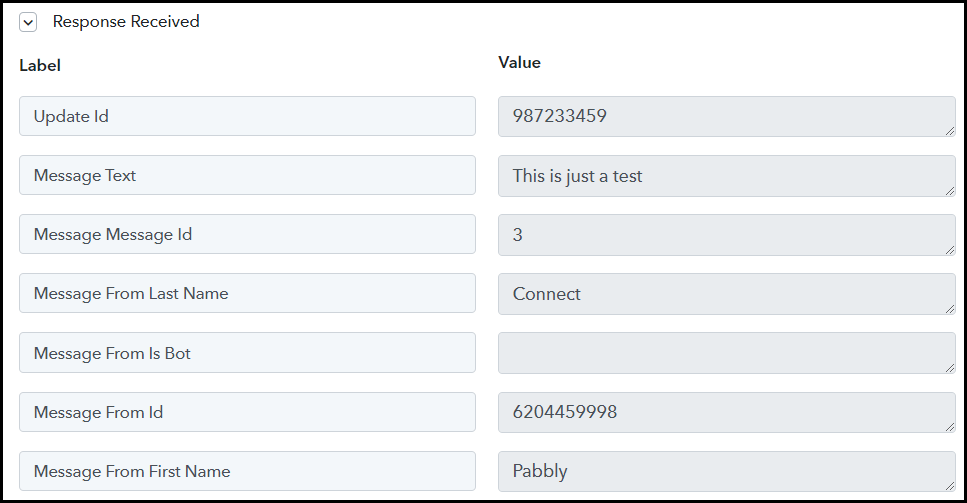
The connection between Telegram and Pabbly Connect has been established successfully. Pabbly Connect will now be able to capture any messages received through Telegram automatically.
Step 3:- Add a Filter to the Workflow
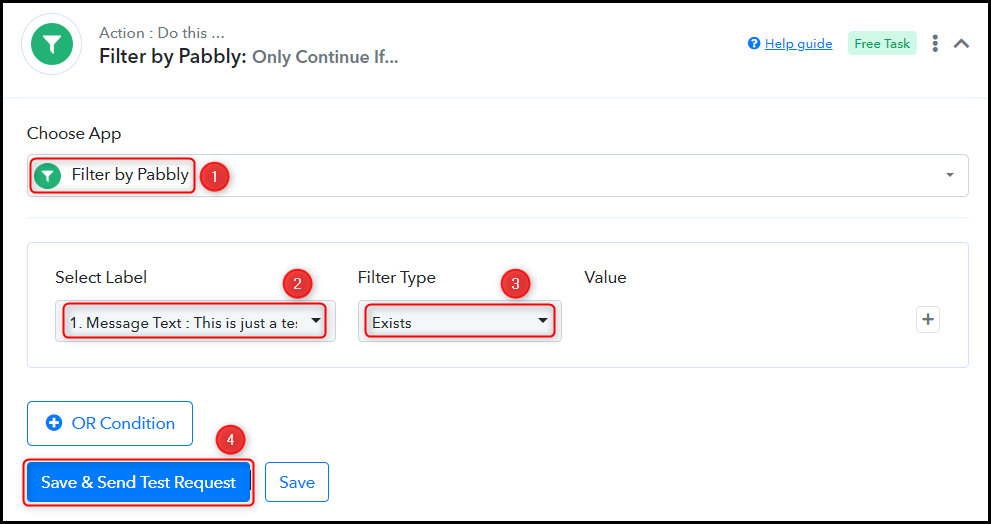
If you only want to save specific messages in your Notion database and filter out any irrelevant ones, we can add a Filter to our workflow.
To set up the Filter for your desired criteria, select ‘Filter by Pabbly’ as the Action App. Then, choose ‘Message Text’ as the Label, ‘Exists’ as the Filter Type, and finally, click on ‘Save & Send Test Request’.
Step 4:- Setup Notion as the Action App to Save Messages
Action allows us to choose the application that will get executed by the workflow trigger.
Our primary goal is to store the messages obtained from Telegram as an item in our Notion database. Thus, Notion will be our Action App.
A. Action App
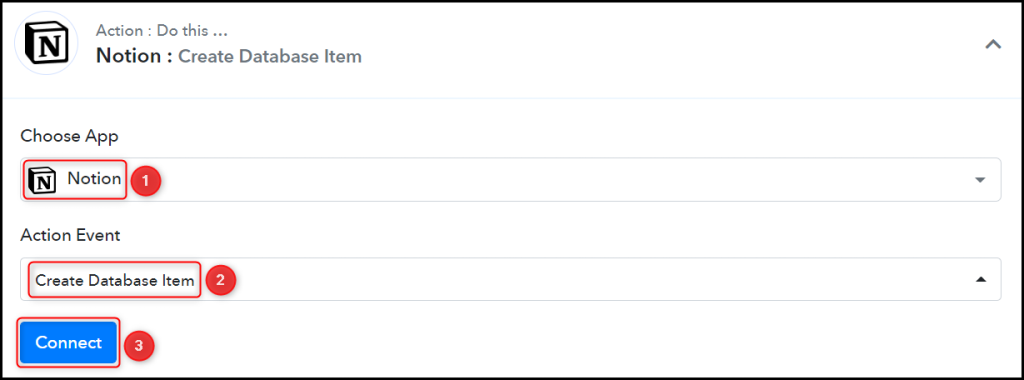
Choose ‘Notion’ as your Action App, select ‘Create Database Item’ as an Action Event, and click on ‘Connect’.
B. Connect Notion Account
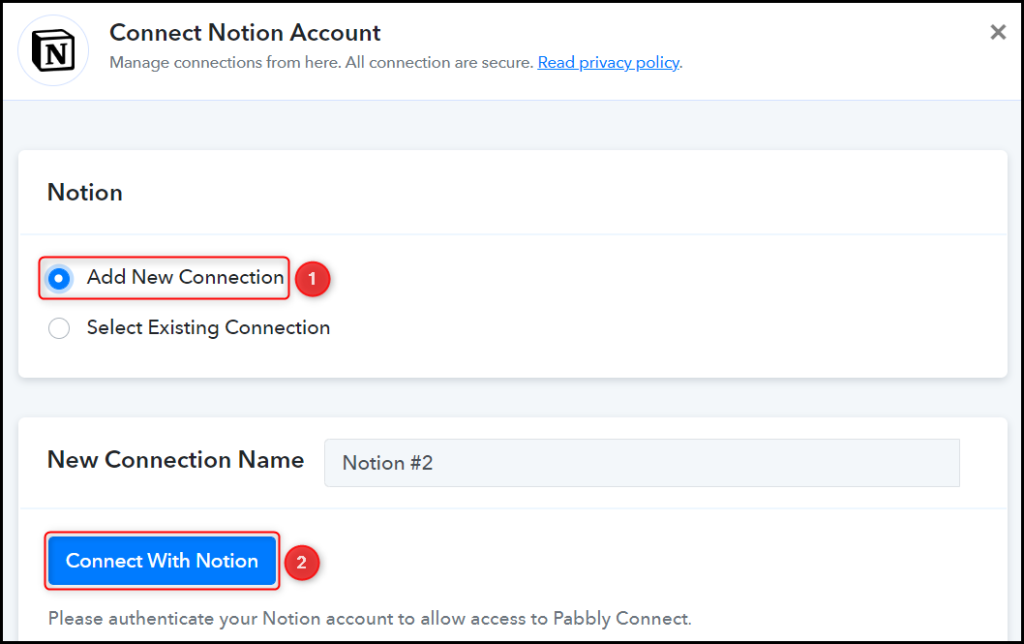
To connect with your Notion account, select on ‘Add New Connection’ and click on ‘Connect With Notion’.
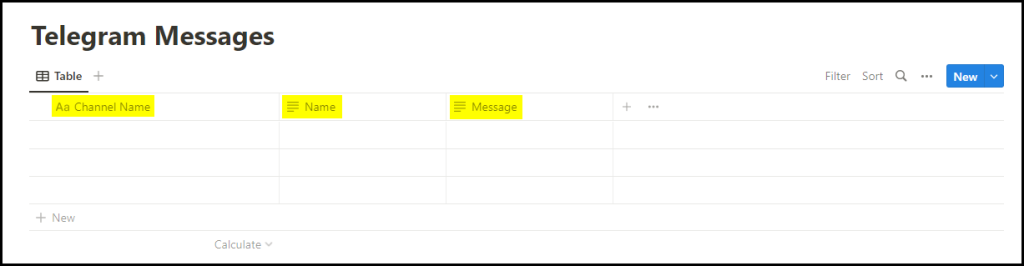
Choose the database in which you want to store the captured messages.

Once you have selected your database, the properties associated with that database will appear as fields in your Action Step.
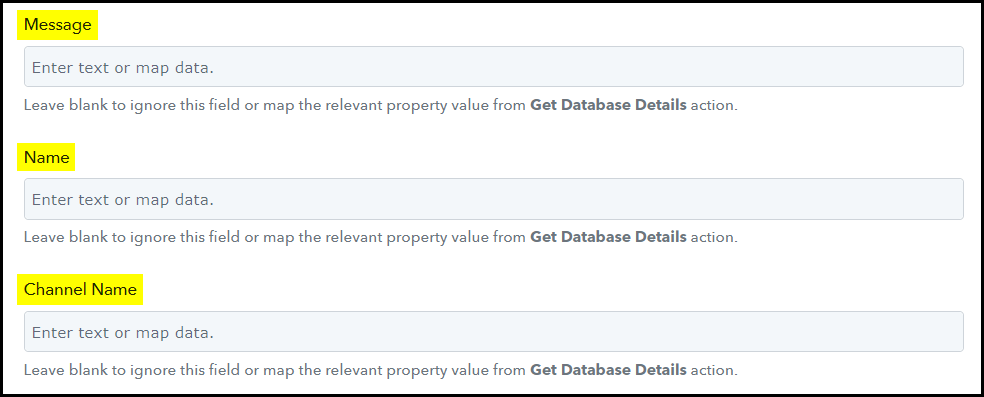
C. Map Necessary Fields
After connecting your Notion account, you simply need to map the message from the trigger step. Mapping helps to ensure that our data remains dynamic and adapts to changes based on the received responses.
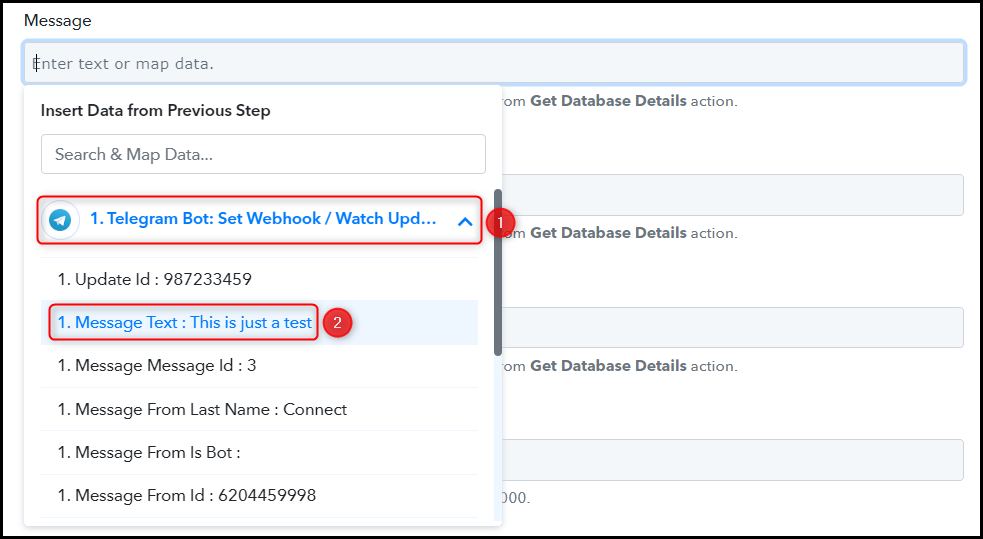
Map the Message to be saved from the trigger step.

Map the other fields in a similar manner, and click on ‘Save & Send Test Request’.
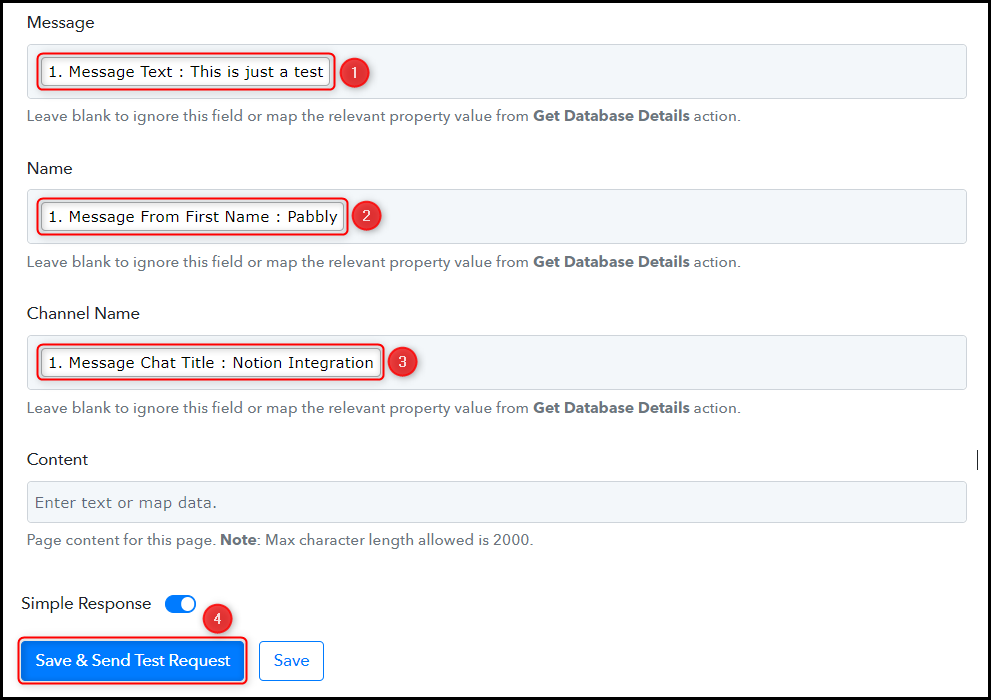
As you click on Save & Send Test Request, the message will be saved as item in your Notion database.
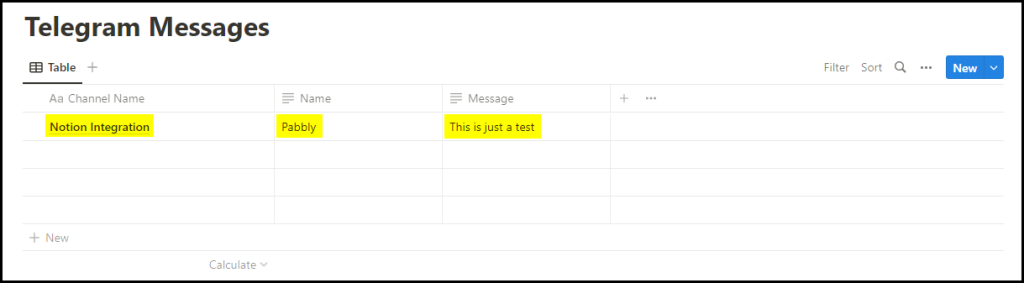
Congratulations! You have now successfully integrated Telegram with Notion using Pabbly Connect. From this point forward, any new message received on your designated Telegram group or channel will be automatically saved as an item in your Notion database
You can copy this entire workflow by clicking this link.
Sign Up for a free Pabbly Connect account, and start automating your business
Subscribe to our Youtube Channel for more such automation
For any other queries, visit our forum