
This article will demonstrate the process of integrating WooCommerce with Interakt. By completing this integration, when you receive a new order on WooCommerce, the customer who placed the order will automatically receive order confirmation message on WhatsApp.
To set up this automation, you only need to perform a one-time setup using Pabbly Connect.
To begin, we will connect WooCommerce to Pabbly Connect to capture new orders, then link Pabbly Connect with Interakt to send WhatsApp messages to the customer who placed the order.
Steps to Automatically Send WhatsApp Messages for New WooCommerce Orders
1. Sign In / Sign Up to Pabbly Connect and Create a Workflow
2. Setup WooCommerce as the Trigger App to Fetch Order Details
3. Setup Interakt as the Action App to Send Messages
Step 1:- Sign In / Sign Up to Pabbly Connect and Create a Workflow
A. Sign In / Sign Up
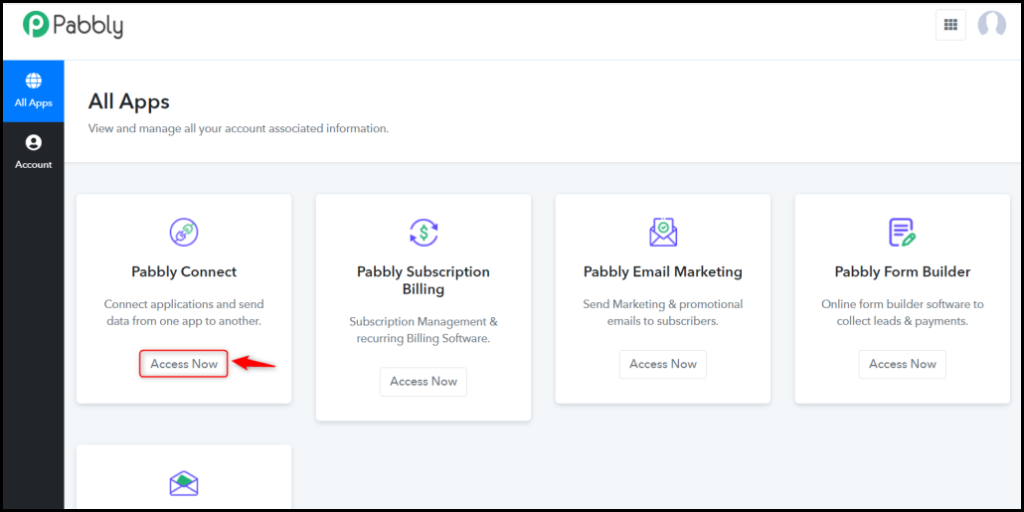
To begin this process, visit Pabbly Connect and create your account by clicking on the ‘Sign Up Free’ button. You can also click on Sign In if you already have an account.

Click on the Pabbly Connect ‘Access Now’ button
B. Create Workflow
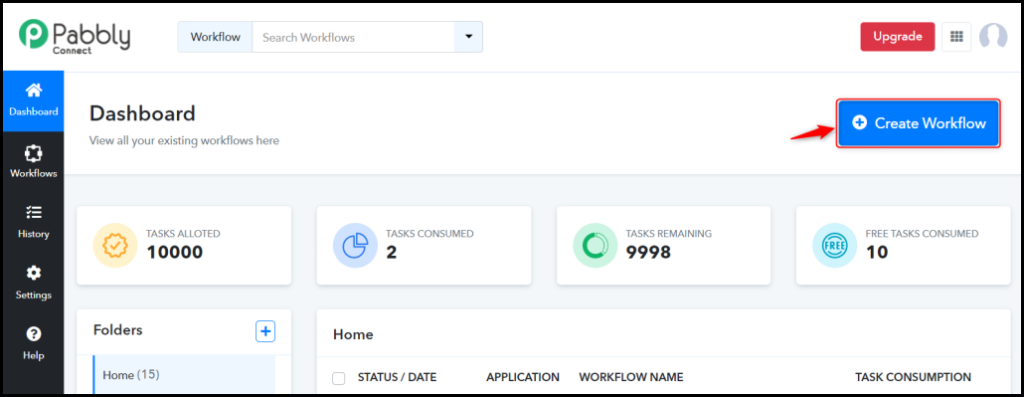
To create a new workflow, click the ‘Create Workflow’ button.
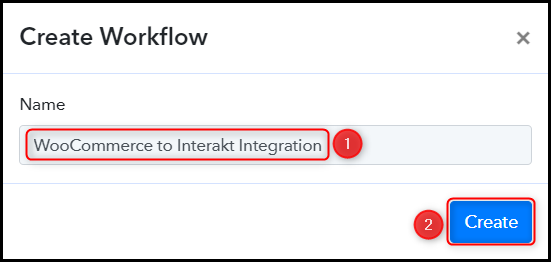
Name your workflow, and click on ‘Create’.
Step 2:- Setup WooCommerce as the Trigger App to Fetch Order Details
We will now look at the steps to establish a connection between WooCommerce and Pabbly Connect. This connection will enable us to retrieve details of any newly placed orders.
A. Trigger App
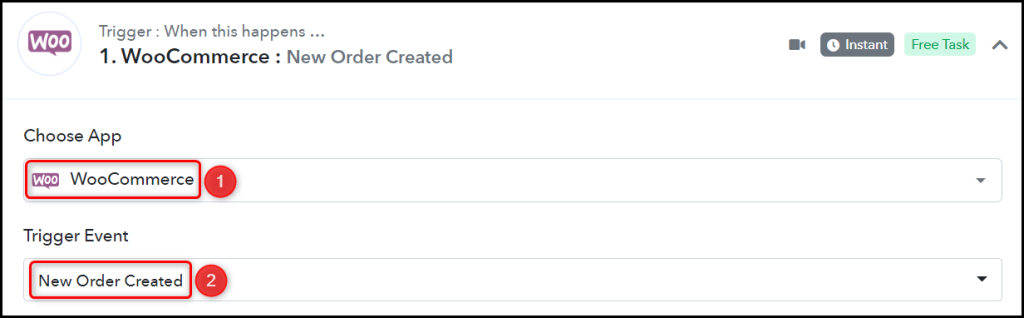
Trigger allows us to choose the application that will retrieve the data for Pabbly Connect. In this instance, it would be WooCommerce.
Choose ‘WooCommerce’ as the Trigger App, and select ‘New Order Created’ as the Trigger Event.
B. Webhook URL
A new Webhook URL will get generated. You will use this Webhook URL to connect with your WooCommerce account. Copy the Webhook URL.

Once you have copied the Webhook URL, Pabbly Connect will begin searching for order details from WooCommerce, which will be indicated by the rotating Waiting For Webhook Response button.

C. Establish Connection
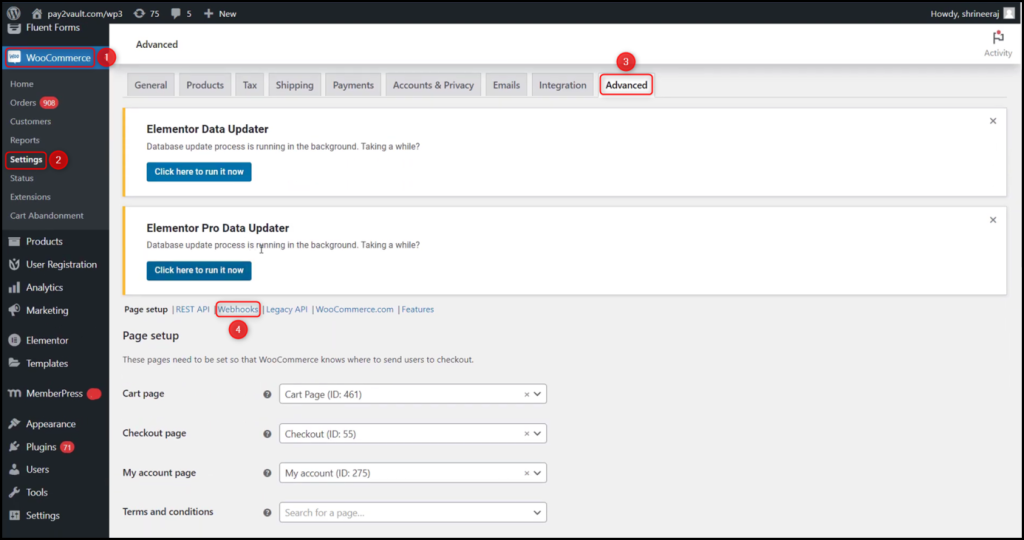
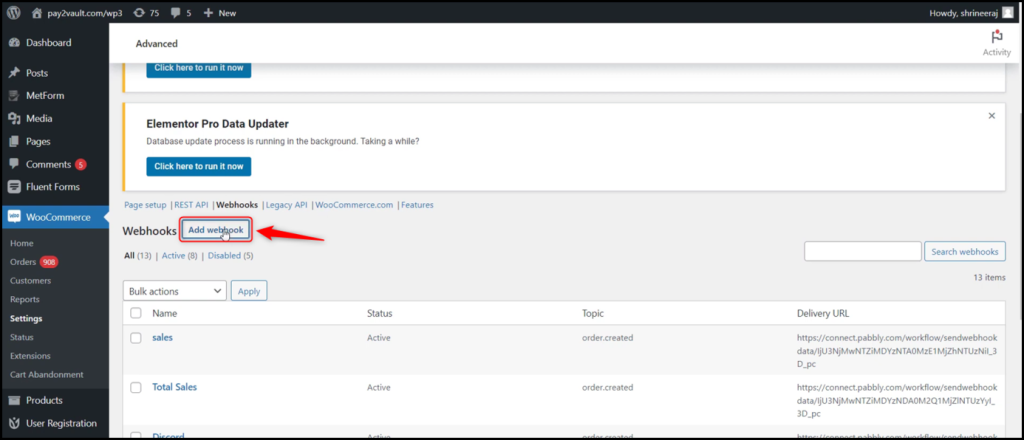
Go to your WordPress account, and click on ‘WooCommerce’ > ‘Settings’ > ‘Advanced’ > ‘Webhooks’. Then click on ‘Add Webhooks’.
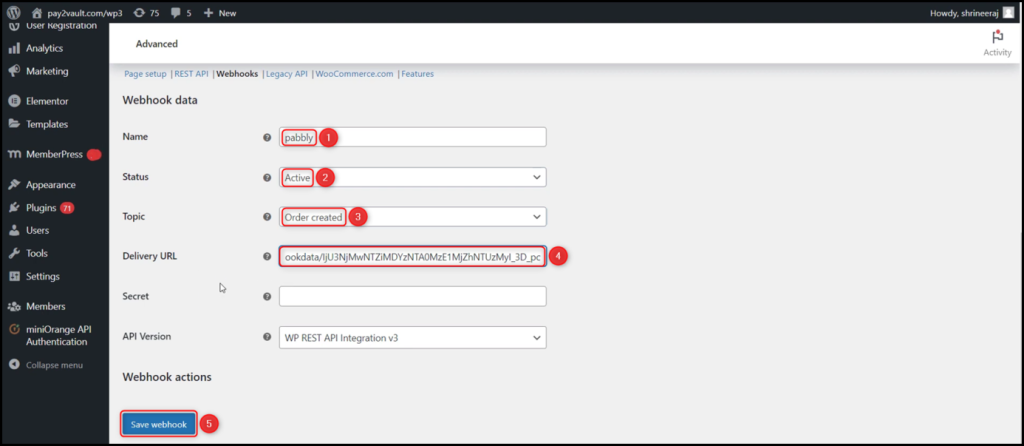
To proceed, name your Webhook, choose ‘Active’ as the Status, select ‘Order created’ as the Topic, paste the previously copied Webhook URL, and then click on the ‘Save webhook’ button.
D. Test Connection
To test the connection we have set up, we will now place a test order and verify the response received. Begin by clicking the ‘Re-Capture Webhook Response’ button. Next, navigate to your WooCommerce store and place a test order.
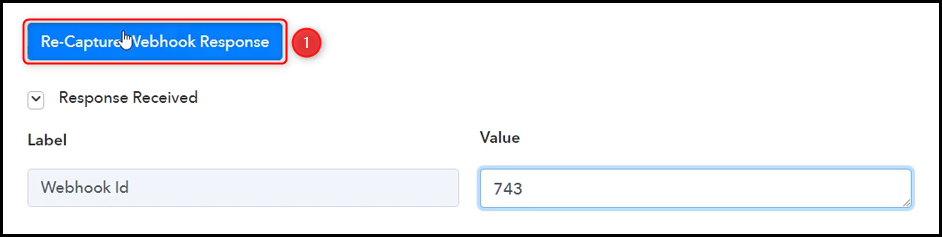
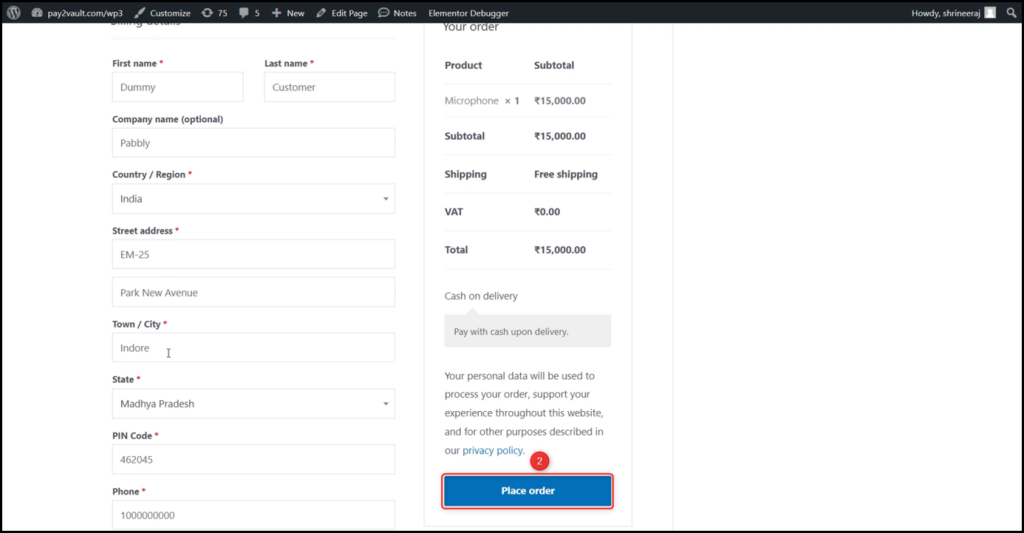
Expand Response Received, under which the details of the newly placed orders must be visible, thus confirming the established connection.
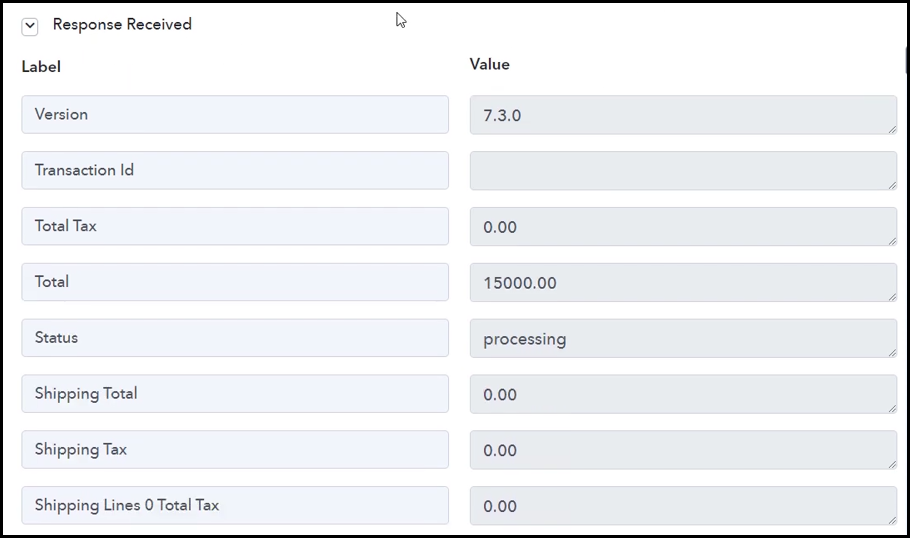
We have successfully created a connection between WooCommerce and Pabbly Connect. From this point on, Pabbly Connect will automatically retrieve the details of any order placed on your WooCommerce store.
Step 3:- Setup Interakt as the Action App to Send Messages
Action allows us to choose the application that will get executed by the workflow trigger.
Our primary objective is to send order confirmation WhatsApp messages to customers whenever they place an order on WooCommerce. To send these messages we will use Interakt, thus Interakt will serve as our Action App.
A. Action App
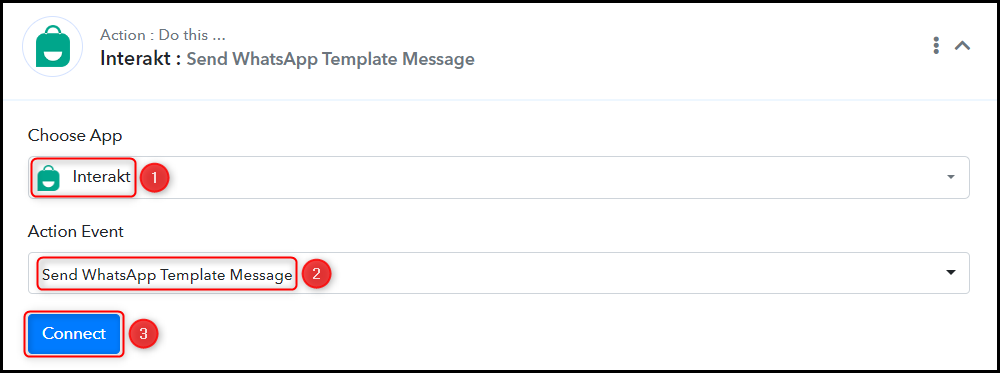
Choose ‘Interakt’ as the Action App, select ‘Send WhatsApp Template Message’ as the Action Event, and click on ‘Connect’.
B. Connect Interakt Account
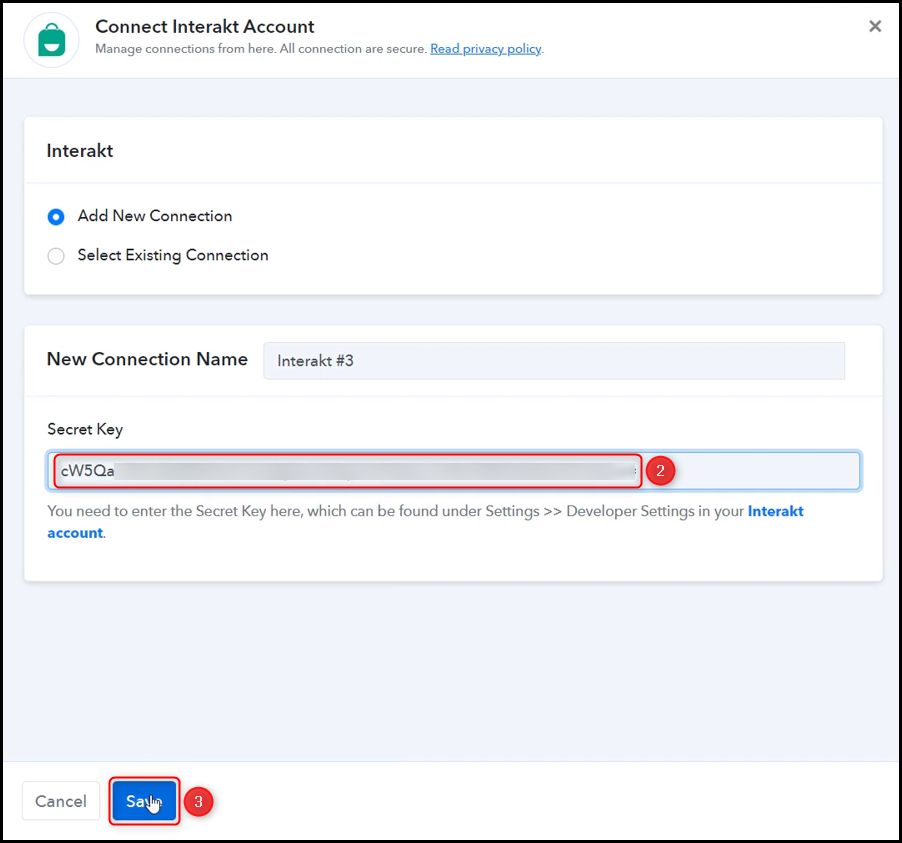
To connect with your Interakt account, select ‘Add New Connection’. Then, you will be prompted to provide your ‘Secret Key’.
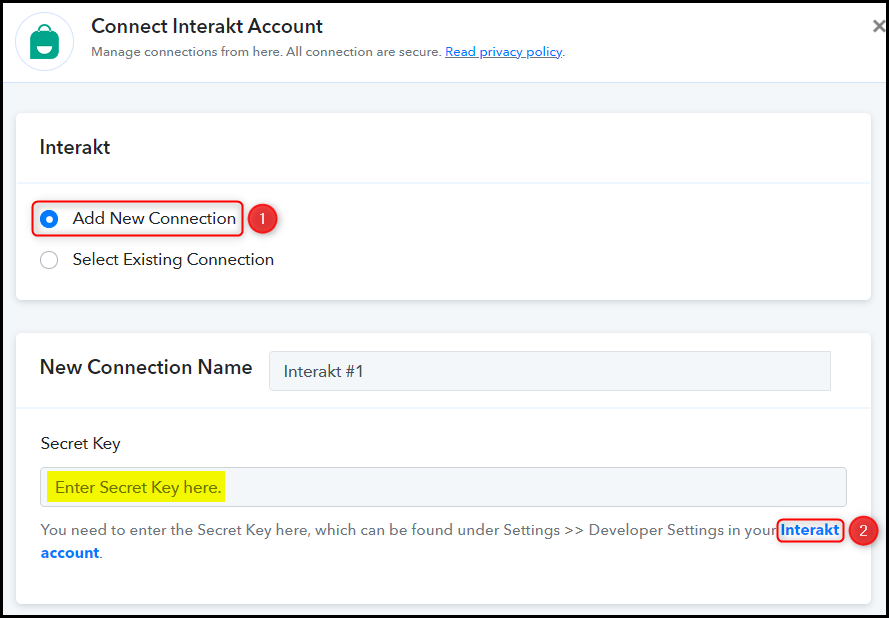
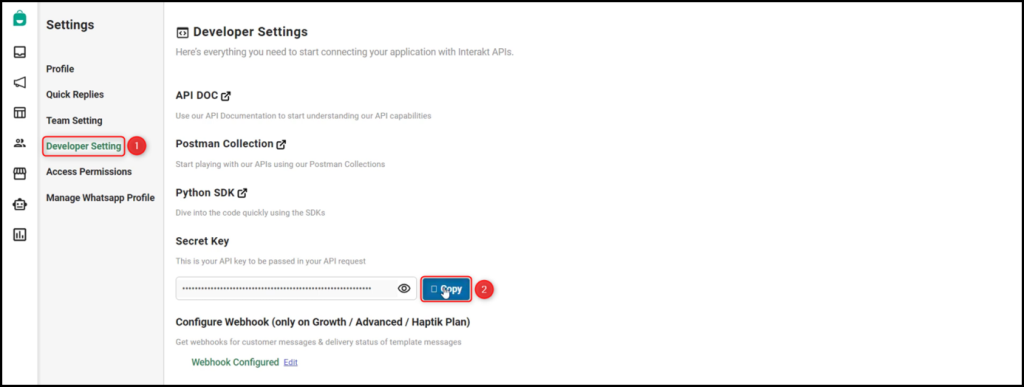
Navigate to your Developer Settings, and copy the ‘Secret Key’.
Paste the copied ‘Secret Key’ into its designated field and then click on the ‘Save’ button.
C. Map the Necessary Fields
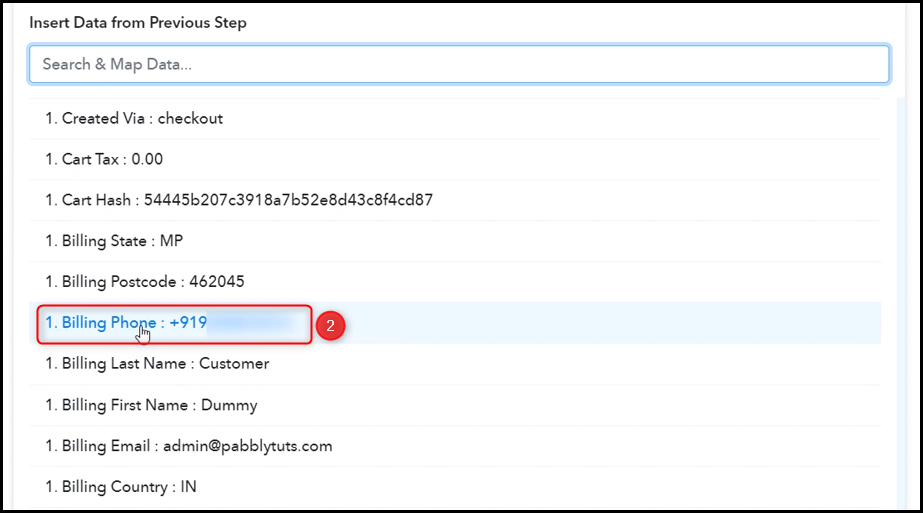
Having successfully connected your Interakt account, the next step is to map the order details from the previous step. Mapping allows our data to remain dynamic and adaptable based on the received responses.
Map the Full Phone Number from the step above.


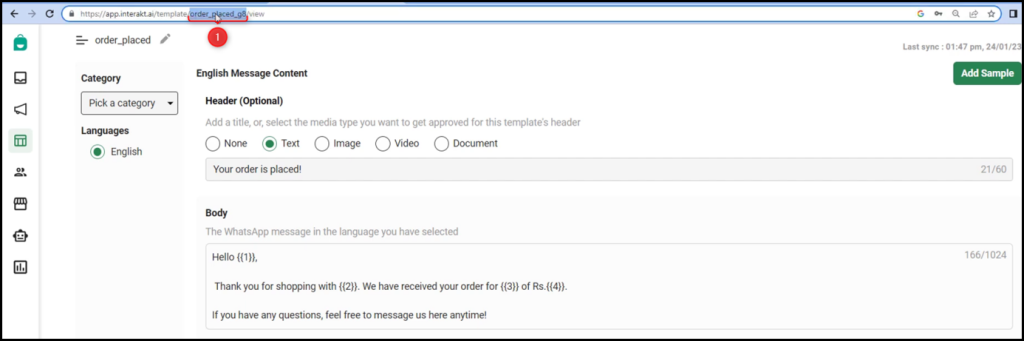
To locate your Template Code Name, navigate to the desired template that you want to use for sending the message, copy the Template Code Name from the URL, and then paste it into the designated field.

Enter the Language Code of your template.

Our message template contains Body Variable Values, these values enable us to insert placeholders in our template that will be substituted with specific data in your message. This data may include names, email addresses, dates, times, ID numbers, and more. To insert a dynamic tag into your template, simply enclose your variables within double curly braces {{variable}}.

Within the Body Variable Values field, insert the data that you wish to use as replacements for the variable values.

Similarly, select / map the other fields, leaving the unnecessary ones blank, and click on ‘Save & Send Test Request’.
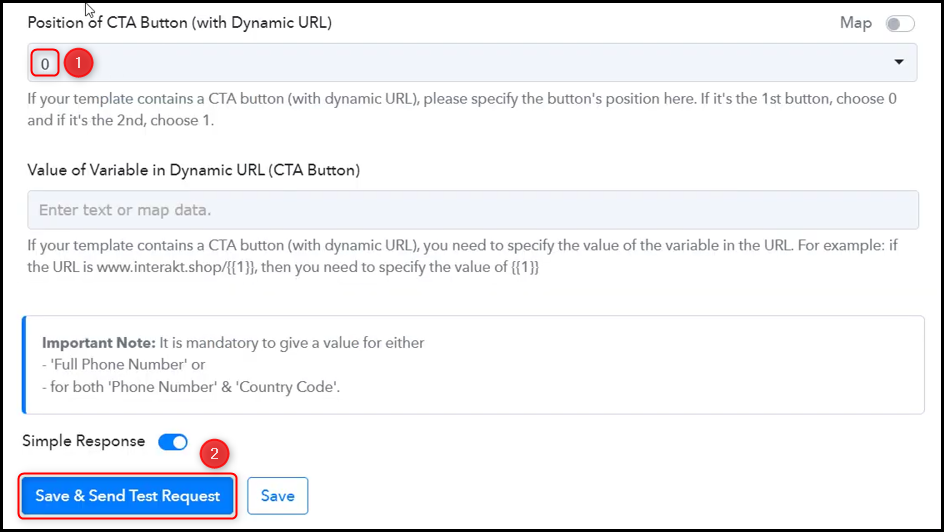
The moment you click on Save & Send Request, a WhatsApp message containing the order confirmation details will be sent to the customer.
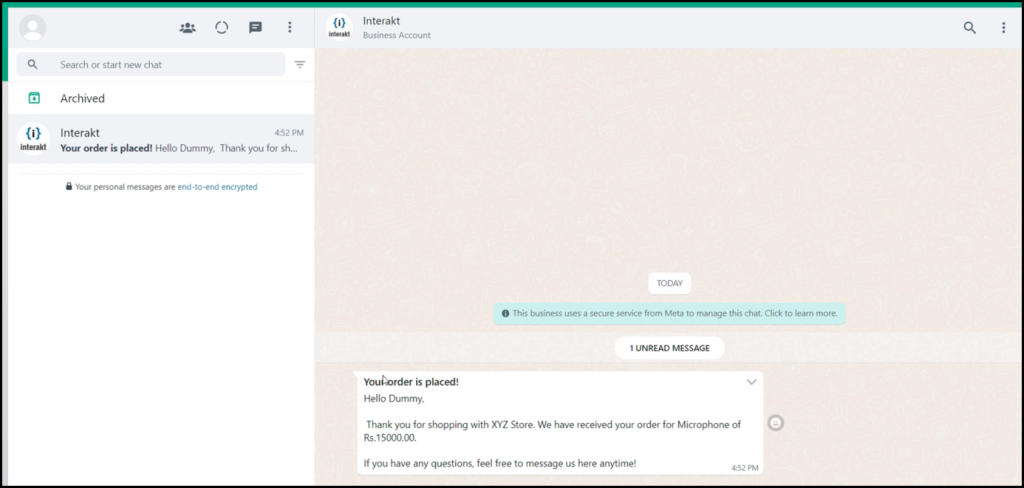
The automation process is now finished. We have successfully integrated Interakt with WooCommerce. From this point forward, whenever a customer makes a purchase on your WooCommerce store, they will automatically receive an order confirmation message through WhatsApp.
You can copy this entire workflow by clicking this link.
Sign Up for a free Pabbly Connect account, and start automating your business
Subscribe to our Youtube Channel for more such automation
For any other queries, visit our forum