This post will cover how to integrate Google Sheets, Writesonic, and a social media platform to simplify the process of creating engaging social media posts. With this integration, all you need to do is enter the topic of your post into a Google Sheets spreadsheet and Writesonic will generate a post on that topic, which can then be automatically posted to the social media platform of your choice, such as Facebook, Instagram, or LinkedIn.
What’s great about this automation is that it only requires a one-time setup using Pabbly Connect. You’ll first connect Google Sheets with Pabbly Connect to collect the topics, then connect Pabbly Connect with Writesonic to create the posts, and finally, connect Pabbly Connect with your preferred social media platform to share the post.
By following these simple steps, you can streamline your social media posting process and ensure that your content is always well-written and engaging. Whether you’re a small business owner or a social media manager, this integration can save you time and effort while also improving the quality of your social media content.
Steps to Automatically Generate Social Media Posts using Writesonic
1. Sign In / Sign Up to Pabbly Connect and Create a Workflow
2. Setup Google Sheets as the Trigger App to Fetch Topics
3. Setup Writesonic as the Action App to Generate Posts
4. Setup Facebook as the Action App to Share Posts
Step 1:- Sign In / Sign Up to Pabbly Connect and Create a Workflow
A. Sign In / Sign Up
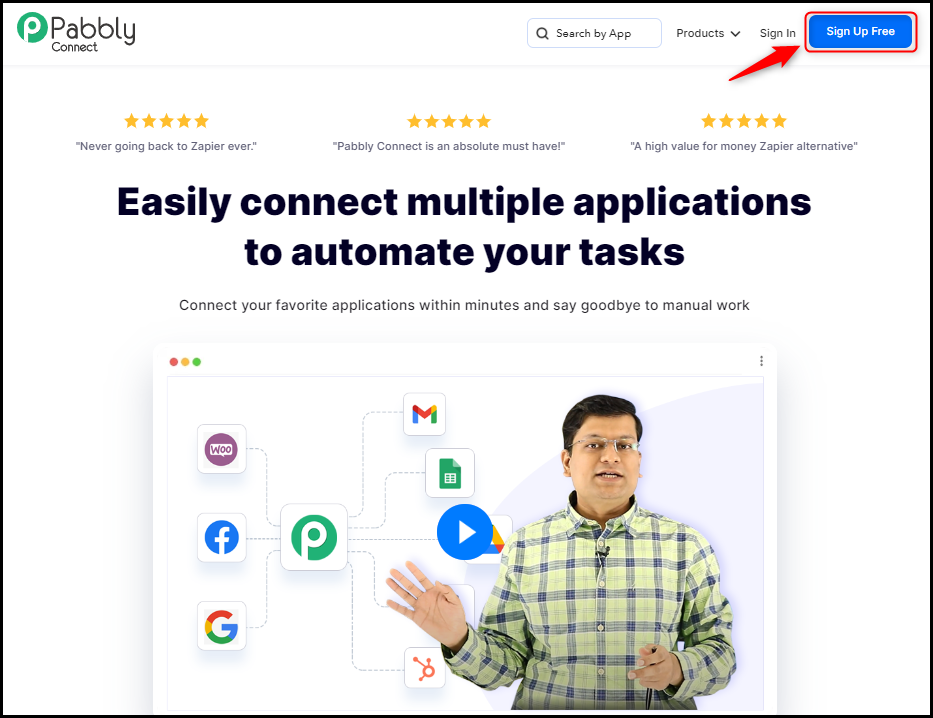
To begin this process, visit Pabbly Connect and create your account by clicking on the ‘Sign Up Free’ button. You can also click on Sign In if you already have an account.
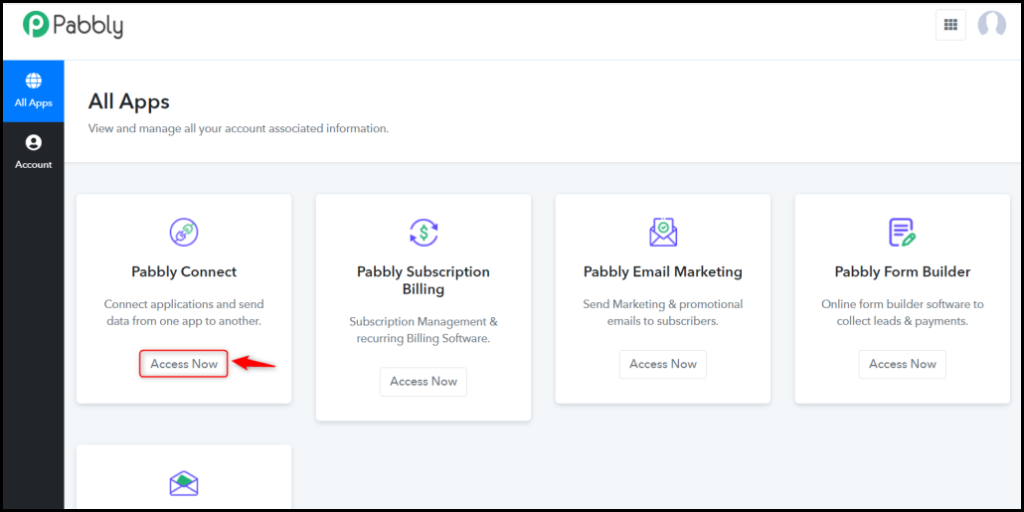
Click on the Pabbly Connect ‘Access Now’ button
B. Create Workflow
To create a new workflow, click the ‘Create Workflow’ button.
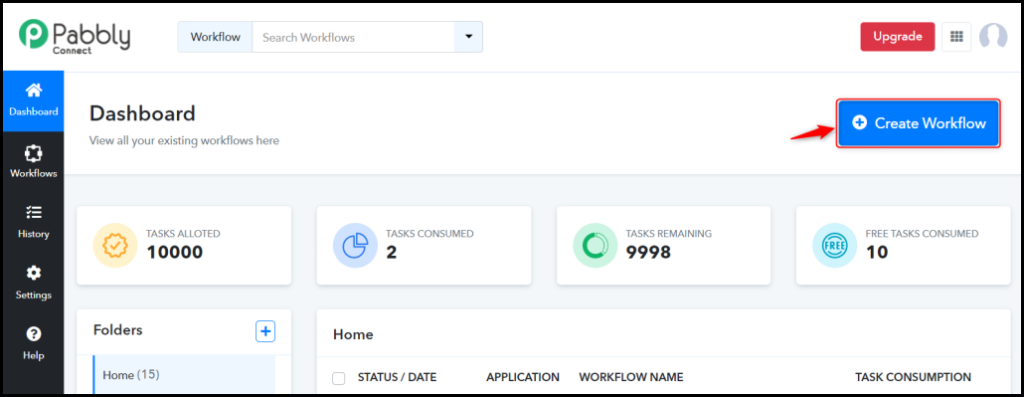
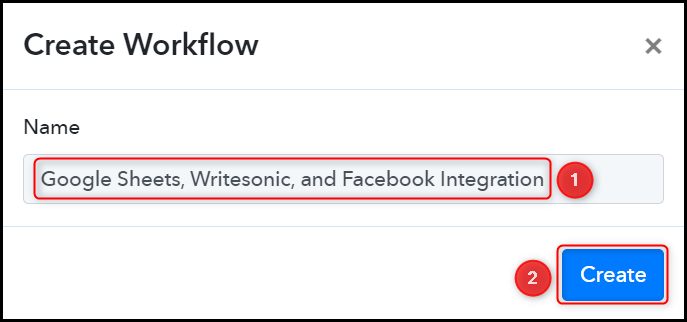
Name your workflow, and click on ‘Create’.
Step 2:- Setup Google Sheets as the Trigger App to Fetch Topics
Next, we’ll examine the steps involved in setting up a link between Google Sheets and Pabbly Connect that enables us to retrieve topics from Google Sheets.
A. Trigger App
Trigger allows us to choose the application that will retrieve the data for Pabbly Connect. In our instance, it would be Google Sheets.
Choose ‘Google Sheets’ as the Trigger App and select ‘New or Updated Spreadsheet Row’ as a Trigger Event.

B. Webhook URL
A new Webhook URL will get generated. You will use this Webhook URL to create a connection with your Google Sheets account. Copy the Webhook URL.

Upon copying the Webhook URL, Pabbly Connect will begin searching for data from Google Sheets, as denoted by the rotating Waiting for Webhook Response button.

C. Connect Google Sheets Account
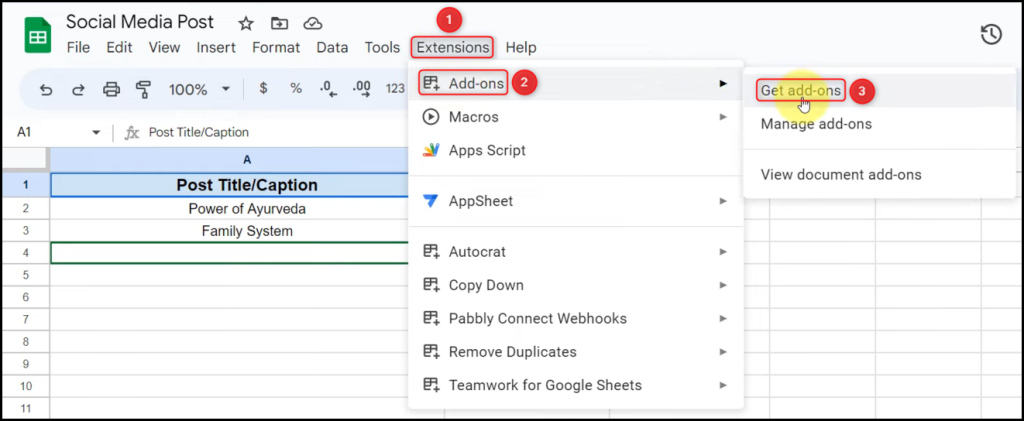
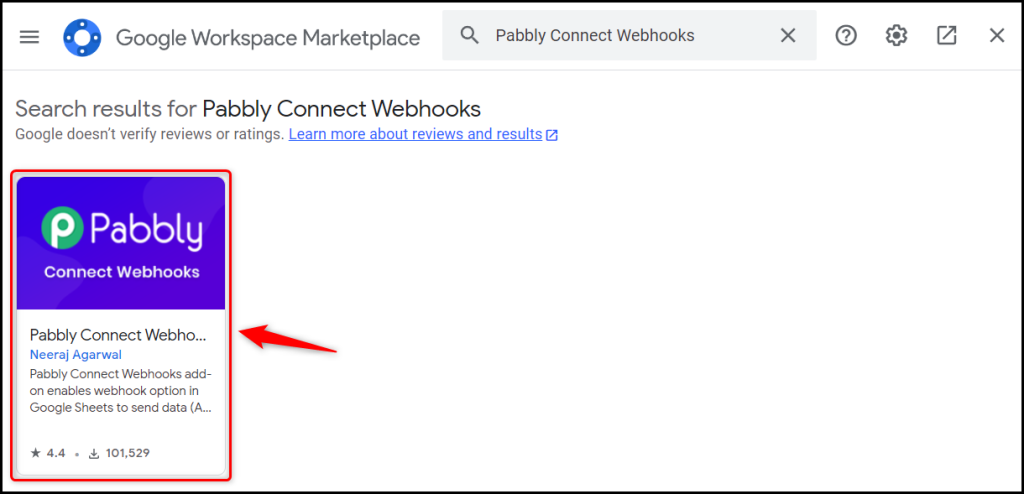
To establish a connection with your Google Sheets account, navigate to the spreadsheet you wish to retrieve data from, click on Extensions > Add-ons > Get add-ons, and search for ‘Pabbly Connect Webhook’.
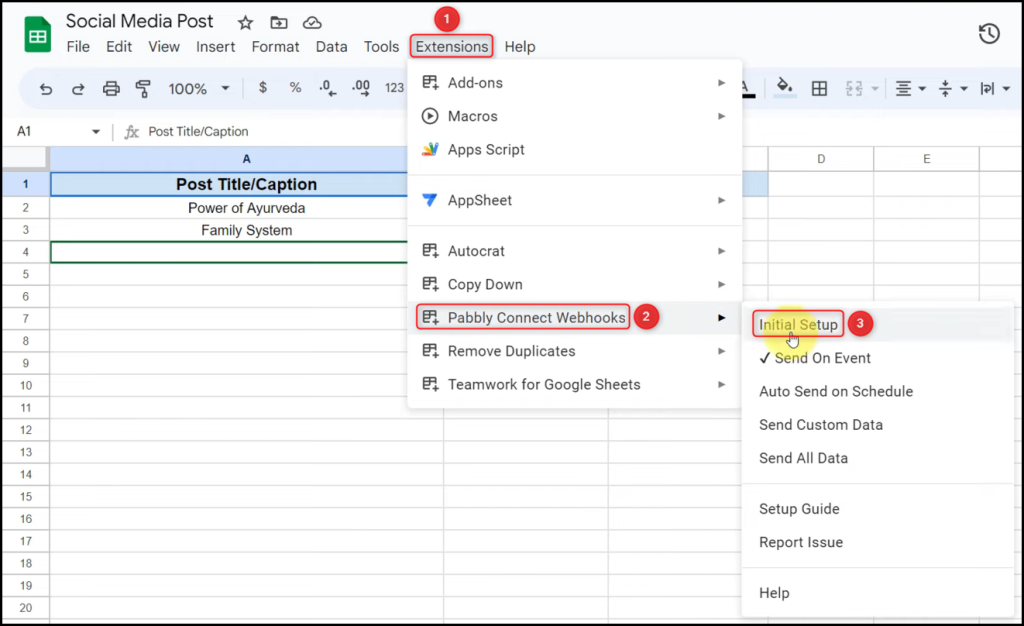
Once the add-on is installed, again click on Extension > Pabbly Connect Webhooks > Initial Setup.
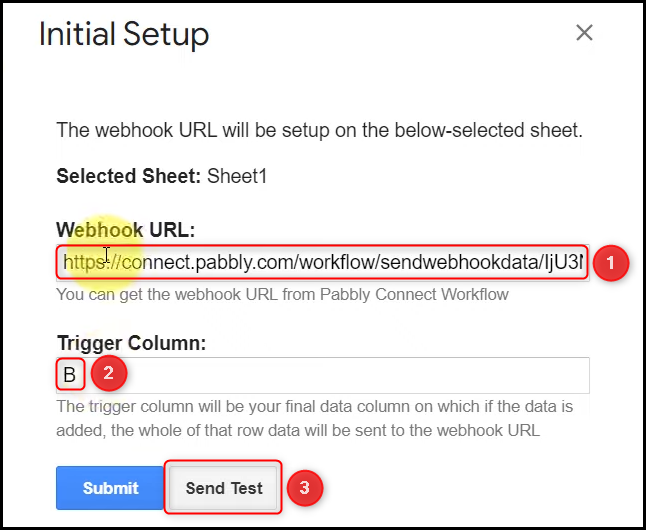
Paste the previously copied Webhook URL, specify the name of the last column where the data is located, and then select ‘Send Test’.
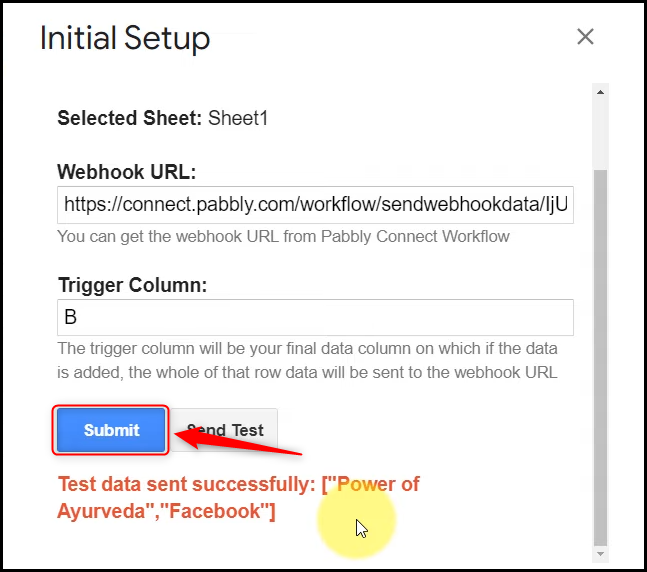
Once the test data is sent successfully, click on ‘Submit’.
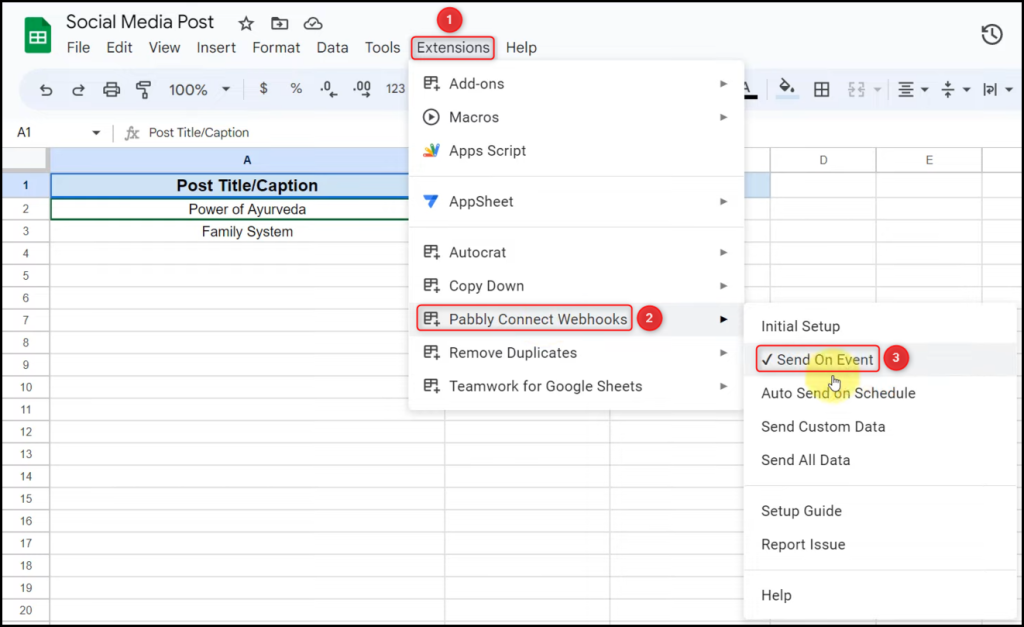
Now, click on Extension > Pabbly Connect Webhooks > ‘Send On Event’.
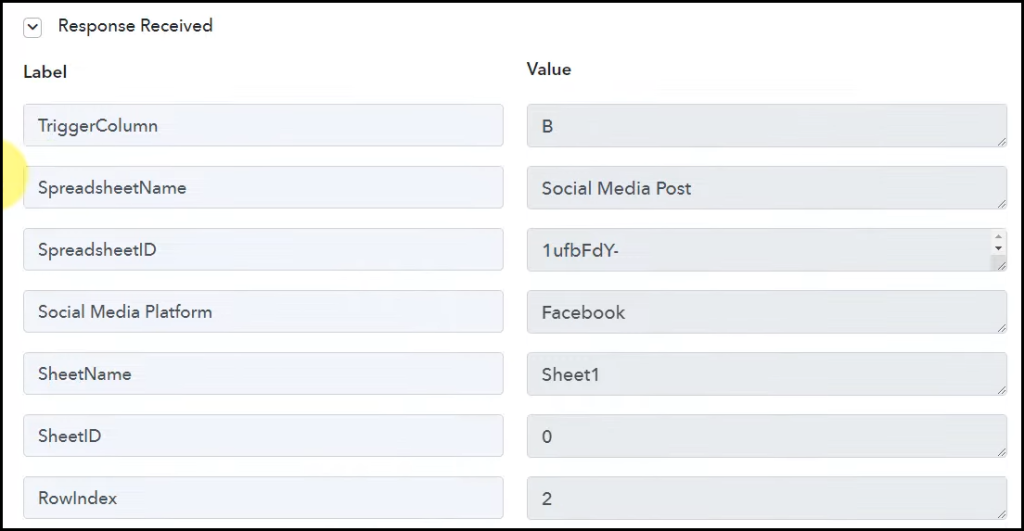
To verify our established connection, ensure that the topic you entered is visible by switching to Pabbly Connect and expanding the Response Received section.
Step 3:- Setup Writesonic as the Action App to Generate Posts
Action allows us to choose the application that will get executed by the workflow trigger.
Our primary objective is to create a post based on the gathered topic from Google Sheets using Writesonic. Therefore, Writesonic will be utilized as our Action App.
A. Action App
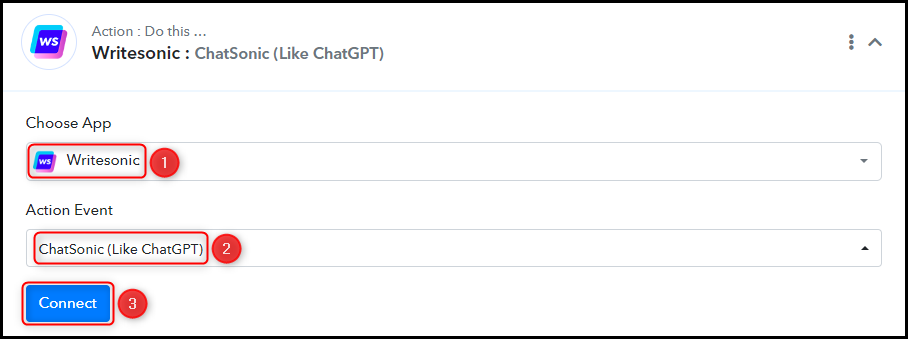
Choose ‘Writesonic’ as the Action App, select ‘ChatSonic (Like ChatGPT) as your Action Event, and click on ‘Connect’.
B. Connect Writesonic Account
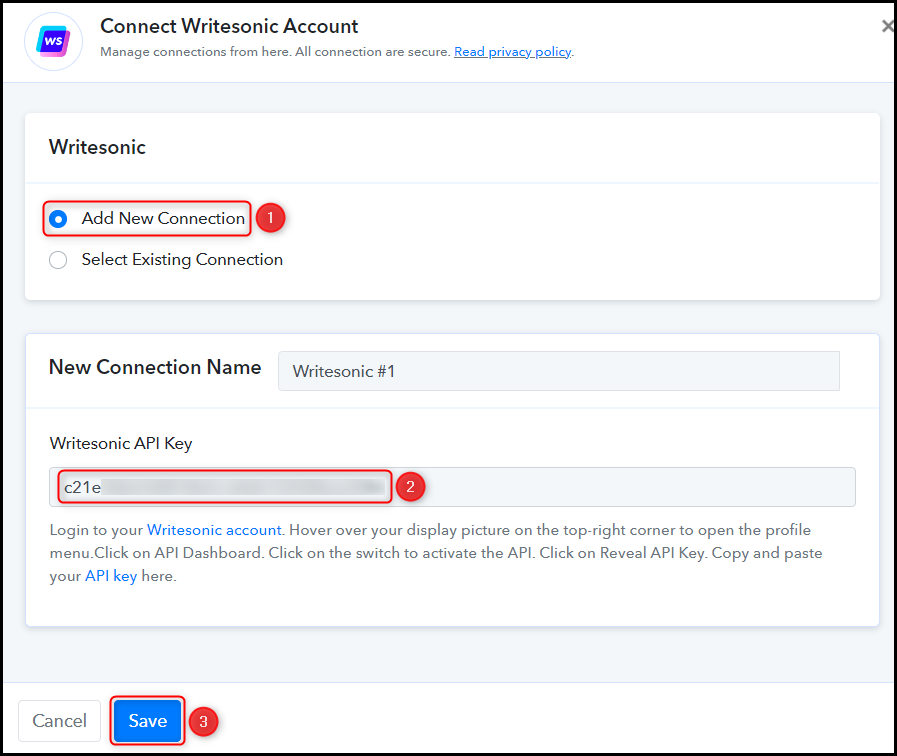
To establish a connection with your Writesonic account, select ‘Add New Connection’, find and enter your API Key, and then click ‘Save’.
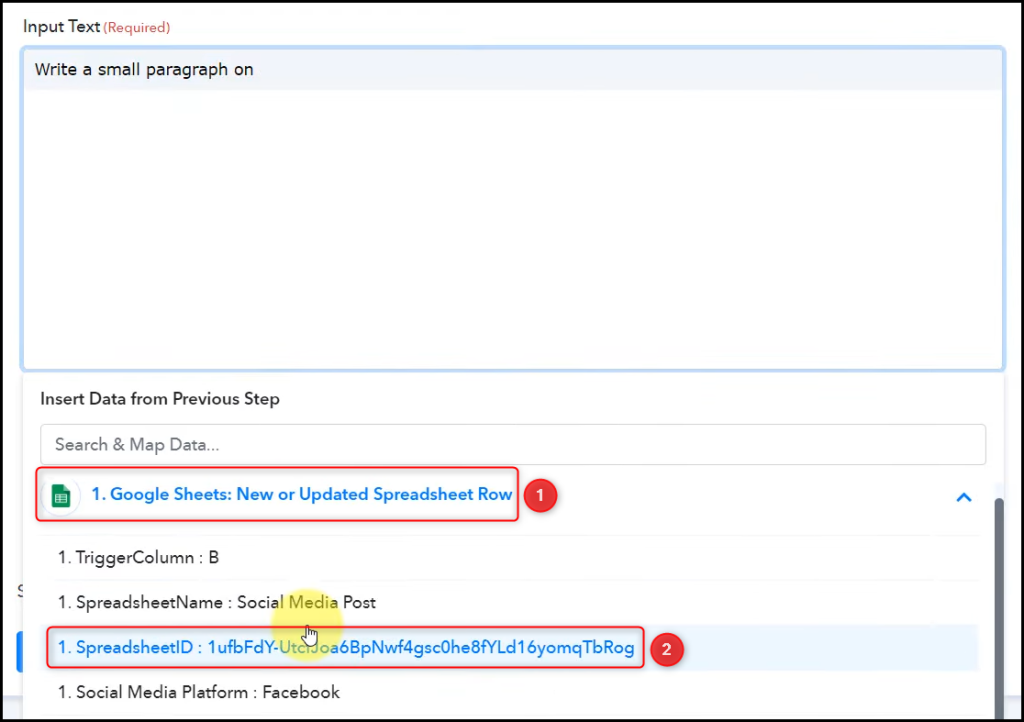
In Input Text, provide a prompt by mapping the topic of your post from the previous step.

Enable Google Results if you wish to, and then click on ‘Save & Send Test Request’.

As you click on Save & Send Test Request, a post will be generated on your given topic.

Step 4:- Setup Facebook as the Action App to Share Posts
We essentially want to share the generated post on the social media platform of your choice. This will be accomplished by configuring Facebook or another platform as our Action App.
A. Action App
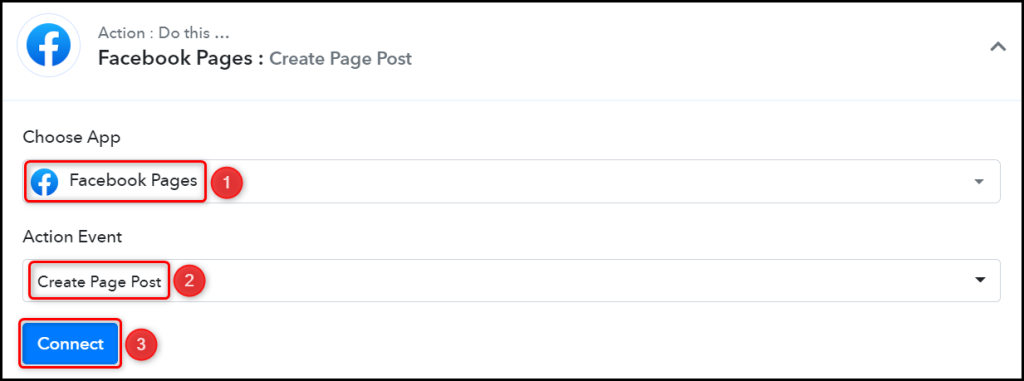
Choose ‘Facebook Pages’ as your Action App, select ‘Create Page Post’ as an Action Event, and click on ‘Connect’.
B. Connect Facebook Account
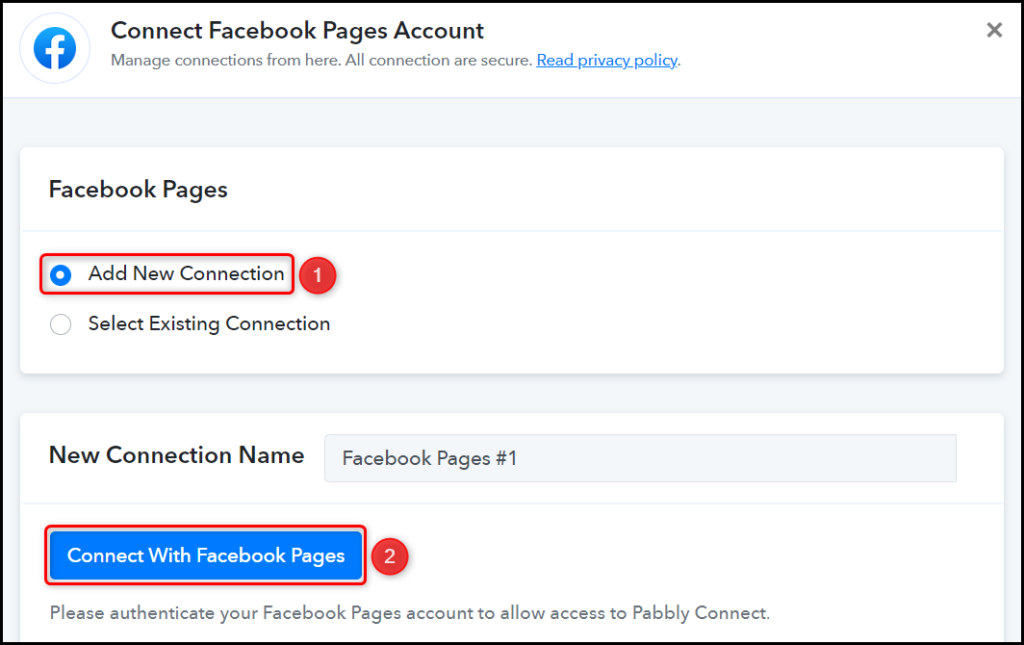
To connect with your Facebook account, select ‘Add New Connection’ and click on ‘Connect With Facebook Pages’. Also, grant the authorization.
Select the specific Page on which you would like to post and share the content.

Map the Message from the previous step, and click on ‘Save & Send Test Request’.


The moment you click on Save & Send Test Request, your post will automatically be shared on Facebook.

We have successfully completed our automation process. Through the integration of Google Sheets, Writesonic, and Facebook, we can now effortlessly generate and post content on any social media platform by entering a topic into your Google Sheets spreadsheet.
You can copy this entire workflow by clicking this link.
Sign Up for a free Pabbly Connect account, and start automating your business
Subscribe to our Youtube Channel for more such automation
For any other queries, visit our forum
