
The focus of this article is on the integration of Elementor and Google Calendar. Upon successful integration, a new event will be automatically created for each user who responds to your Elementor forms.
The process of automation requires a one-time setup, which we will accomplish using Pabbly Connect.
The first step involves connecting Elementor to Pabbly Connect to collect information about form respondents. Subsequently, we will link Pabbly Connect with Google Calendar to generate events for the same respondents.
Steps to Create Google Calendar Events from Elementor Form Responses
1. Sign In / Sign Up to Pabbly Connect and Create a Workflow
2. Setup Elementor as the Trigger App to Gather Responses
3. Add Date / Time Formatter to the Workflow
4. Setup Google Calendar as the Action App to Create Events
Step 1:- Sign In / Sign Up to Pabbly Connect and Create a Workflow
A. Sign In / Sign Up
To begin this process, visit Pabbly Connect and create your account by clicking on the ‘Sign Up Free’ button. You can also click on Sign In if you already have an account.
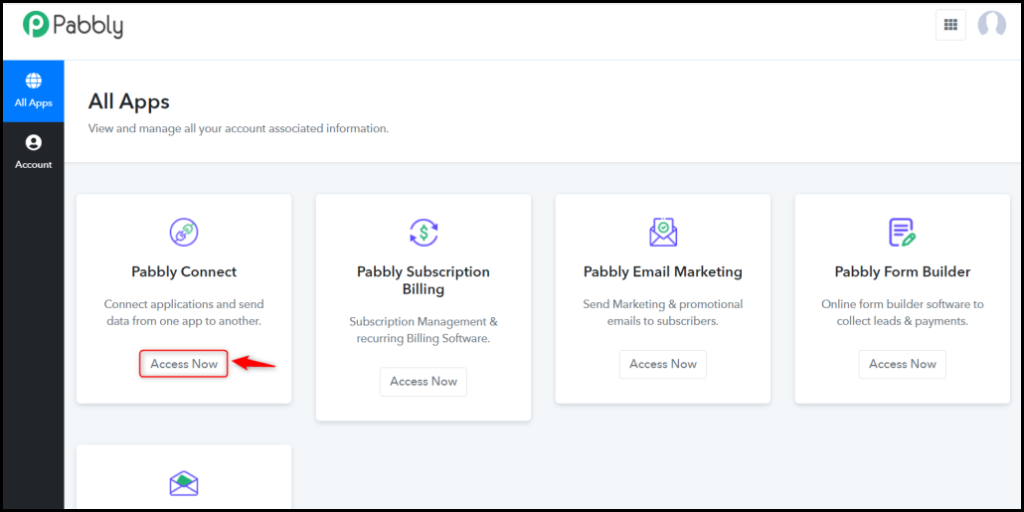
Click on the Pabbly Connect ‘Access Now’ button
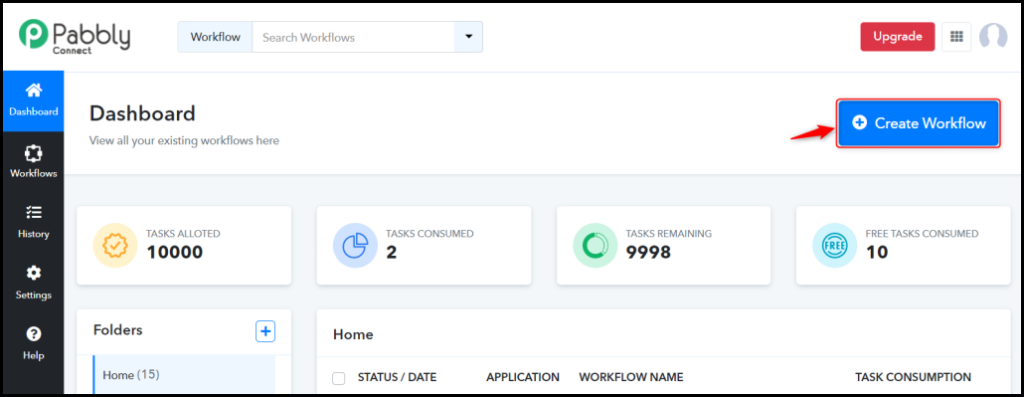
B. Create Workflow
To create a new workflow, click the ‘Create Workflow’ button.
Name your workflow, and click on ‘Create’.

Step 2:- Setup Elementor as the Trigger App to Gather Responses
Now, let’s look at the procedure for establishing a link between Elementor and Pabbly Connect, enabling us to collect responses from Elementor Form submissions.
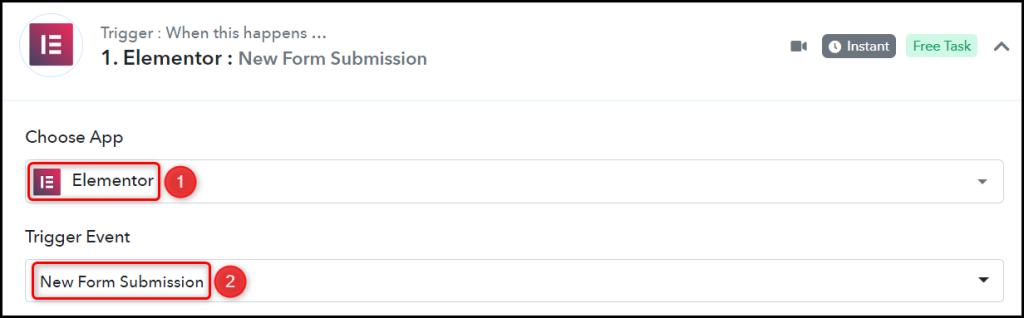
A. Trigger App
Trigger enables us to select the application from which Pabbly Connect will retrieve the data. In this instance, it would be Elementor.
Choose ‘Elementor’ as the Trigger App, and select ‘New Form Submission’ as the Trigger Event.
B. Webhook URL
A new Webhook URL will be generated which you will use to connect with your Elementor account. Copy the Webhook URL.

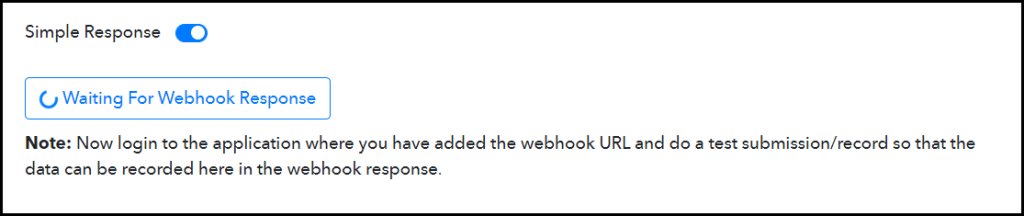
Upon copying the Webhook URL, Pabbly Connect will promptly commence searching for Elementor form responses, denoted by the rotating Waiting for Webhook Response button.
C. Connect Elementor For WordPress Account
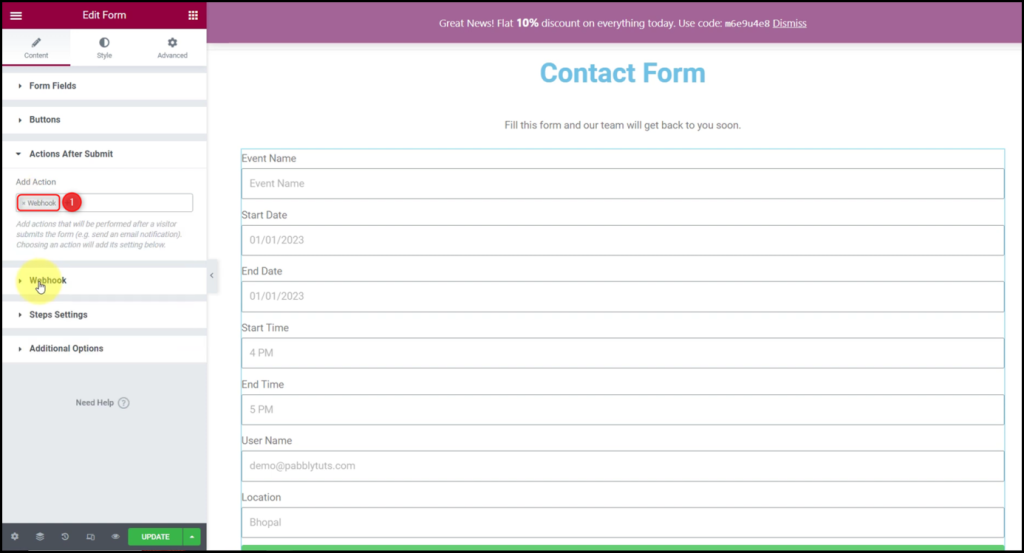
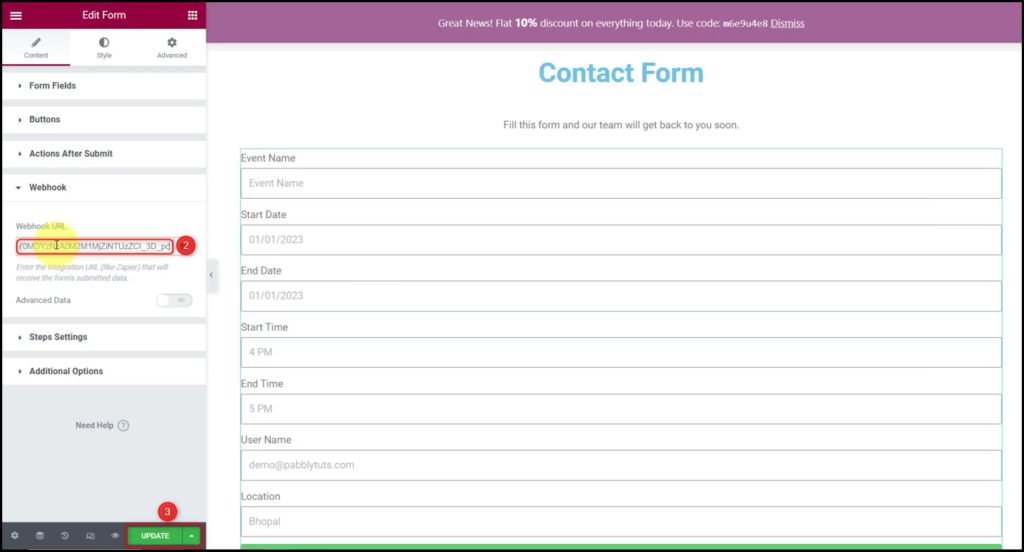
Proceed to your Elementor form, add ‘Webhook’ as an action, then paste the previously copied Webhook URL, and ‘Update’ the changes made.
D. Test Connection
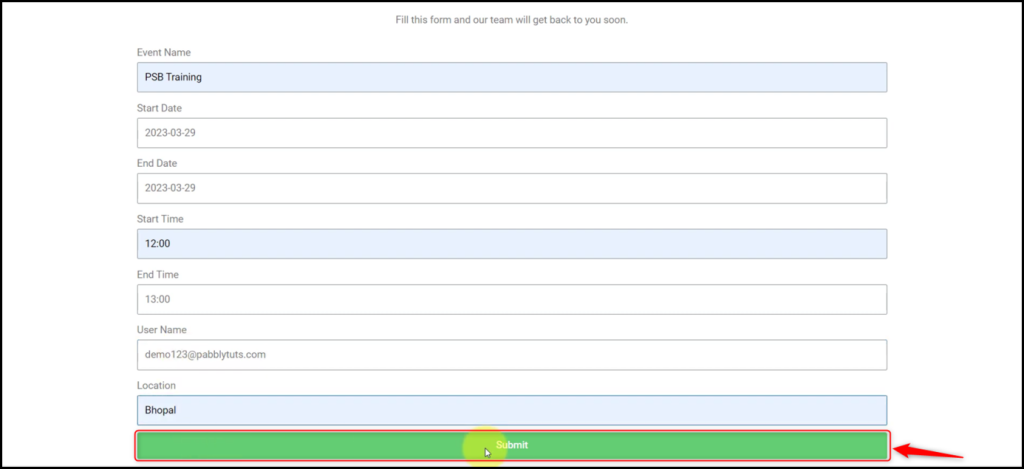
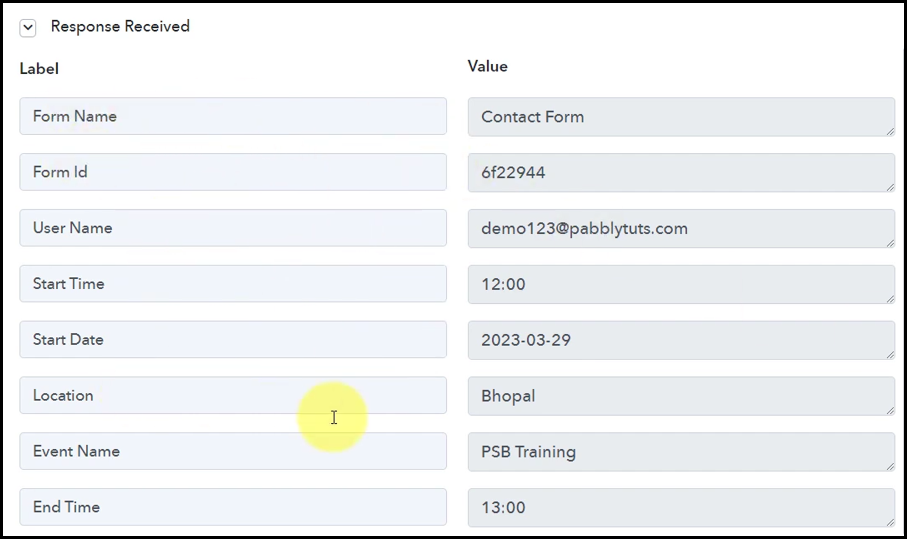
Submit a form with dummy details, and verify if the response has been received.
To confirm that the connection between Elementor and Pabbly Connect has been established successfully, switch back to Pabbly Connect and expand Response Received. If the details of the respondent are visible, it confirms the successful establishment of the connection.
Step 3:- Add Date / Time Formatter to the Workflow
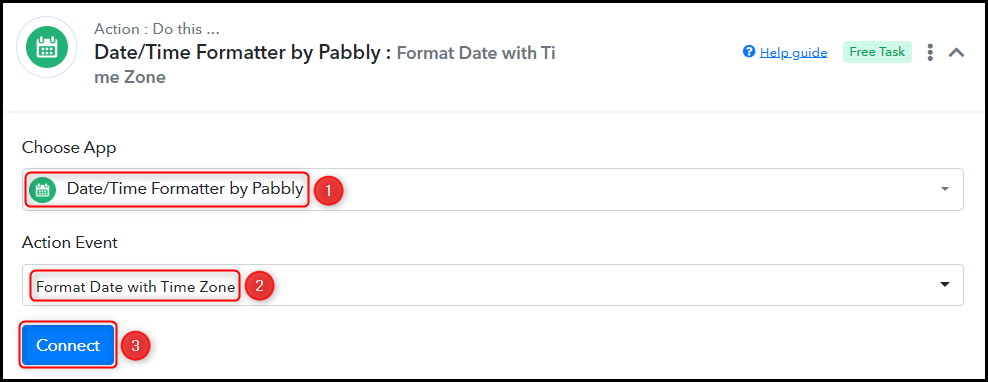
The date format required by Google Calendar is specific (2020-04-28T09:30:00Z), whereas the Start and End dates we obtained from Elementor are not in that format. To adhere to Google Calendar’s specific date format, we need to include a Date/Time Formatter in our workflow.
Choose ‘Date/Time Formatter by Pabbly’ as the Action App, select ‘Format Date with Time Zone’ as an Action Event, and click on ‘Connect’.
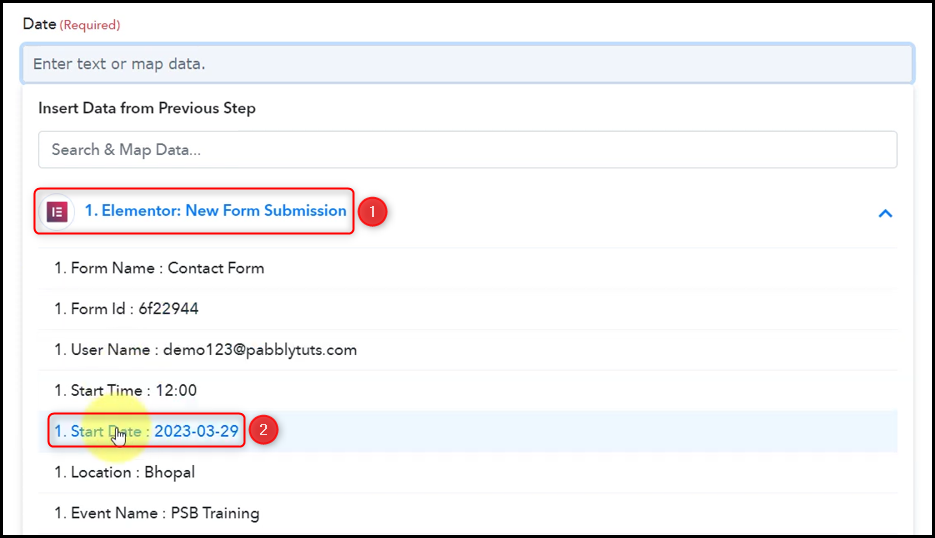
Map the Start Date, along with the corresponding time from the previous step.

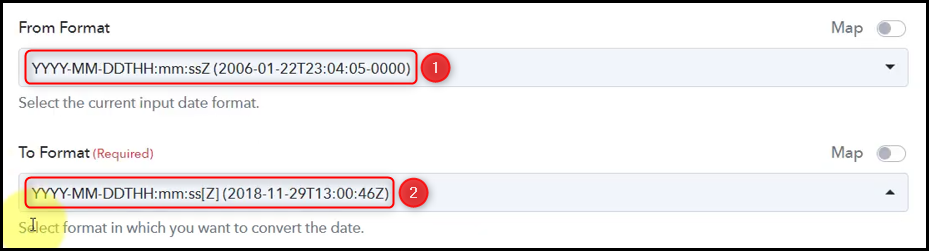
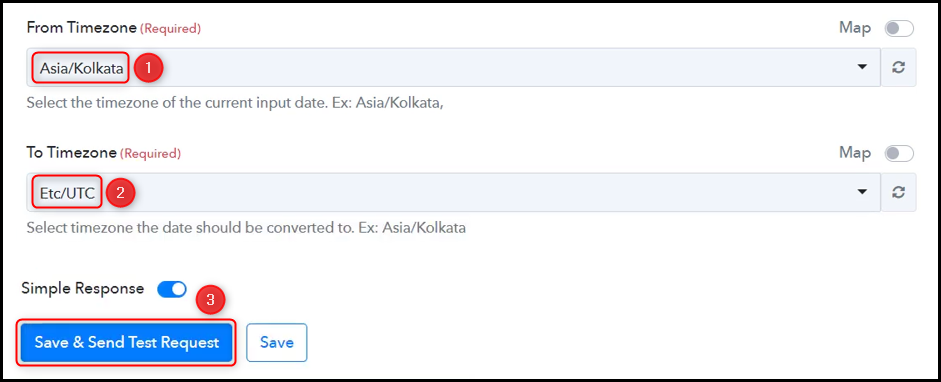
Choose the current format of your date and the format to which you want to convert it.
Select the From and To Timezone, and then click on ‘Save & Send Test Request’.
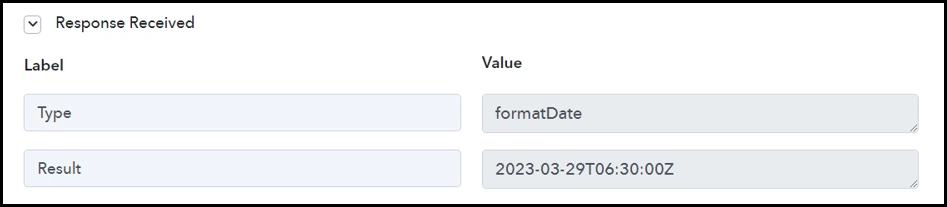
The Start Date has now been converted to the correct format. You can apply a similar process to fix the End Date.
Step 4:- Setup Google Calendar as the Action App to Create Events
Action allows us to choose the application that will get executed by the workflow trigger.
Our primary goal is to utilize the Elementor form responses to create new events in Google Calendar. Hence, we will set up Google Calendar as our Action App.
A. Action App
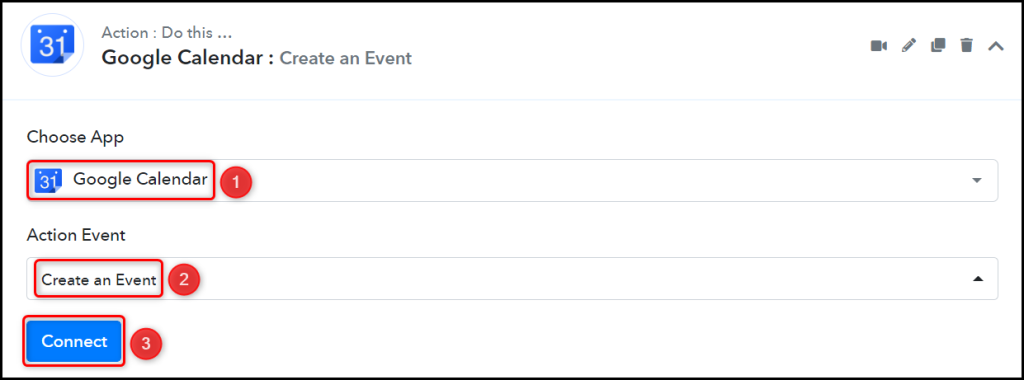
Choose ‘Google Calendar’ as the Action App, select ‘Create an Event’ as an Action Event, and click on ‘Connect’.
B. Connect Google Calendar Account
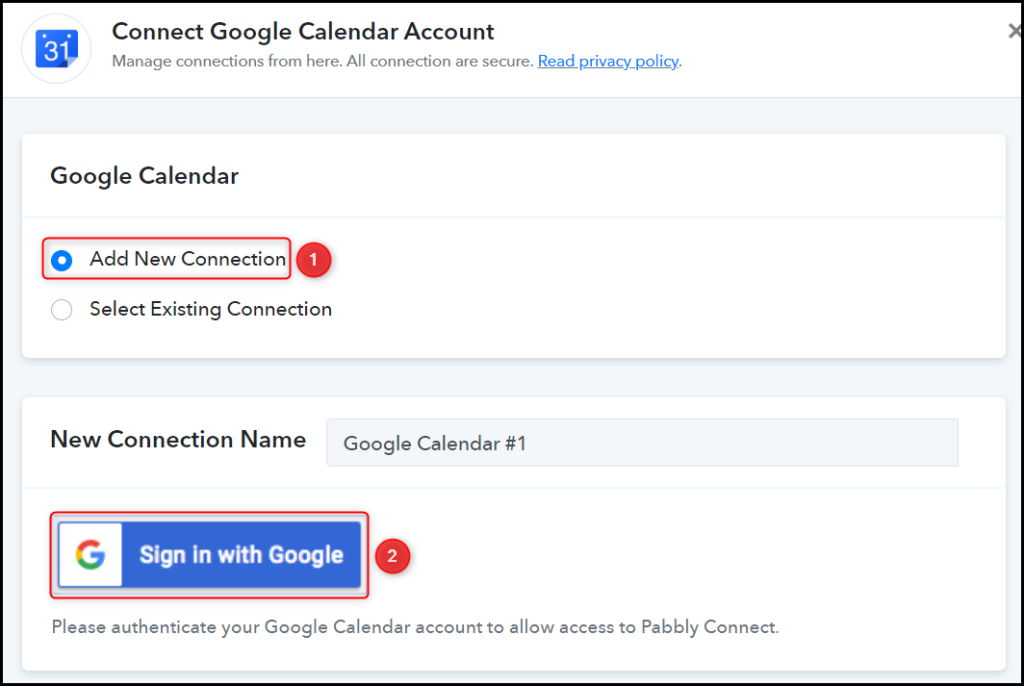
To connect with your Google Calendar account, select ‘Add New Connection’, and click on ‘Sign in with Google’. After that, you will need to grant authorization.
Select the Calendar to which you want to add the event.

C. Map Necessary Fields
Once you have linked your Google Calendar account successfully, you only need to map the respondent information from the previous steps. Mapping ensures that the data remains dynamic and adjusts according to the received responses.
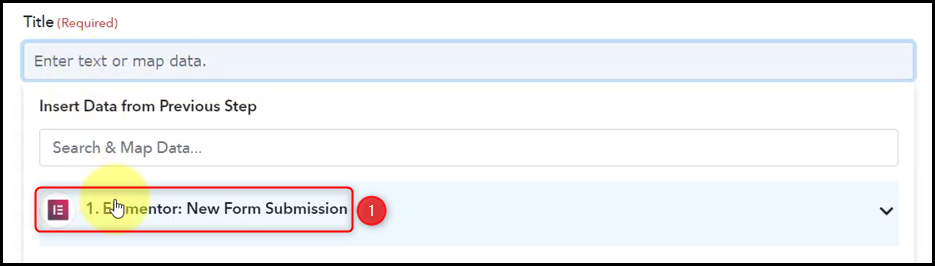
Map the Title from the trigger step.
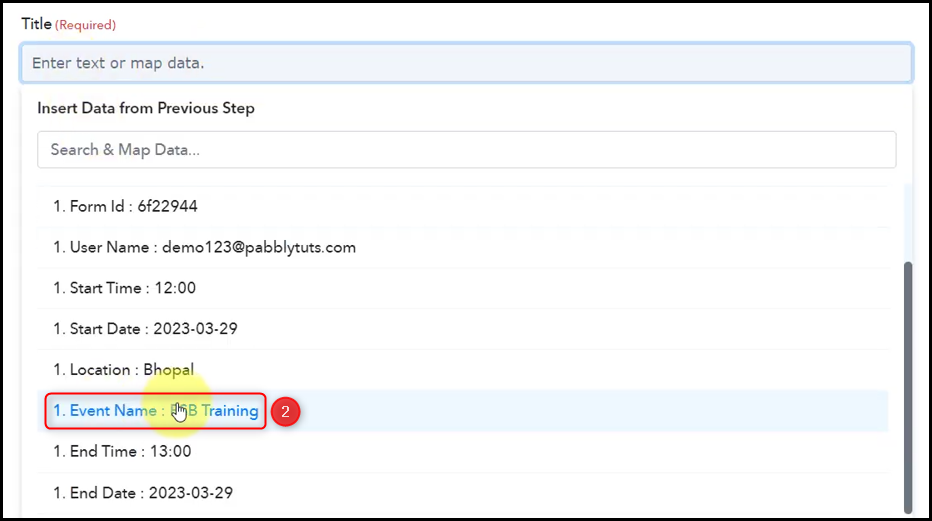

In the same way, select / map the other fields, leaving the unnecessary ones blank, and then click on ‘Save & Send Test Request’.


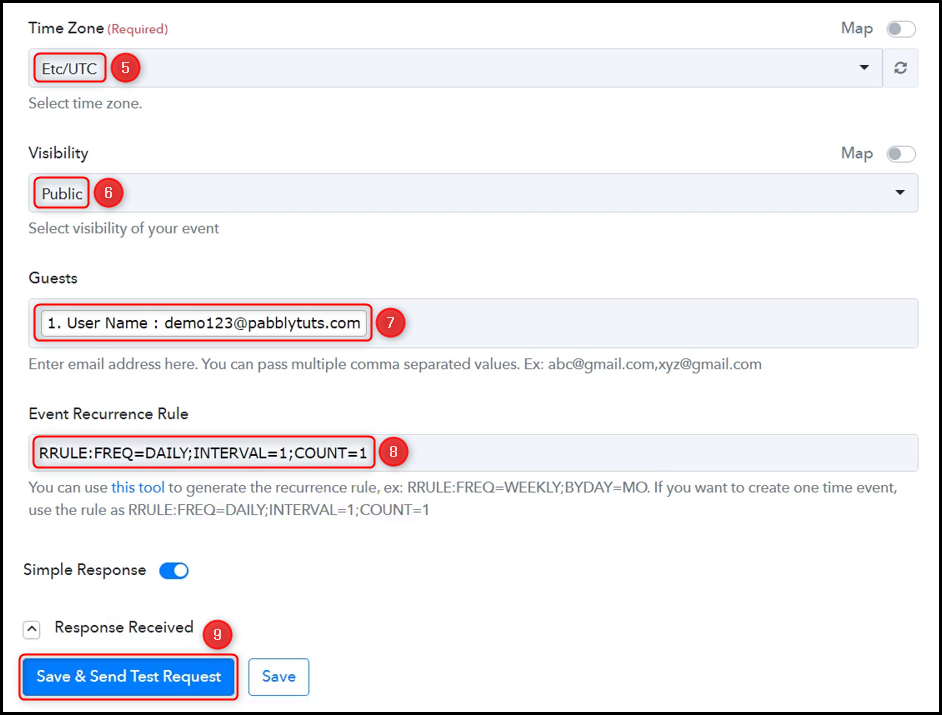
As soon as you click on Save & Send Test Request, an event will be generated in your Google Calendar.
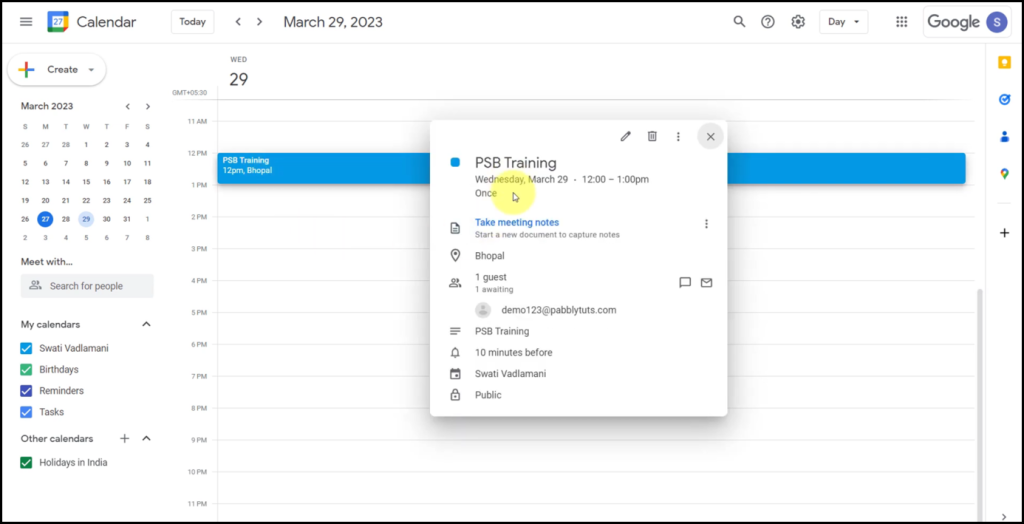
Our automation is complete! We have successfully integrated Elementor with Google Calendar. Going forward, whenever a new user responds to your Elementor forms, their responses will be used to generate new events in Google Calendar automatically.
You can copy this entire workflow by clicking this link.
Sign Up for a free Pabbly Connect account, and start automating your business
Subscribe to our Youtube Channel for more such automation
For any other queries, visit our forum