The focus of this article is to discuss the process of linking Notion and MS Excel to enable seamless synchronization between the two platforms. By setting up this integration using Pabbly Connect, any new item added to your Notion database will automatically be saved to your MS Excel worksheet without any further manual input.
The setup process is a one-time affair, and we will guide you through the steps involved. We will begin by connecting Notion to Pabbly Connect to capture newly added items and subsequently linking Pabbly Connect to MS Excel to facilitate the data synchronization.
Steps to Upload Notion Database Items to MS Excel Worksheet Automatically
1. Sign In / Sign Up to Pabbly Connect and Create a Workflow
2. Setup Notion as the Trigger App to Capture Items
3. Setup MS Excel as the Action App to Save Items
Step 1:- Sign In / Sign Up to Pabbly Connect and Create a Workflow
A. Sign In / Sign Up
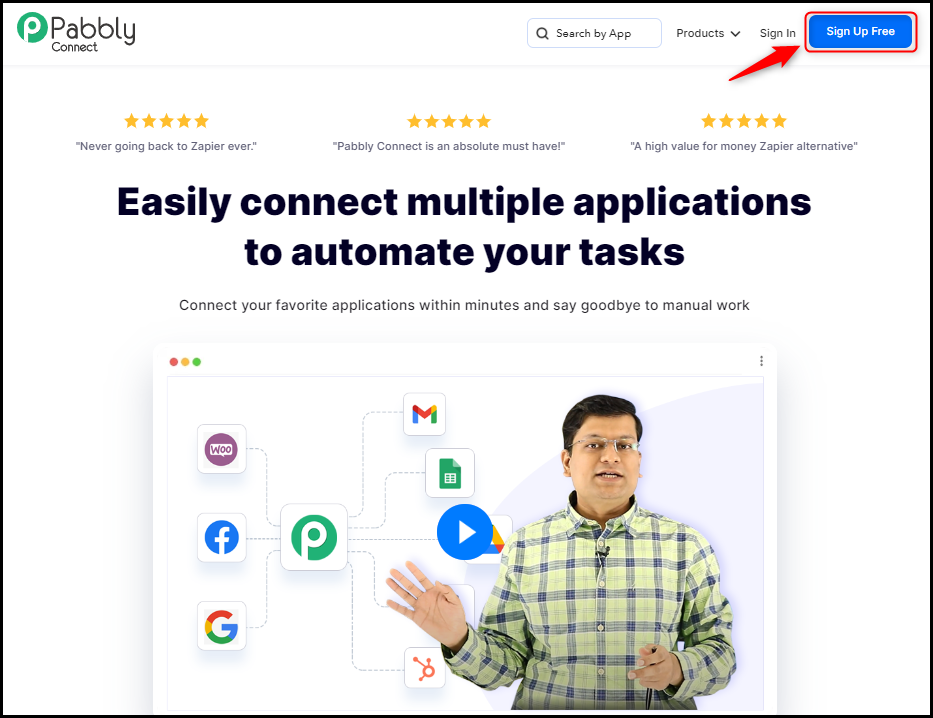
To begin this process, visit Pabbly Connect and create your account by clicking on the ‘Sign Up Free’ button. You can also click on Sign In if you already have an account.
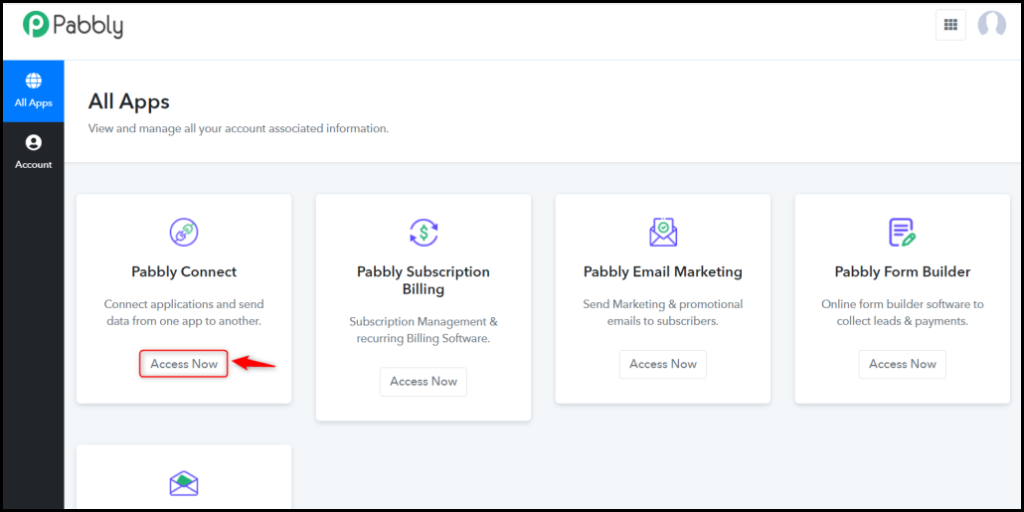
Click on the Pabbly Connect ‘Access Now’ button
B. Create Workflow
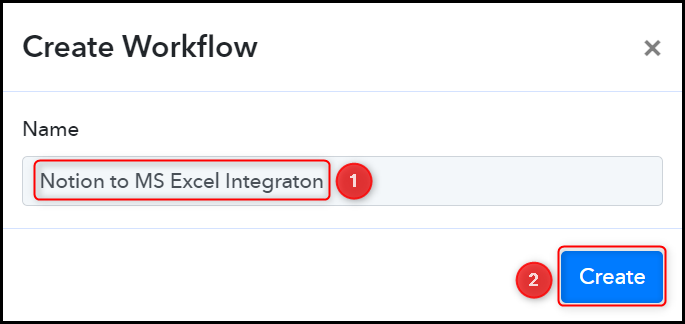
To create a new workflow, click the ‘Create Workflow’ button.
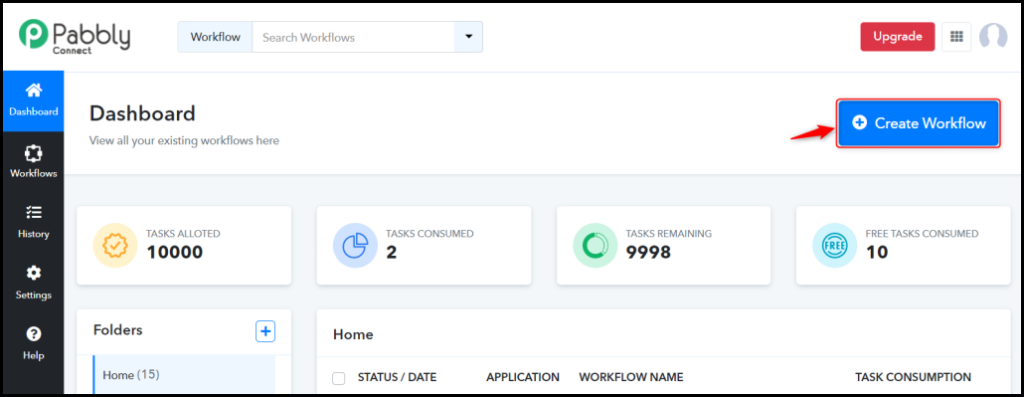
Name your workflow, and click on ‘Create’.
Step 2:- Setup Notion as the Trigger App to Capture Items
We will now look at the process for creating a connection between Notion and Pabbly Connect, which will enable us to retrieve items from your Notion database.
A. Trigger App
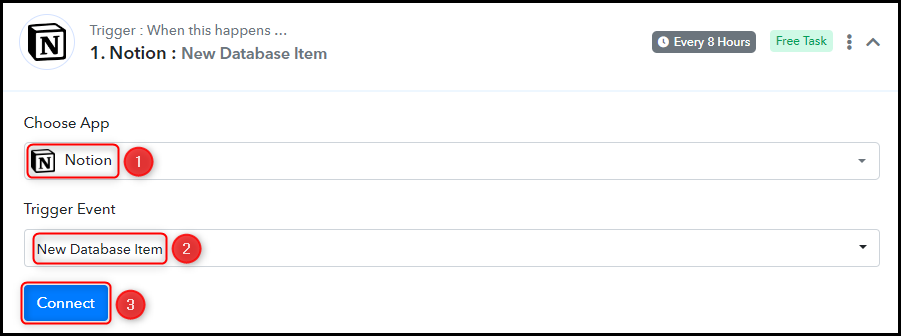
Trigger allows us to choose the application that will receive the data for Pabbly Connect. In our case, it would be Notion.
Choose ‘Notion’ as the Trigger App, select ‘New Database Item’ as a Trigger Event, and click on ‘Connect’.
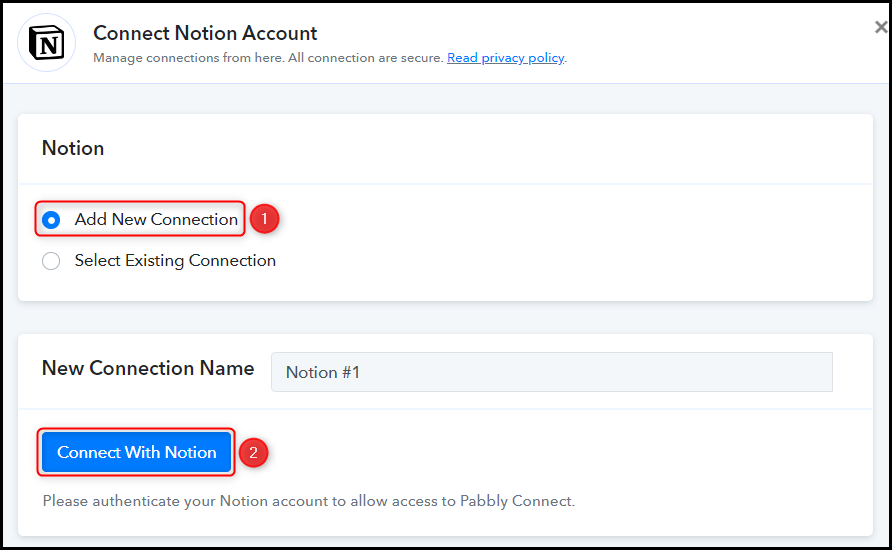
B. Connect Notion Account
To connect with your Notion account, select ‘Add New Connection’, and click on ‘Connect With Notion’. Moreover, authorize access by granting permission.
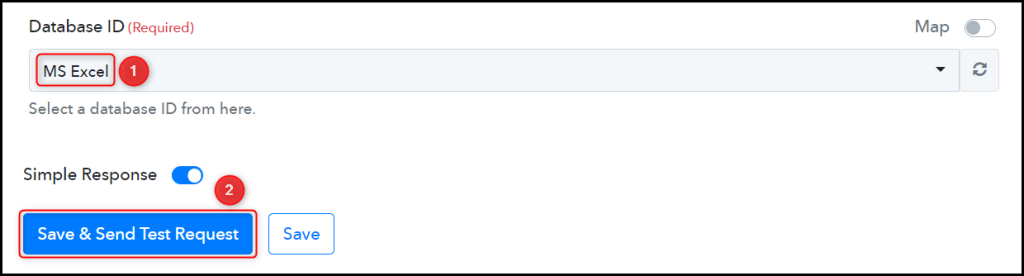
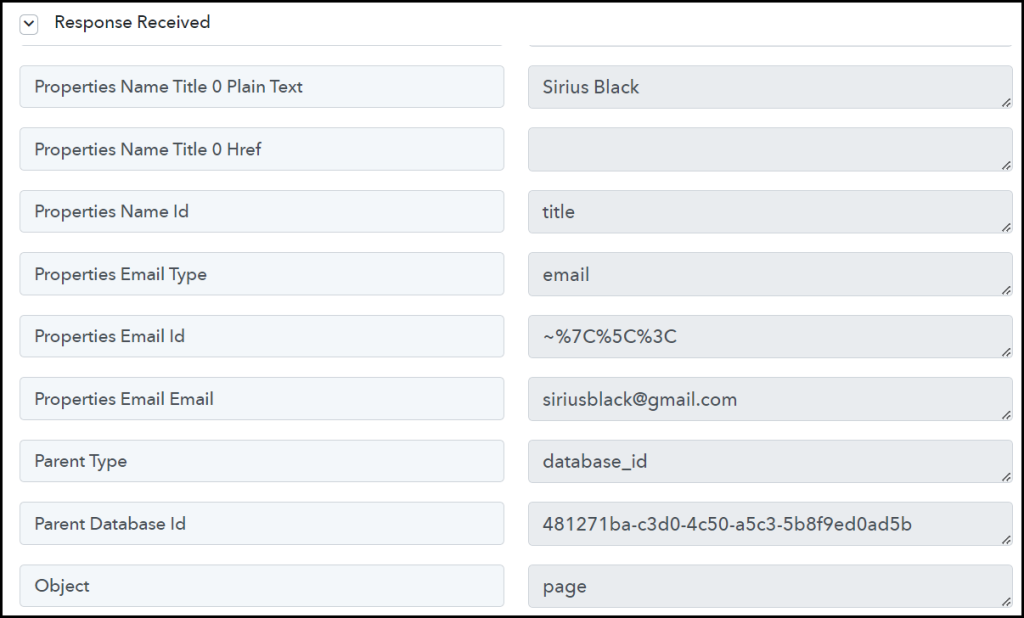
Choose the Database ID that you wish to retrieve items from, then click on ‘Save & Send Test Request’.
Expand Response Received, under which the items of your Notion database must be visible. Thus, confirming the established connection.
Step 3:- Setup MS Excel as the Action App to Save Items
Action allows us to choose the application that will get executed by the workflow trigger.
Our objective is to synchronize the data between Notion database and MS Excel worksheet by transferring the captured items to the latter. Therefore, we will be using MS Excel as our Action App.
A. Action App
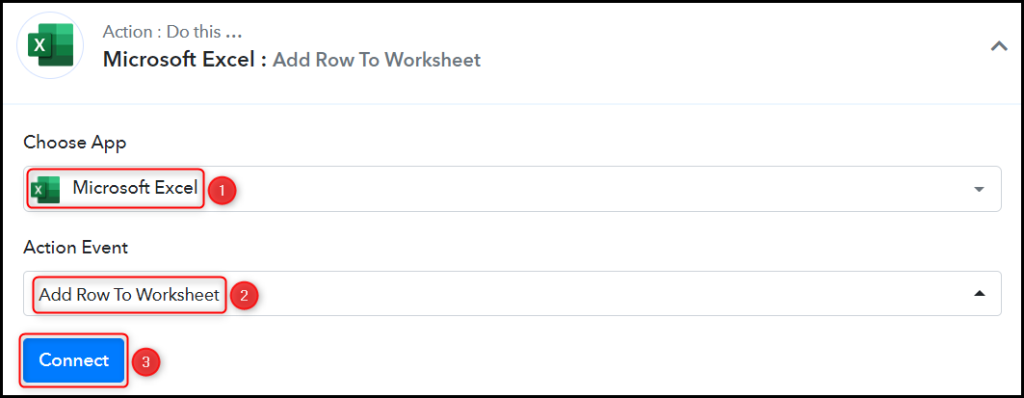
Choose ‘Microsoft Excel’ as your Action App, select ‘Add Row To Worksheet’ as an Action Event, and click on ‘Connect’.
B. Connect Microsoft Excel Account
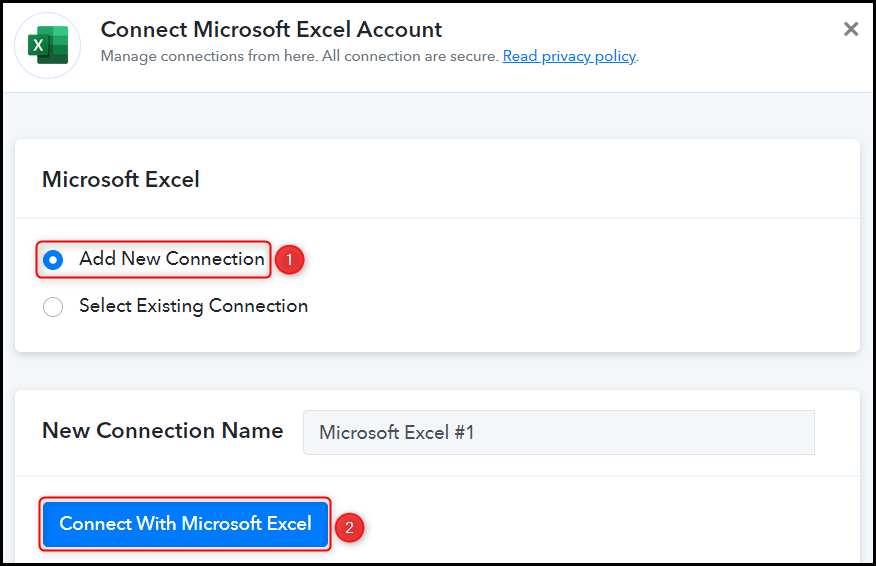
To establish a connection with your Microsoft Excel account, select ‘Add New Connection’, and click on ‘Connect With Microsoft Excel’. Also, grant the necessary permission.
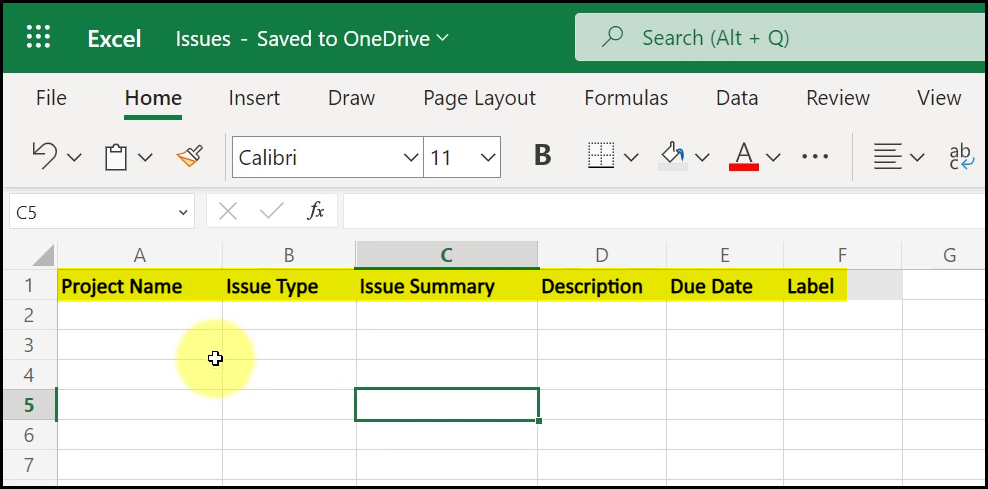
Choose the specific Workbook and Worksheet where you wish to store your data.
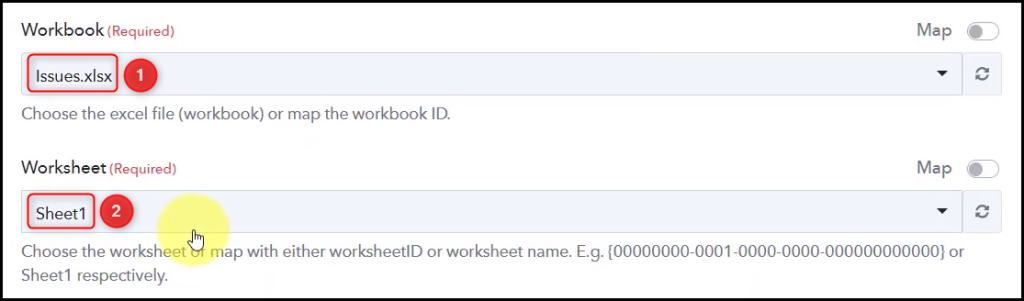
Once you choose your sheet, the fields in your Action Step will begin to reflect the columns in that sheet.
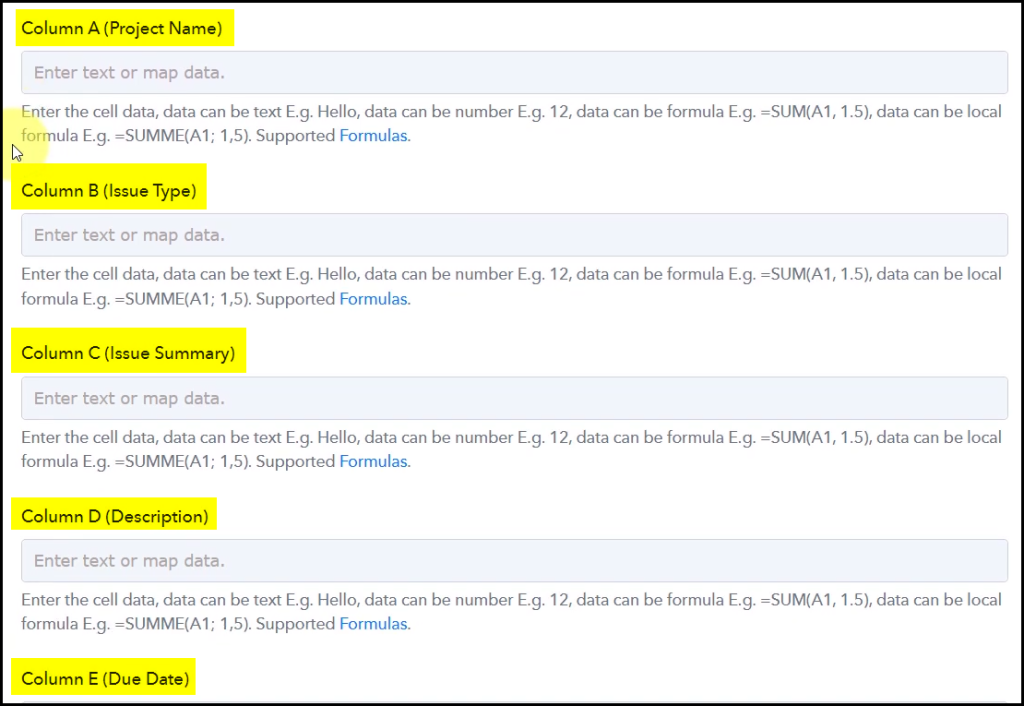
C. Map Necessary Fields
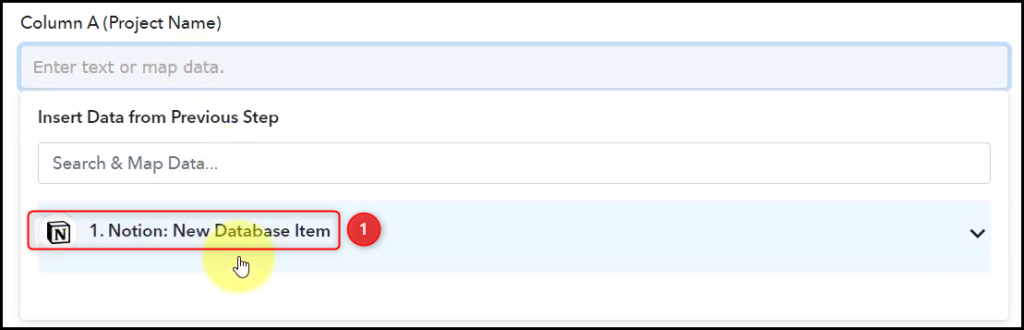
After connecting your Microsoft Excel account, the next step is to map the items from the previous steps. Mapping helps to keep our data dynamic and update it according to the received responses.
Map the Repository Name from the step above.
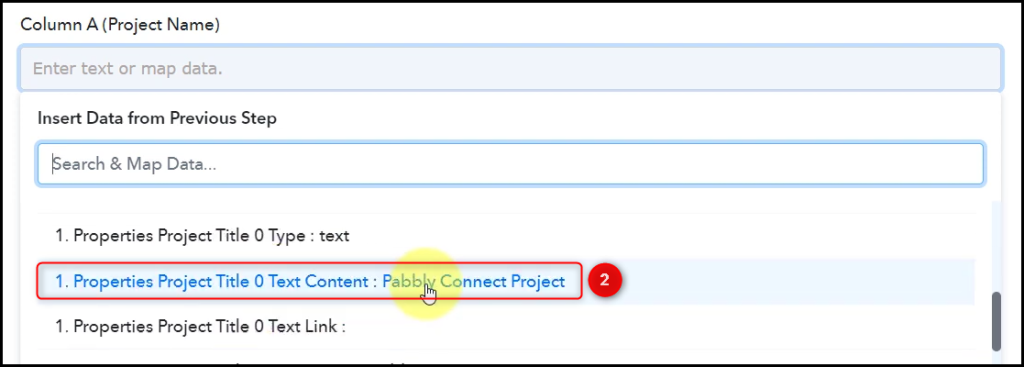

Likewise, map the remaining details, and click on ‘Save & Send Test Request’.
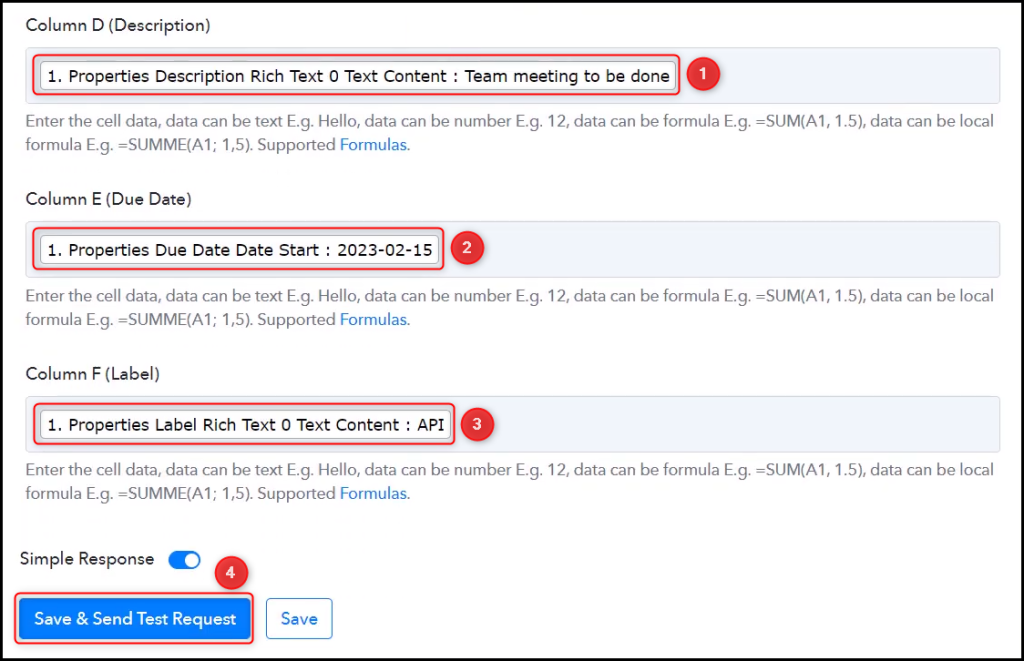
When you click on Save & Send Test Request, the items will start reflecting in your MS Excel worksheet.
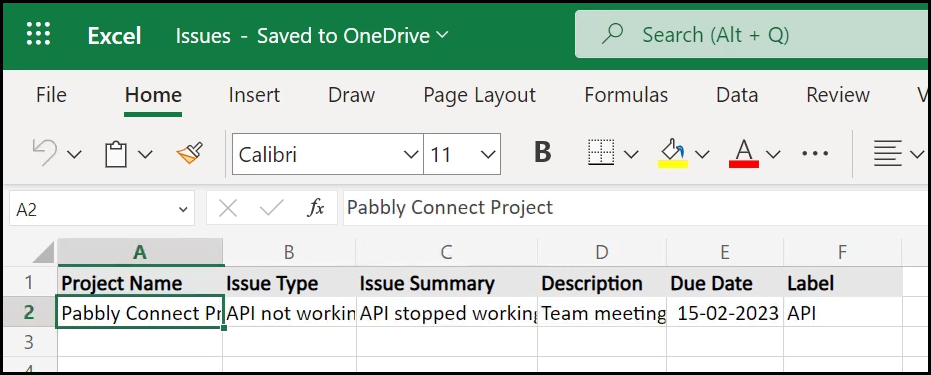
The automation process is finished. Notion and MS Excel have been successfully integrated, which means that whenever a new item is added to your Notion database, it will automatically be saved to your MS Excel worksheet.
You can copy this entire workflow by clicking this link.
Sign Up for a free Pabbly Connect account, and start automating your business
Subscribe to our Youtube Channel for more such automation
For any other queries, visit our forum