In this section, we will discuss how you can integrate Jira with Discord and automatically notify your team members of newly created Jira issues via Discord.
This automation requires a one-time setup, for which we will use Pabbly Connect.
We will first link Jira with Pabbly Connect to capture the issues, then link Pabbly Connect with Discord to share the captured issues.
Steps to Automatically Send Notifications of Newly Created Jira Issues on Discord
1. Sign In / Sign Up to Pabbly Connect and Create a Workflow
2. Establish a Connection between Jira and Pabbly Connect
3. Setup Discord as the Action App to Send Channel Messages
Step 1:- Sign In / Sign Up to Pabbly Connect and Create a Workflow
A. Sign In / Sign Up
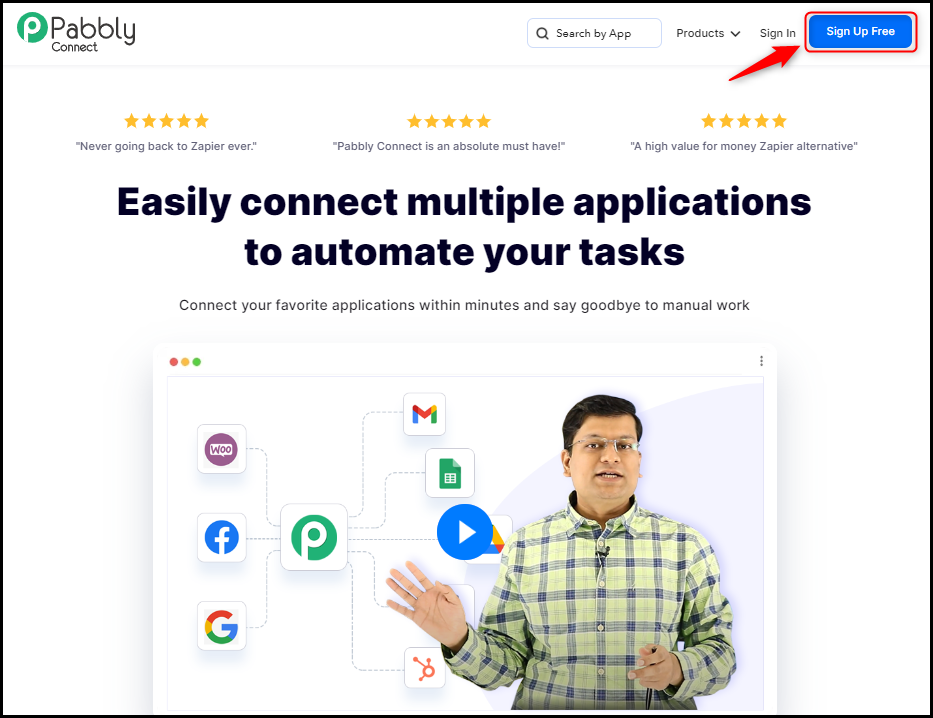
To begin this process, visit Pabbly Connect and create your account by clicking on the ‘Sign Up Free’ button. You can also click on Sign In if you already have an account.
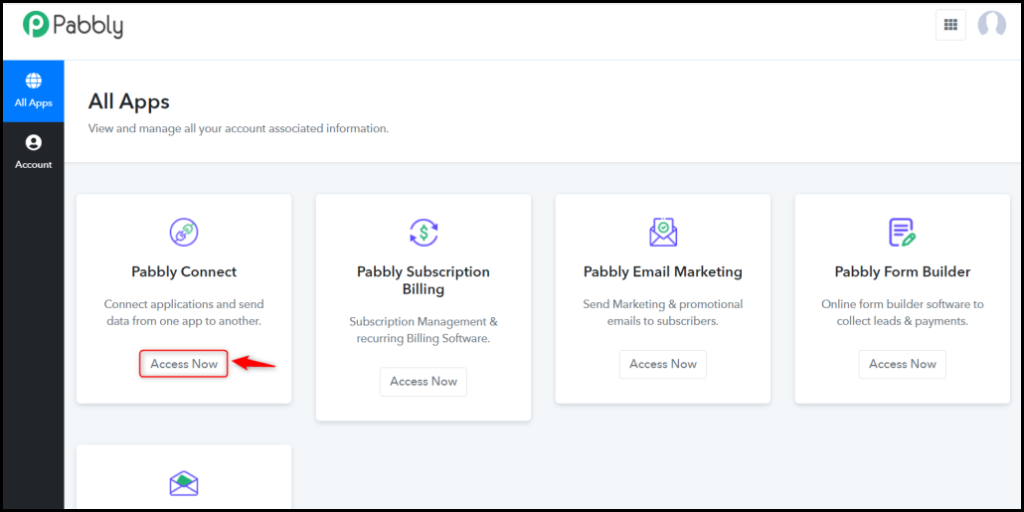
Click on the Pabbly Connect ‘Access Now’ button
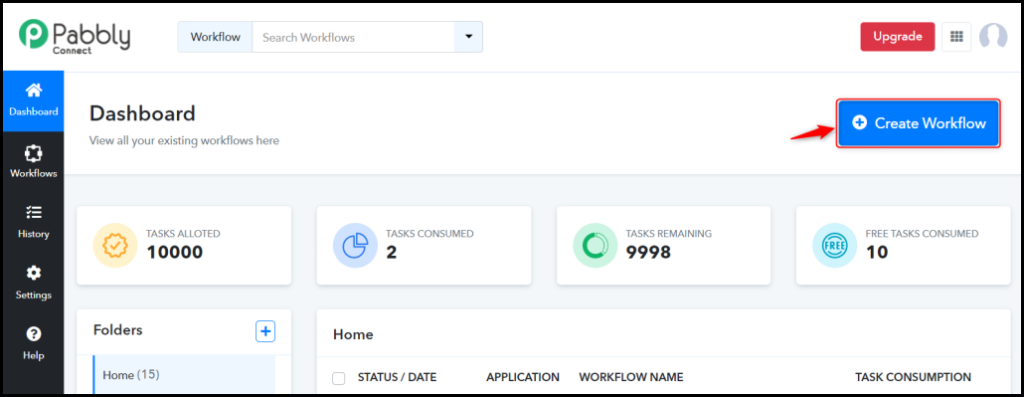
B. Create Workflow
To create a new workflow, click the ‘Create Workflow’ button.
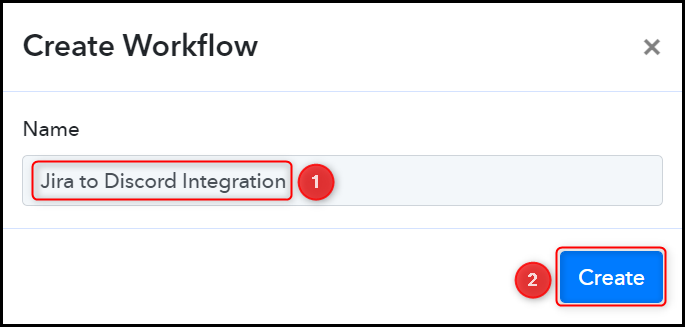
Name your workflow, and click on ‘Create’.
Step 2:- Establish a Connection between Jira and Pabbly Connect
We will now look at the steps through which we will establish a link between Jira and Pabbly Connect. This will help us to fetch the newly created Jira issues.
A. Trigger App
Trigger allows us to choose the application that will receive the data for Pabbly Connect. In our case, it would be Jira Software (Triggers).
Choose ‘Jira Software (Triggers)’ as the Trigger App and select ‘Configure Webhooks’ as a Trigger Event.

B. Webhook URL
A new Webhook URL will get generated. You will use this Webhook URL to create a connection with your Jira account. Copy the Webhook URL.

As soon as you Copy the Webhook URL, Pabbly Connect will start looking to capture data from Jira Software, as indicated by the rotating Waiting For Webhook Response button.

C. Connect Jira Account
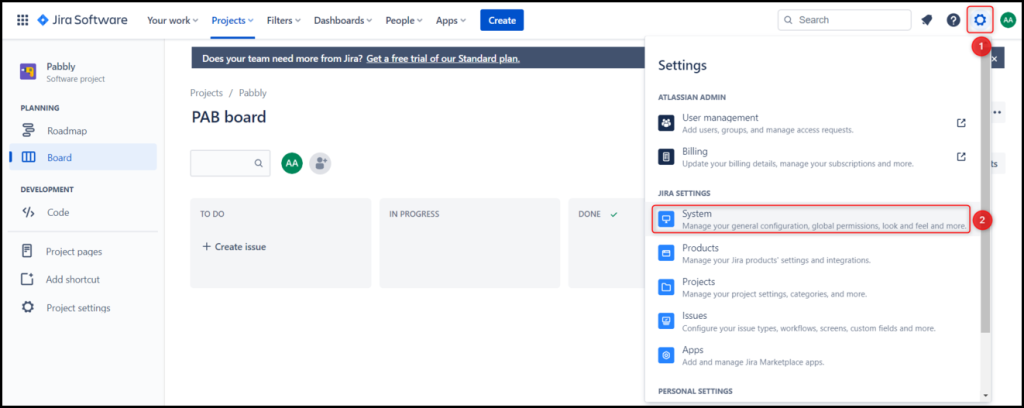
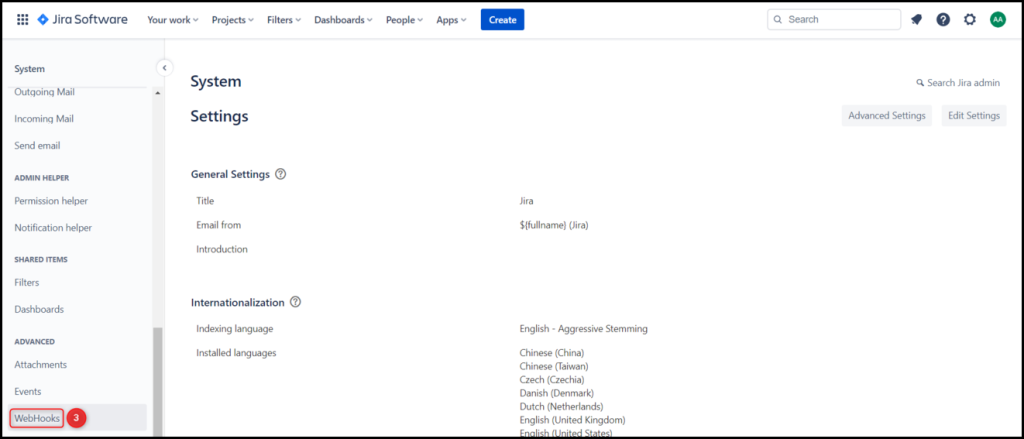
Log in to your Jira account, and navigate to ‘Settings’ > ‘System’ > ‘Webhooks’.

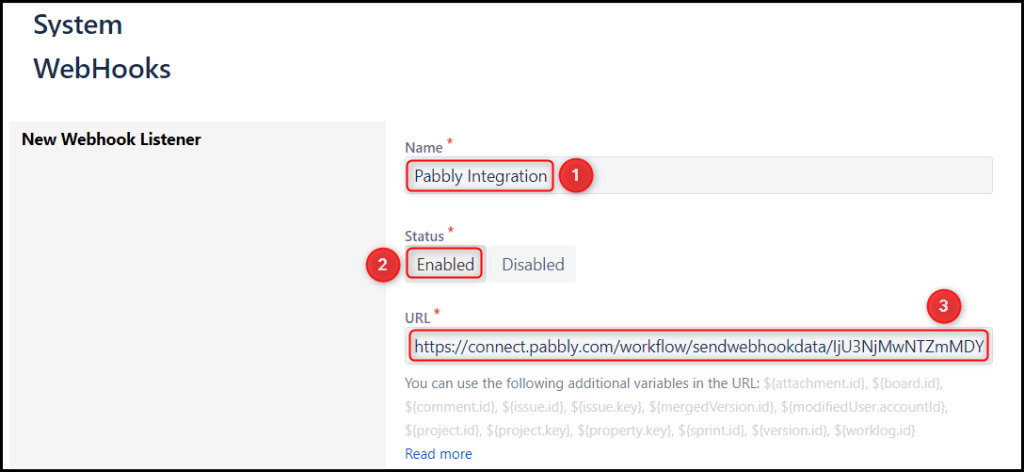
Name your Webhook, select Status as ‘Enabled’, and paste the Webhook URL we copied earlier.
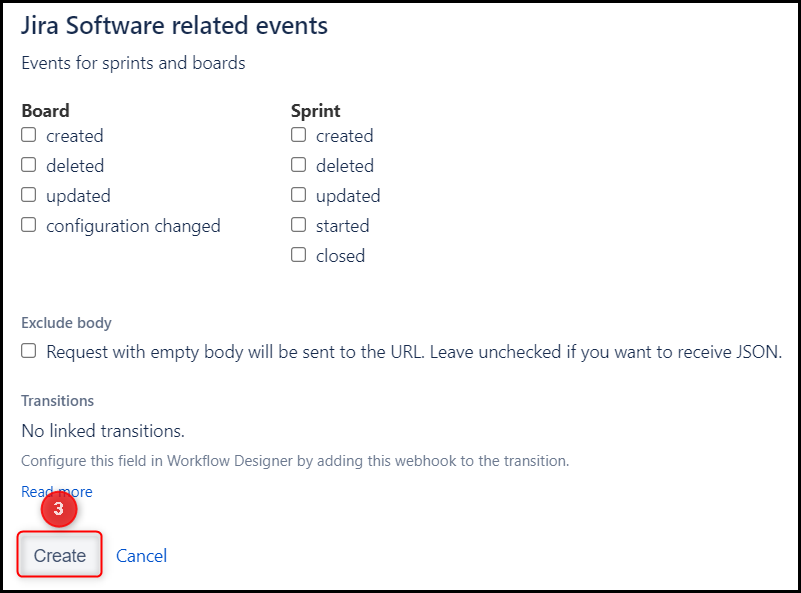
Specify a JQL query e.g; project = “Project Name” AND issuetype = Task, check Issue “created”, and click on ‘Create’.

D. Test Connection
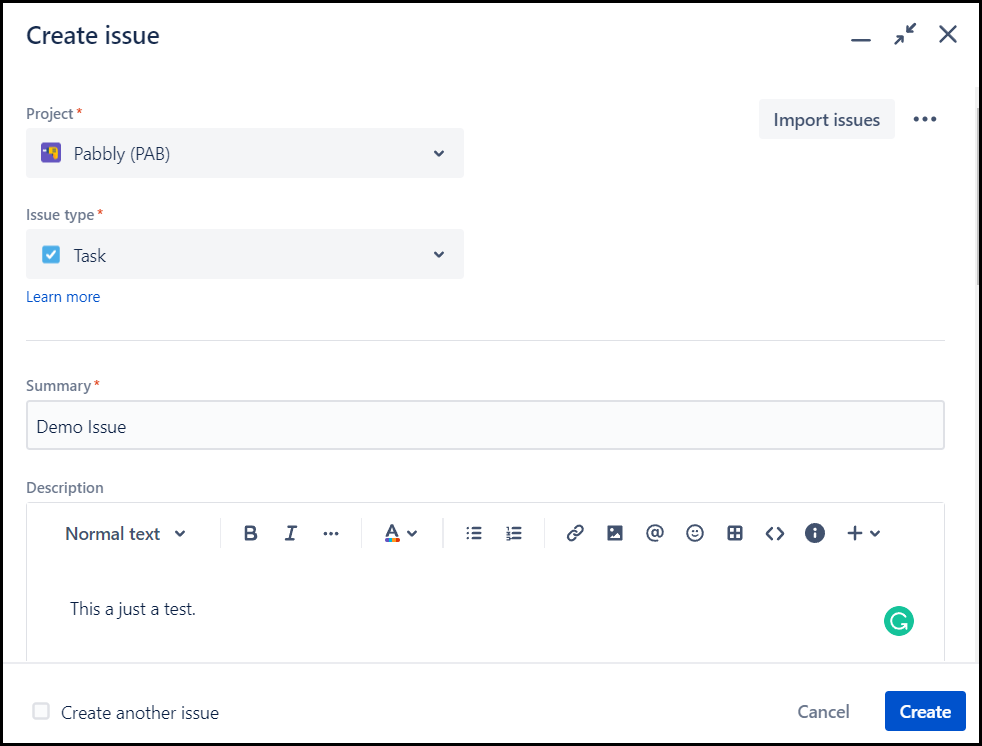
To test the established connection, we will create a new issue and check for the response received.
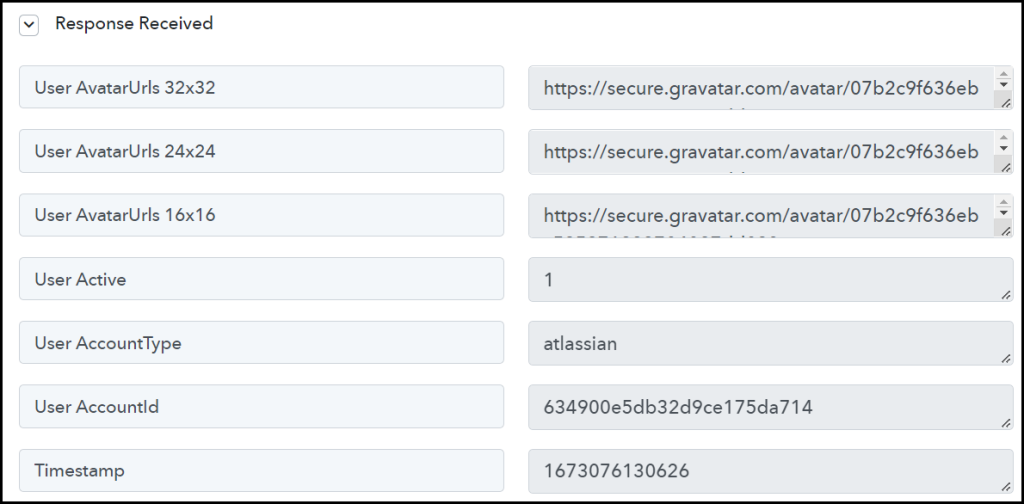
Expand the Response Received, where the details of the issue ticket you just created must be visible.
Step 3:- Setup Discord as the Action App to Send Channel Messages
Action allows us to choose the application that will get executed by the workflow trigger.
We essentially want to share the captured Jira issues on a Discord channel. Therefore, Discord will be our Action App.
A. Action App
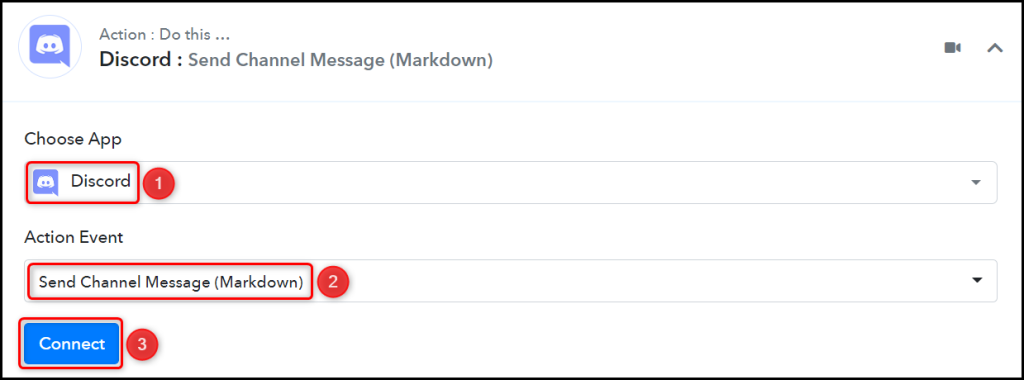
Choose ‘Discord’ as the Action App, select ‘Send Channel Message (Markdown)’ as an Action Event, and click on ‘Connect’.
B. Connect Discord Account
To connect with your Discord account, you need a Webhook URL. Follow these steps to generate the Webhook URL, copy the Webhook URL and paste it into its given field – This will establish a connection between Discord and Pabby Connect.
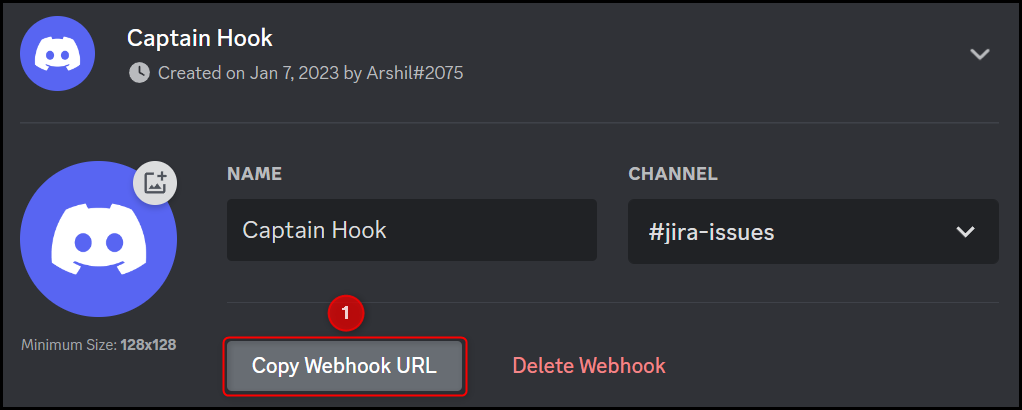

C. Map the Message
Now that you have connected your Discord account, all you need is to map the message to be posted from the step above. Mapping ensures our data remains dynamic and changes as per the received responses.
Map the Message to be posted from the step above, and click on ‘Save & Send Test Request’.
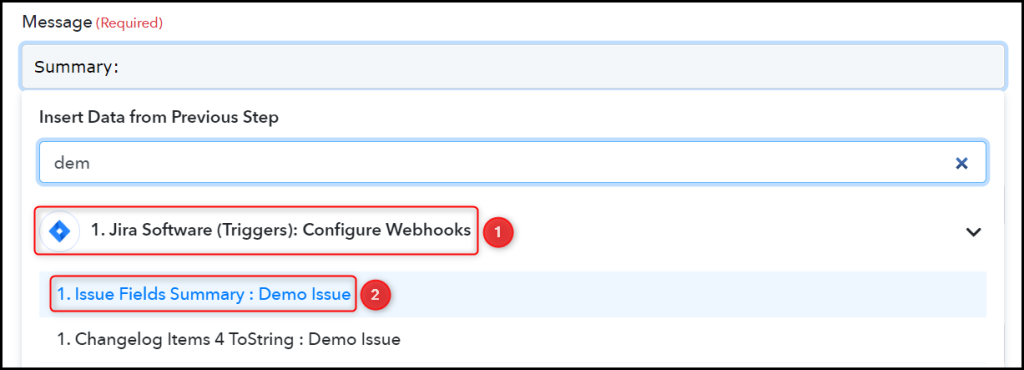

Similarly, map the other fields, leaving the unnecessary ones empty, and click on ‘Save & Send Test Request’.
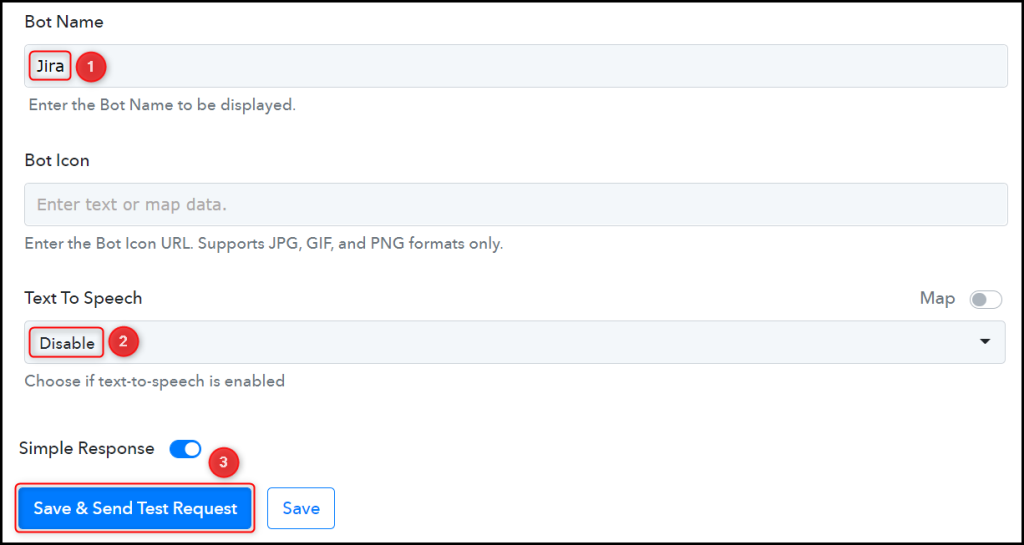
The moment you click on Save & Send Test Request, the Jira issues will be shared on your Discord channel.
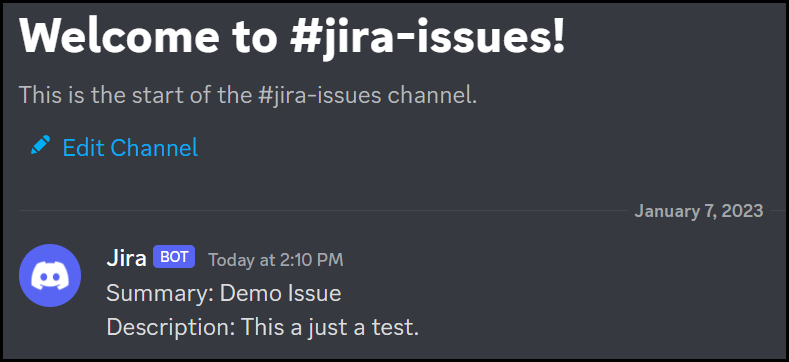
Our automation is complete. We have successfully integrated Jira with Discord. Each time you create a new issue ticket in Jira, your team members will automatically be notified of that same issue on Discord.
You can copy this entire workflow by clicking this link.
Sign Up for a free Pabbly Connect account, and start automating your business
Subscribe to our Youtube Channel for more such automation
For any other queries, visit our forum
