This article will demonstrate how to streamline your social media posting process by integrating Google Sheets, Swithcboard Canvas, and OpenAI. By setting up this integration using Pabbly Connect, you can enter a topic into Google Sheets and automatically generate a post on that topic that you can share on any social media platform. And the best part is that this automation process only needs to be set up once.
To achieve this, we will connect Google Sheets to Pabbly Connect to collect the topic, then link Pabbly Connect to OpenAI to create the post, link Pabbly Connect to Switchboard Canva to design the post image, and finally, post the finished product on Facebook, LinkedIn, Instagram, or any other social media platform.
Steps to Automatically Create Social Media Posts Using OpenAI
1. Sign In / Sign Up to Pabbly Connect and Create a Workflow
2. Establish a Connection between Google Sheets and Pabbly Connect
3. Setup OpenAI as the Action App to Create Post
4. Setup Switchboard Canvas as the Action App to Create Post Images
5. Setup Facebook as the Action App to Share Posts
Step 1:- Sign In / Sign Up to Pabbly Connect and Create a Workflow
A. Sign In / Sign Up
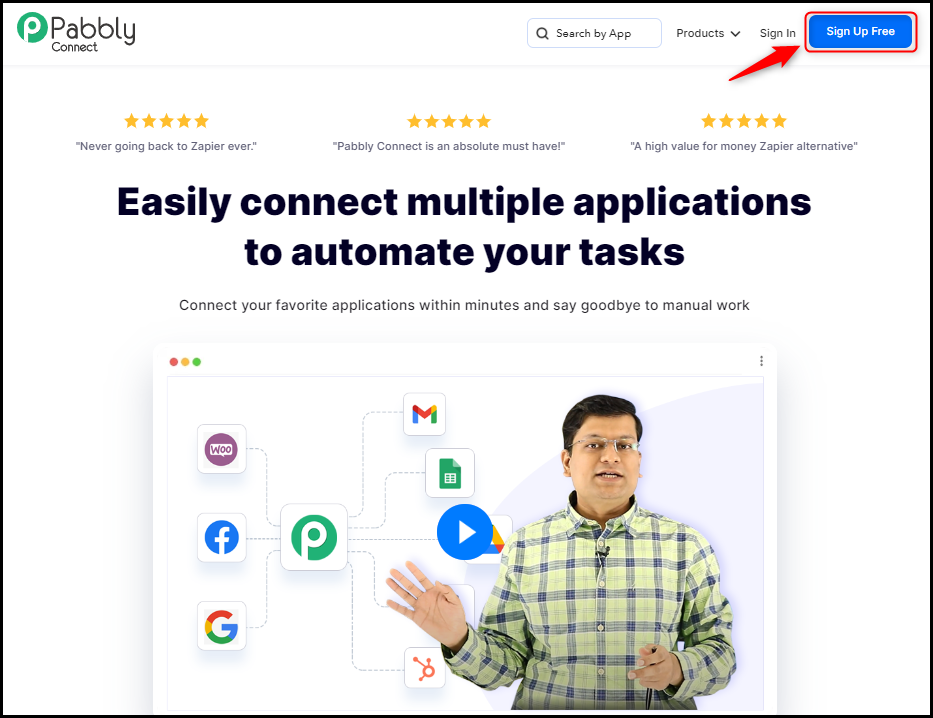
To begin this process, visit Pabbly Connect and create your account by clicking on the ‘Sign Up Free’ button. You can also click on Sign In if you already have an account.
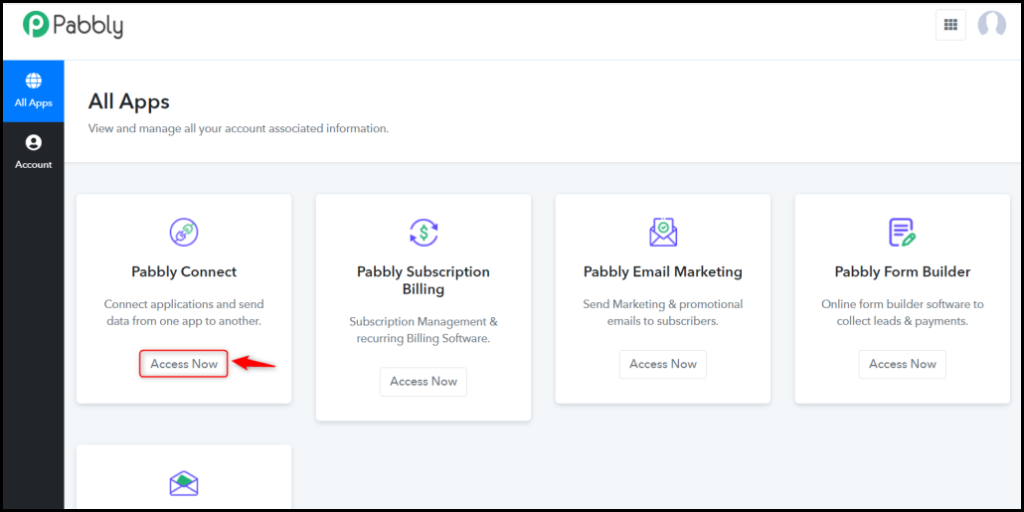
Click on the Pabbly Connect ‘Access Now’ button
B. Create Workflow
To create a new workflow, click the ‘Create Workflow’ button.
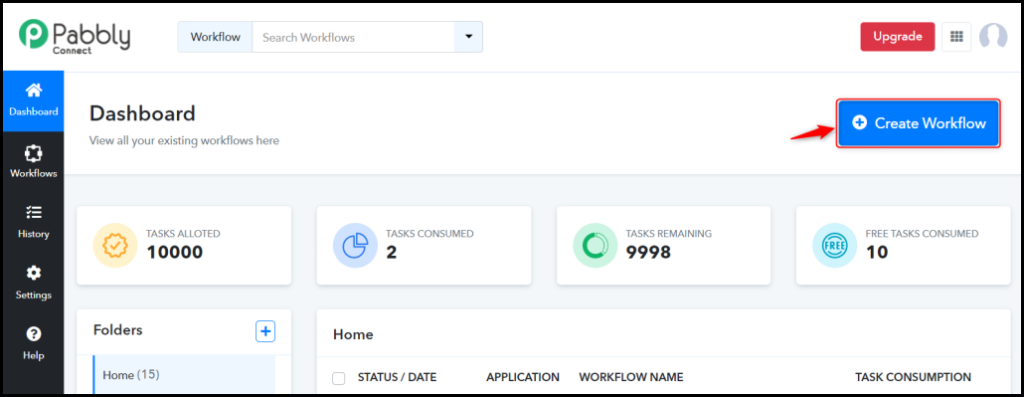
Name your workflow, and click on ‘Create’.
Step 2:- Establish a Connection between Google Sheets and Pabbly Connect
We will now look at the procedure for establishing a connection between Google Sheets and Pabbly Connect, which will allow us to extract information from Google Sheets.
A. Trigger App
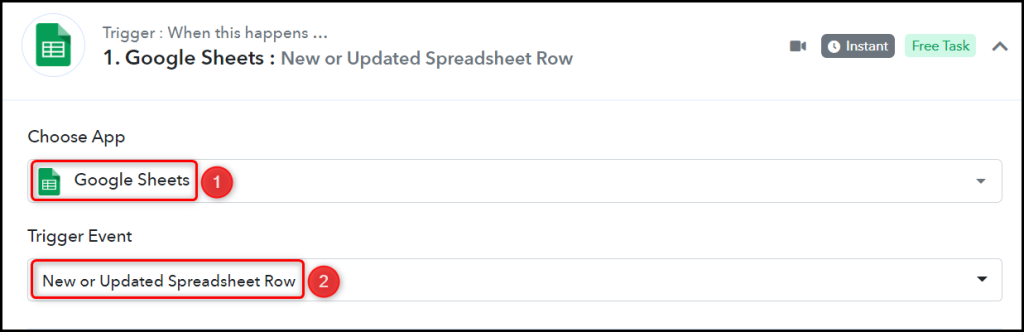
Trigger allows us to choose the application that will receive the data for Pabbly Connect. In our case, it would be Google Sheets.
Choose ‘Google Sheets’ as the Trigger App and select ‘New or Updated Spreadsheet Row’ as a Trigger Event.
B. Webhook URL
A new Webhook URL will get generated. You will use this Webhook URL to create a connection with your Google Sheets account. Copy the Webhook URL.

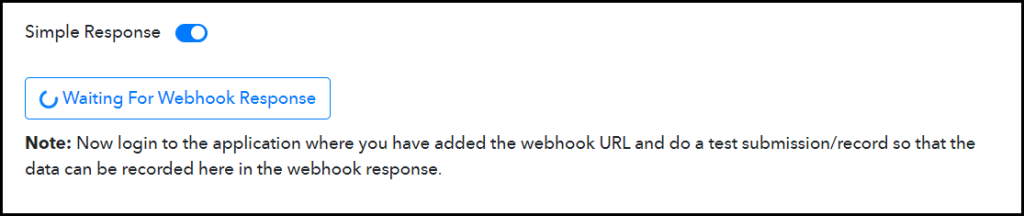
Once you have copied the Webhook URL, Pabbly Connect will immediately begin searching for data from Google Sheets, as indicated by the rotating Waiting For Webhook Response button.
C. Connect Google Sheets Account
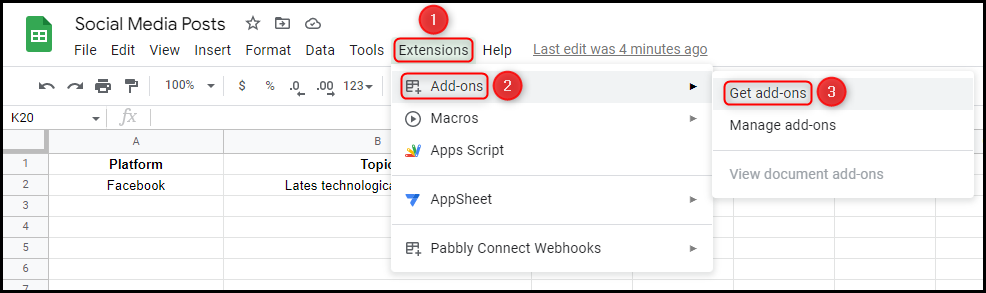
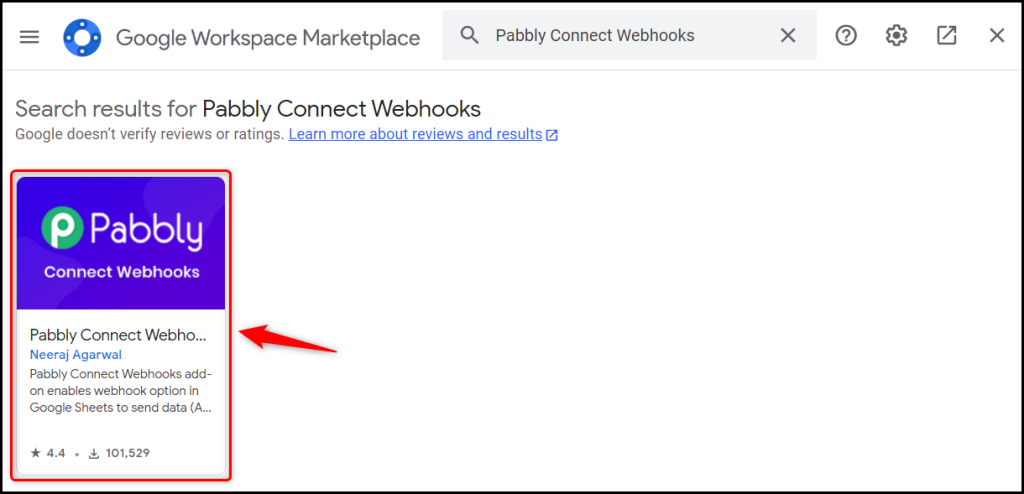
To connect with your Google Sheets account, open the spreadsheet where you want to input the data, click on Extensions > Add-ons > Get add-ons, and search for ‘Pabbly Connect Webhook’.
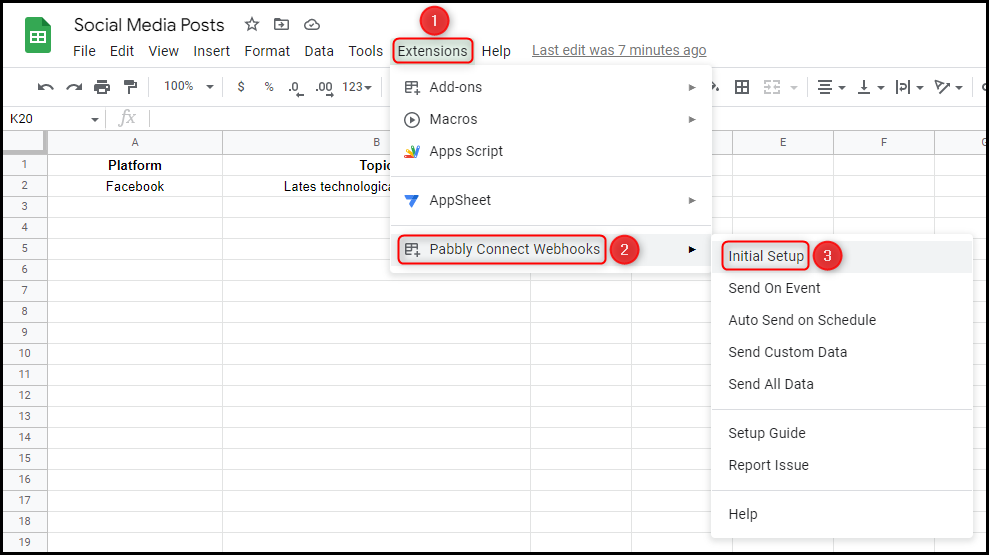
After installing the add-on, again click on Extension > Pabbly Connect Webhooks > Initial Setup.
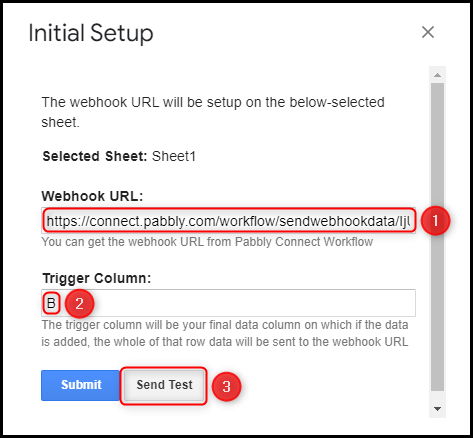
Paste the Webhook URL we copied earlier, specify the name of the last column where the data is located and click on ‘Send Test’.
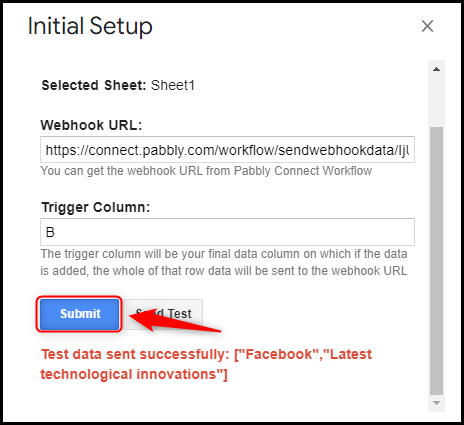
Now that the data is sent successfully – click on ‘Submit’.
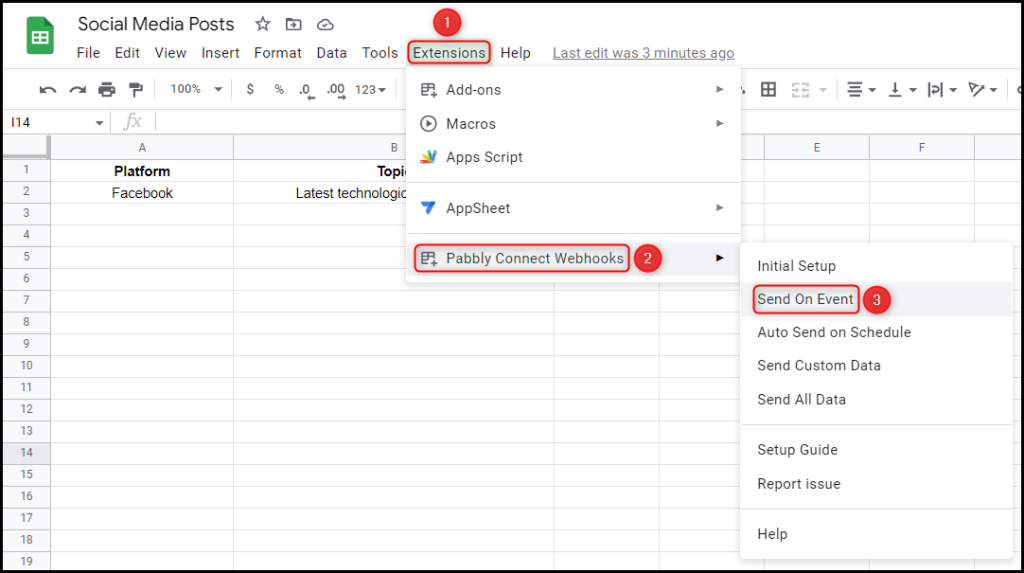
Now, click on Extension > Pabbly Connect Webhooks > ‘Send On Event’.
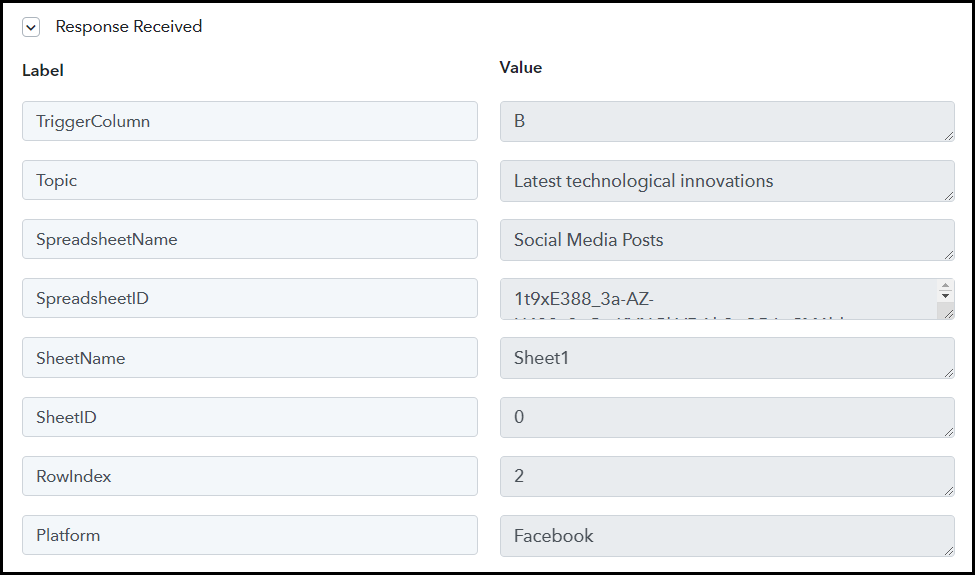
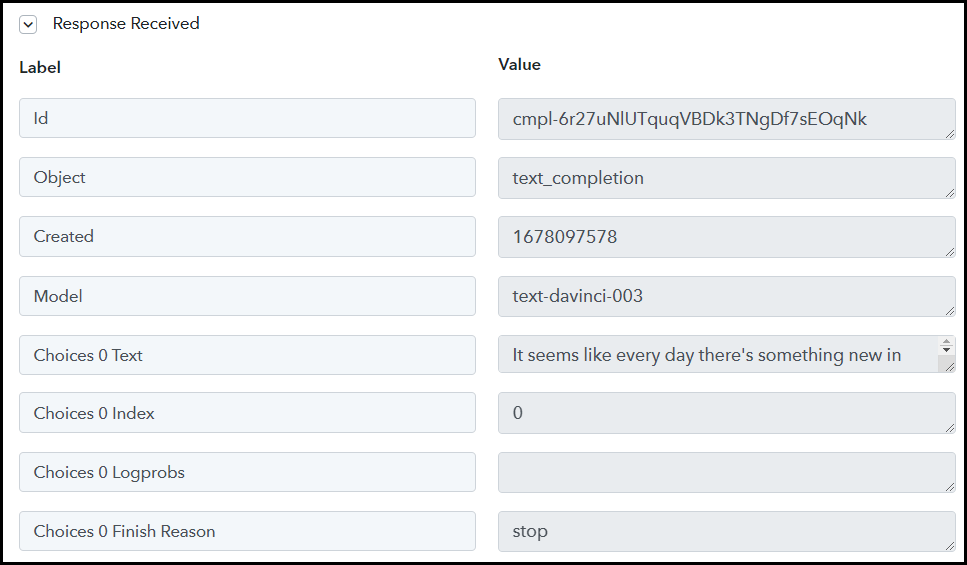
To verify our established connection, ensure that the data you entered is visible by switching to Pabbly Connect and expanding the Response Received section.
Step 3:- Setup OpenAI as the Action App to Create Post
Action allows us to choose the application that will get executed by the workflow trigger.
Our objective is to generate posts based on the topics obtained from Google Sheets with the help of OpenAI, which will serve as our Action App.
A. Action App
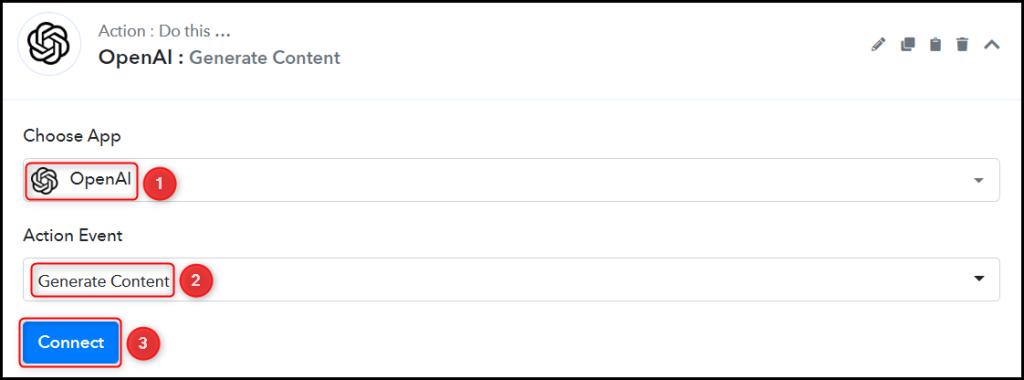
Choose ‘OpenAI’ as the Action App, select ‘Generate Content’ as an Action Event, and click on ‘Connect’.
B. Connect OpenAI Account
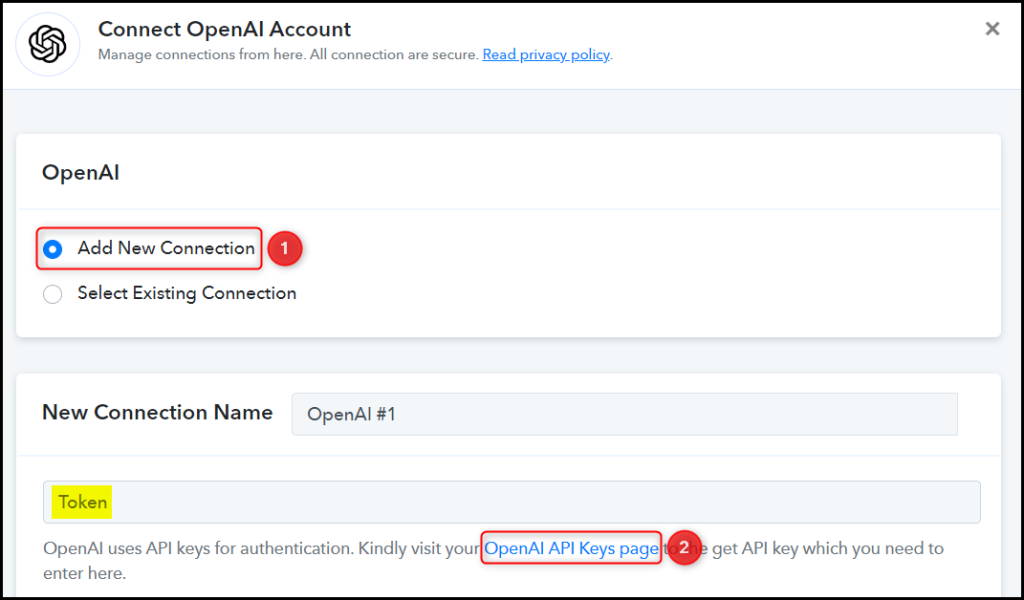
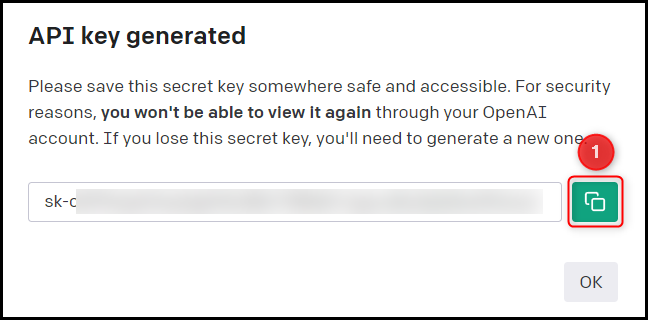
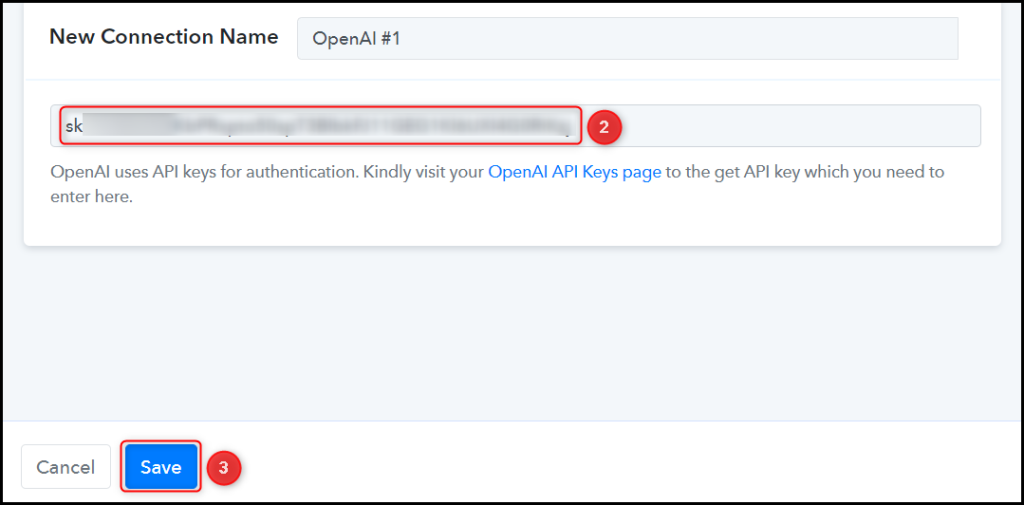
To establish a connection with your OpenAI account, click on ‘Add New Connection’ and then enter your API Token when prompted. To locate your API Token, click on the ‘OpenAI API Keys page’ button.
Generate and copy your API Token, paste it into its designated field, and click on ‘Save’.
Select the AI Model you want to use for creating the posts.

C. Enter / Map the Necessary Fields
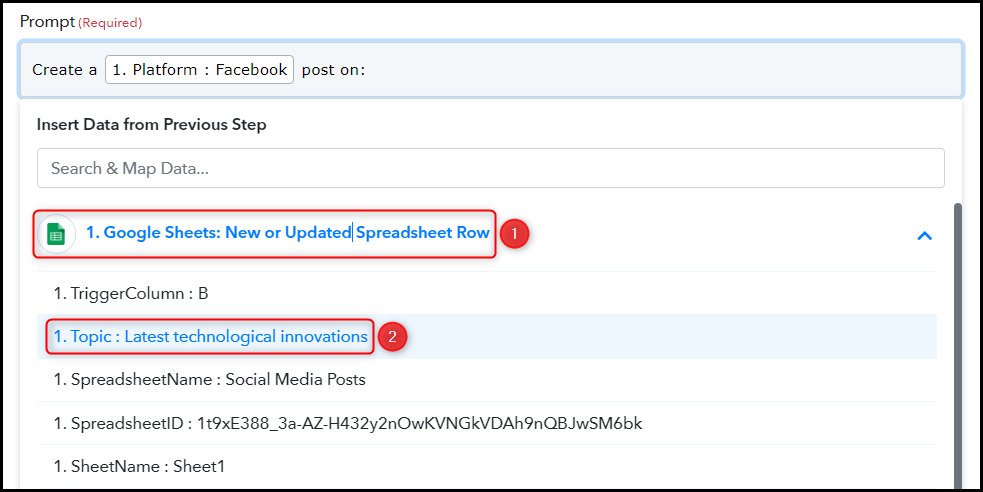
After successfully connecting your OpenAI account, the next step is to map the data from the previous step. This mapping process guarantees that our data stays dynamic and adjusts accordingly based on the received responses.
Give a Prompt by mapping the details from the step above.

Similarly, select/enter other fields, leaving the unnecessary ones empty, and click on ‘Save & Send Test Request’.

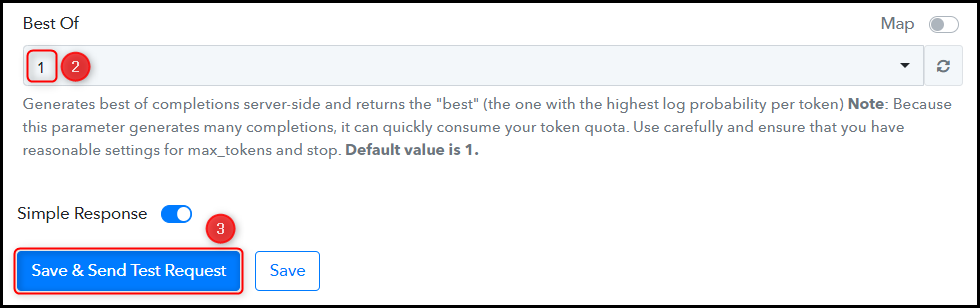
Once you click on Save & Send Test Request, OpenAI will automatically generate a post.
Step 4:- Setup Switchboard Canvas as the Action App to Create Post Images
After generating the post, the next step is to configure Switchboard Canvas as the Action App that will create the images to be posted.
A. Action App
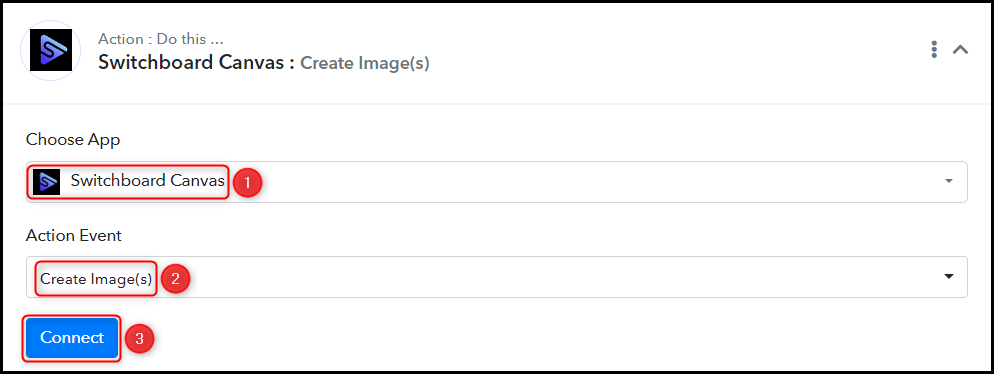
Choose ‘Swithcboard Canvas’ as the Action App, select Create Image(s) as an Action Event, and click on ‘Connect’.
B. Connect Switchboard Account
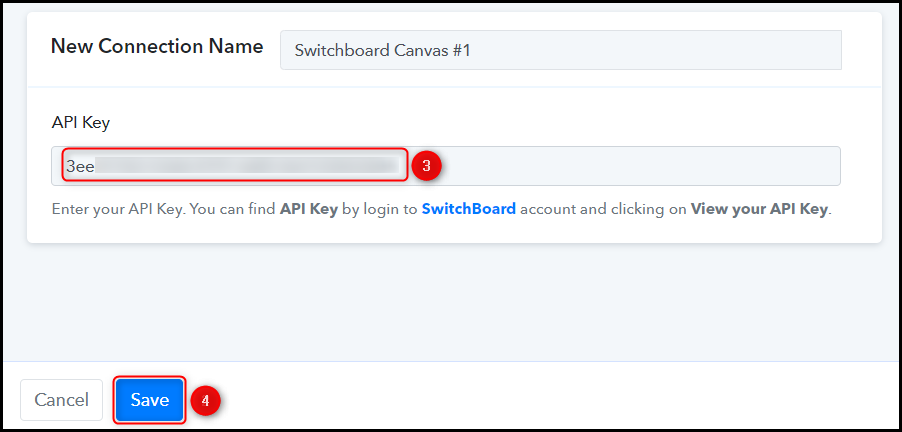
To connect with your Switchboard account, select ‘Add New Connection’. You will then be asked to log in to your Switchboard account and provide the corresponding API Key.
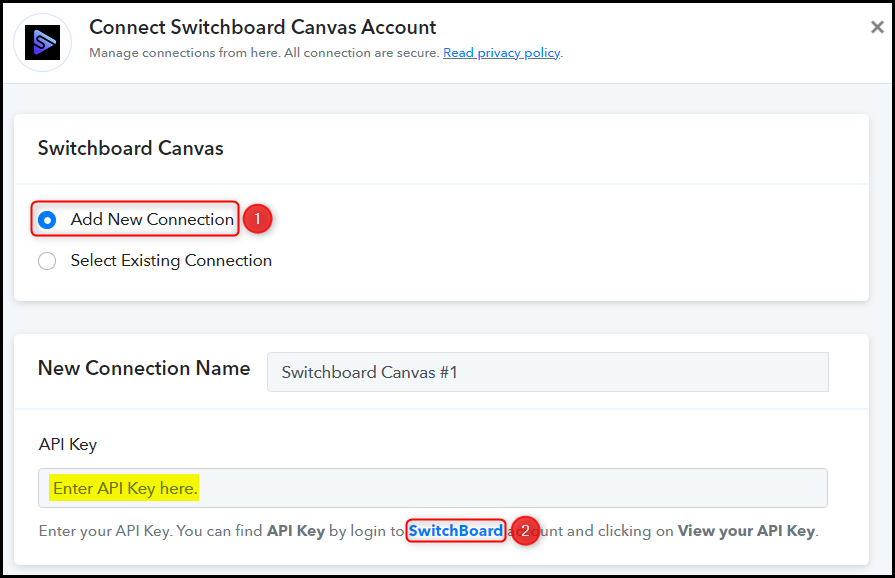
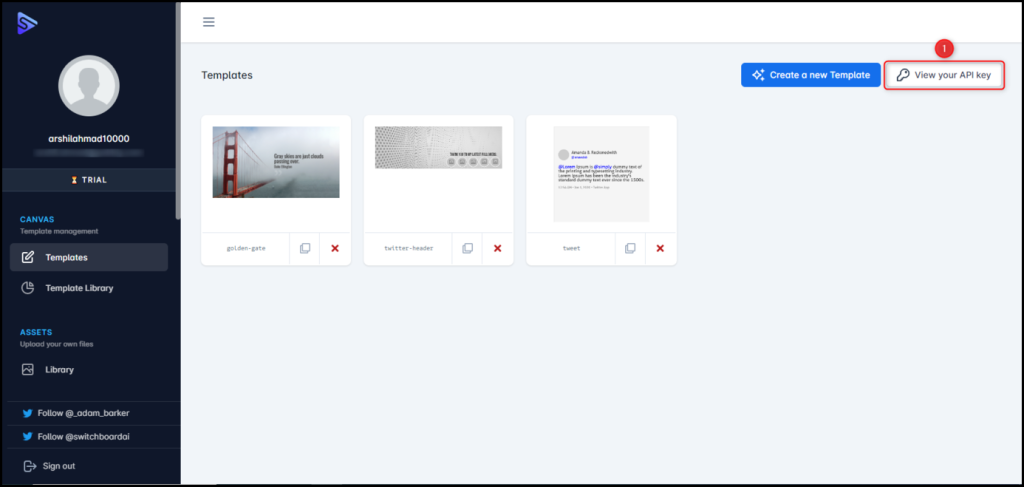
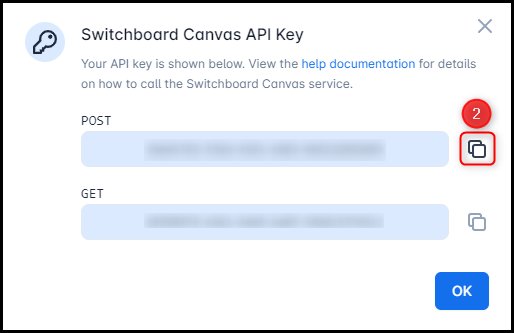
To obtain your API Key, click on ‘View your API Key’, then copy and paste it into the designated field before clicking on ‘Save’.
Choose the desired template for generating the image.

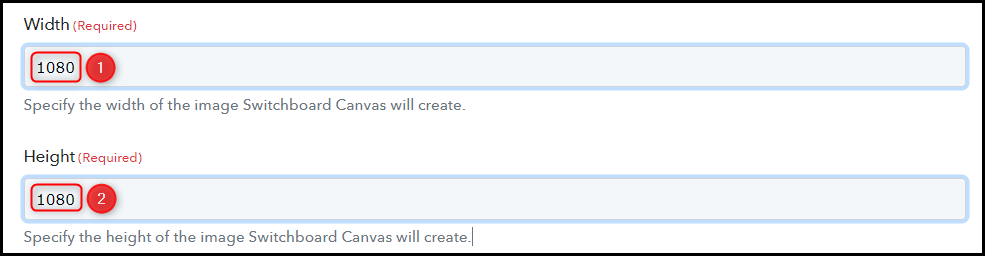
Specify the Width and Height of the image to be generated.
Select your desired Image Format.

C. Map Necessary Fields
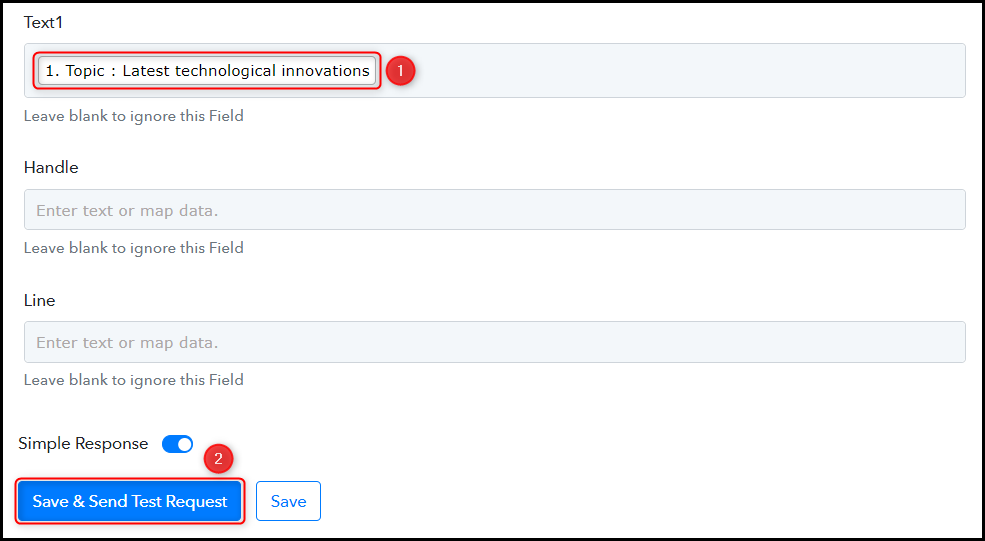
Map the Text for your image and other necessary fields from the step above, and proceed by clicking on ‘Save & Send Test Request’.
Step 5:- Setup Facebook as the Action App to Share Posts
Our main objective is to share the generated post on any social media platform. This will be accomplished by configuring Facebook or another platform as our Action App.
A. Action App
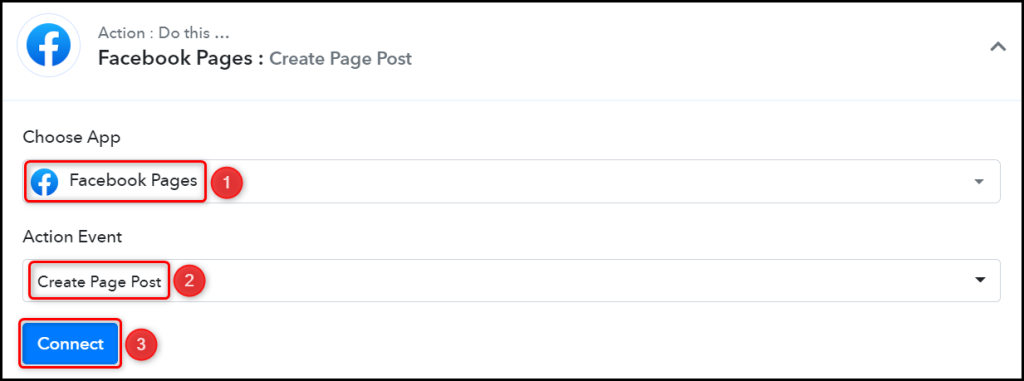
Choose ‘Facebook Pages’ as your Action App, select ‘Create Page Post’ as an Action Event, and click on ‘Connect’.
B. Connect Facebook Account
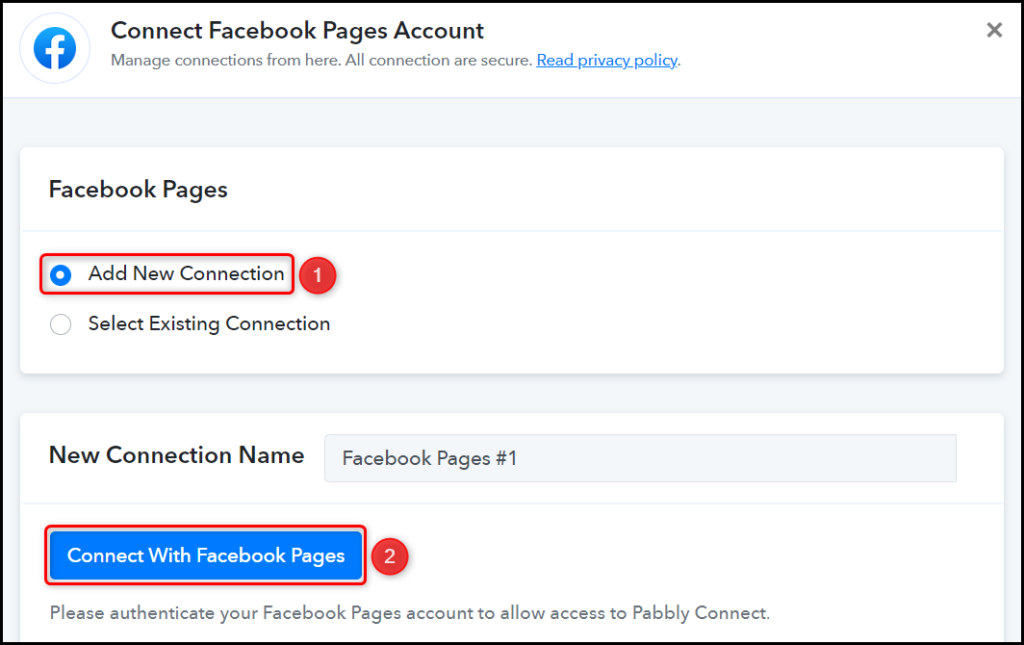
To connect with your Facebook account, select ‘Add New Connection’ and click on ‘Connect With Facebook Pages’. Also, grant the authorization.
Choose the specific Page where you wish to post and share the content.

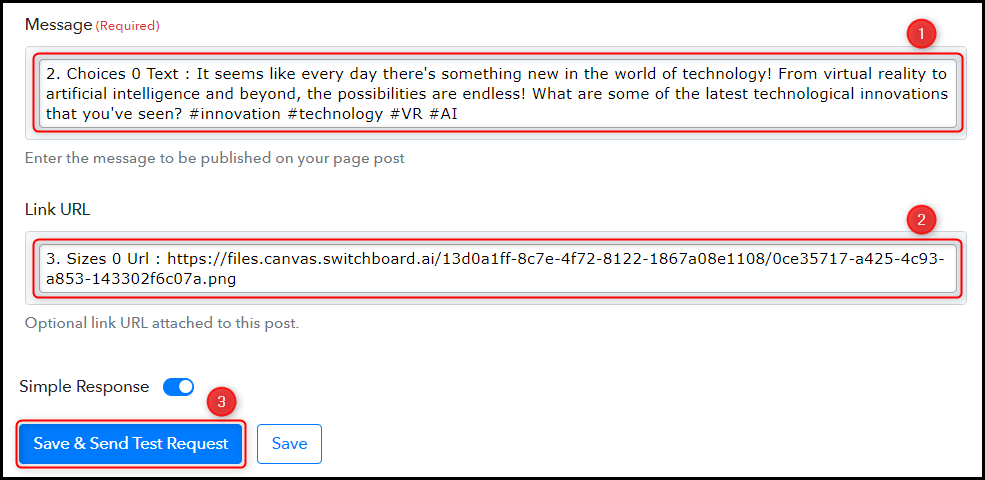
Map the Message and Image URL from the steps above, and click on ‘Save & Send Test Request’.
Once you click on Save & Send Test Request, your post will automatically be shared on Facebook.
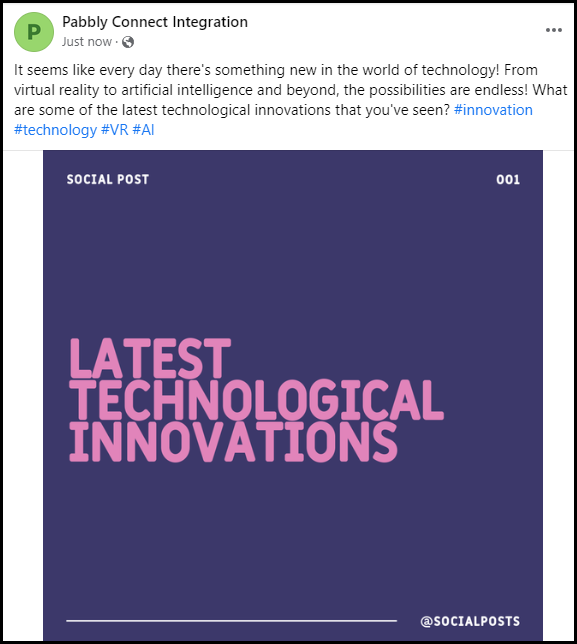
The automation process is finished. We have effectively integrated Google Sheets with Swithcboard Canvas and OpenAI, enabling us to automatically create and distribute posts on any social media platform by simply entering the post topic into Google Sheets.
You can copy this entire workflow by clicking this link.
Sign Up for a free Pabbly Connect account, and start automating your business
Subscribe to our Youtube Channel for more such automation
For any other queries, visit our forum