
This post will explore the process of integrating Google Forms with ClickUp to generate ClickUp tasks automatically from submissions made through Google Forms.
This automation requires a one-time setup, for which we will use Pabbly Connect.
We will first establish a connection between Google Forms and Pabbly Connect to collect the responses and then link Pabbly Connect with ClickUp to generate tasks automatically upon receiving a response.
Steps to Automatically Create ClickUp Tasks from Google Forms Responses
1. Sign In / Sign Up to Pabbly Connect and Create a Workflow
2. Establish a Connection between Google Forms and Pabbly Connect
3. Add Date / Time Formatter to the Workflow
4. Setup ClickUp as the Action App to Create New Tasks
Step 1:- Sign In / Sign Up to Pabbly Connect and Create a Workflow
A. Sign In / Sign Up
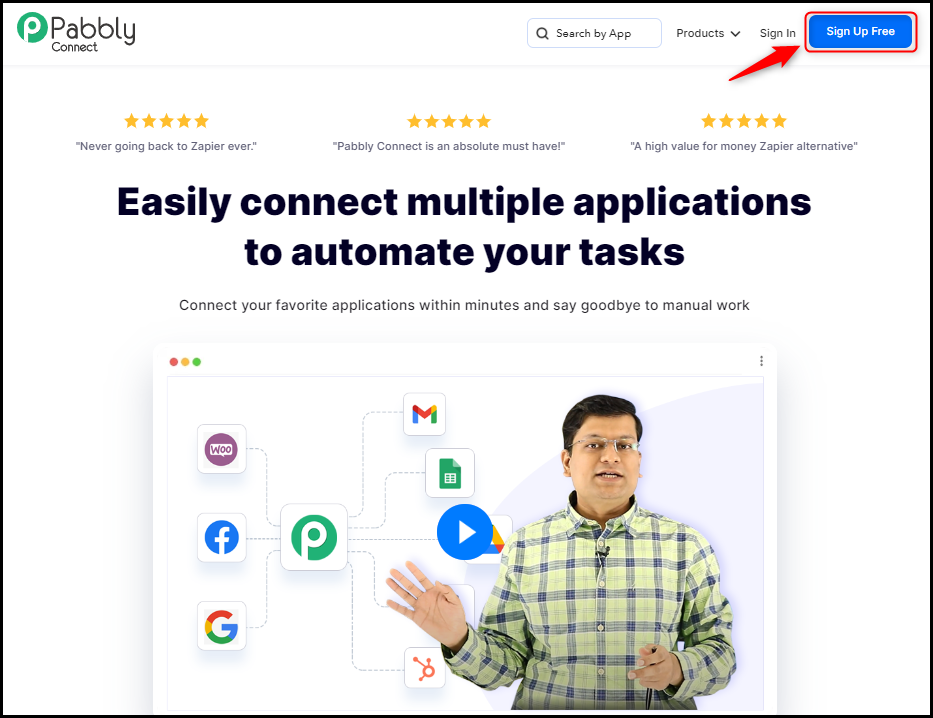
To begin this process, visit Pabbly Connect and create your account by clicking on the ‘Sign Up Free’ button. You can also click on Sign In if you already have an account.
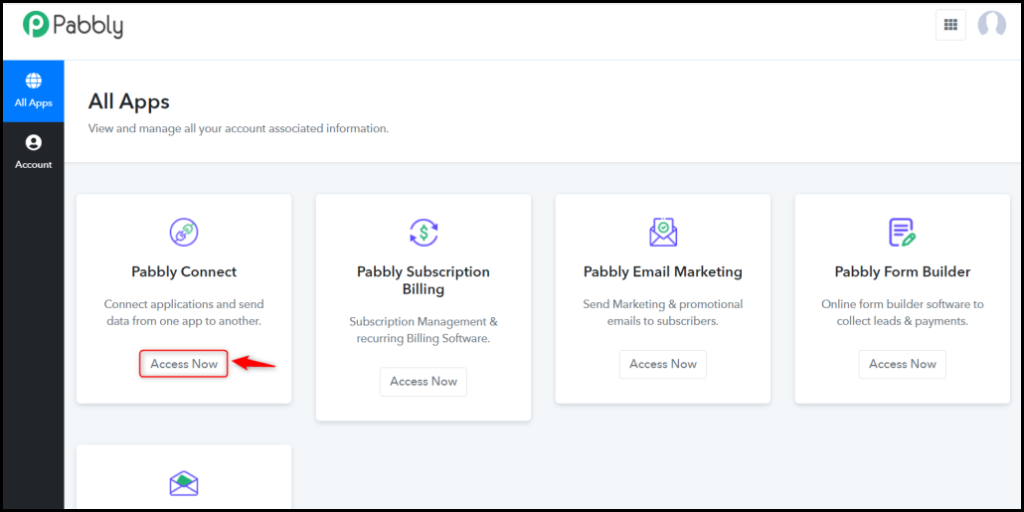
Click on the Pabbly Connect ‘Access Now’ button
B. Create Workflow
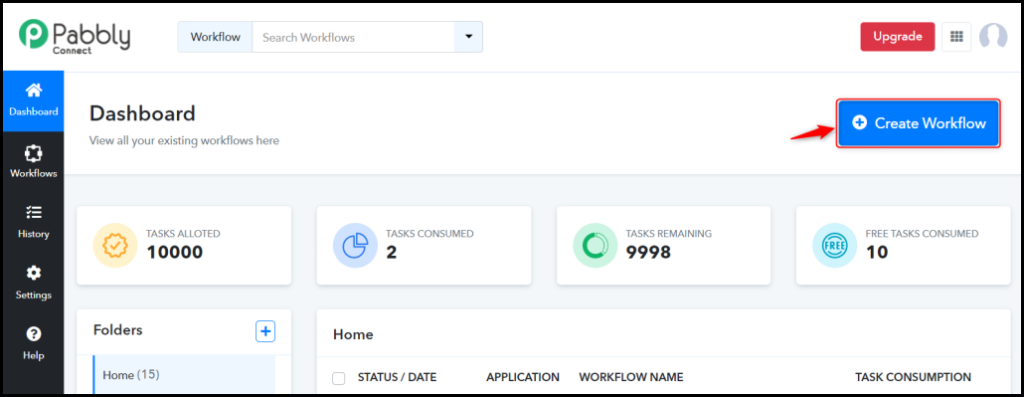
To create a new workflow, click the ‘Create Workflow’ button.
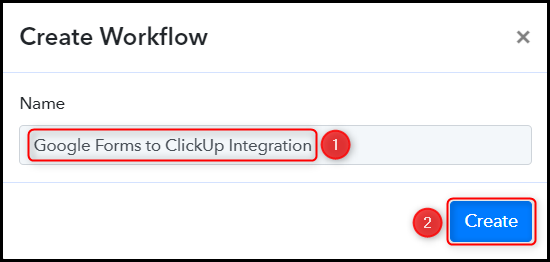
Name your workflow, and click on ‘Create’.
Step 2:- Establish a Connection between Google Forms and Pabbly Connect
The following steps will outline how to establish a connection between Google Forms and Pabbly Connect, allowing us to collect responses from Google Forms.
A. Trigger App
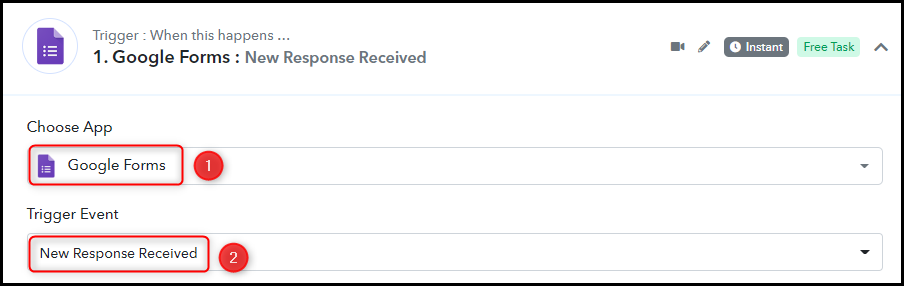
Trigger allows us to choose the application that will receive the data for Pabbly Connect. In our case, it would be Google Forms.
Choose ‘Google Forms’ as the Trigger App and select ‘New Response Received’ as a Trigger Event.
B. Webhook URL
You will see a newly generated Webhook URL, which you will need to use to connect your Google Forms account. Copy the Webhook URL.

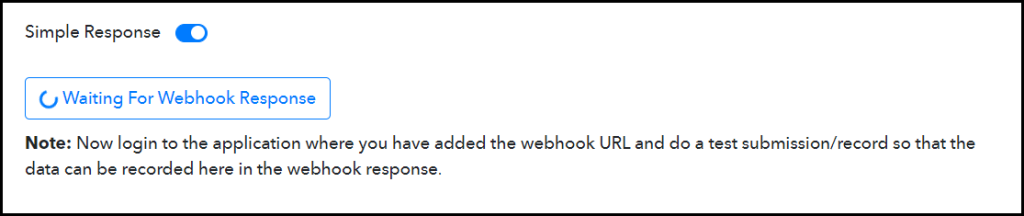
Immediately after you copy the Webhook URL, Pabbly Connect will begin searching for new responses from Google Forms, as evidenced by the rotating Waiting For Webhook Response button.
C. Connect Google Forms Account
In order to establish a connection with your Google Forms account, navigate to the specific Google Form from which you’d like to capture responses and submit a dummy response.
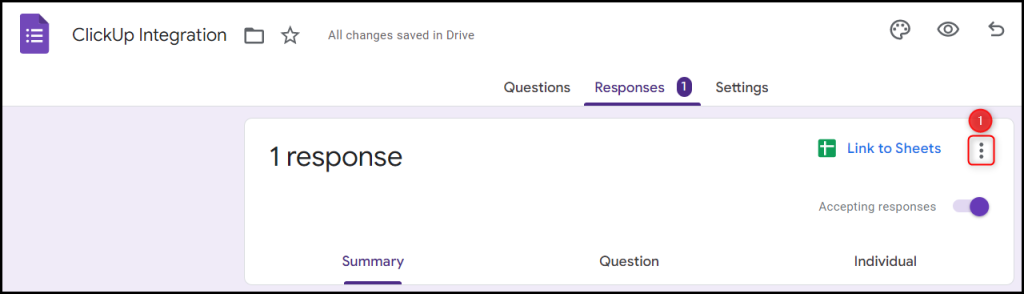
Then click on the 3 dots and ‘Select response destination’.

Select ‘Create a new spreadsheet’ and click on ‘Create’.

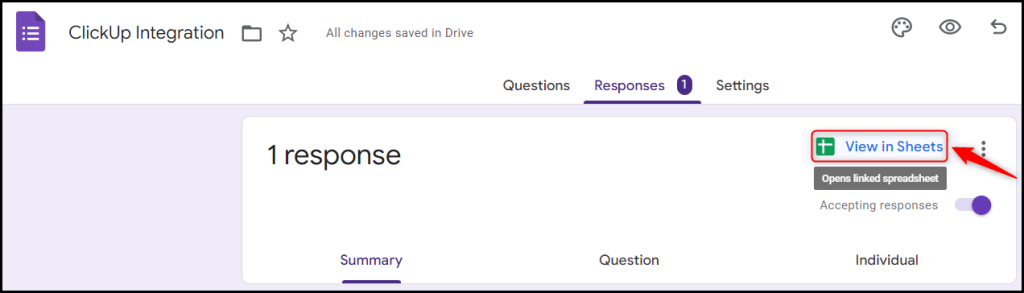
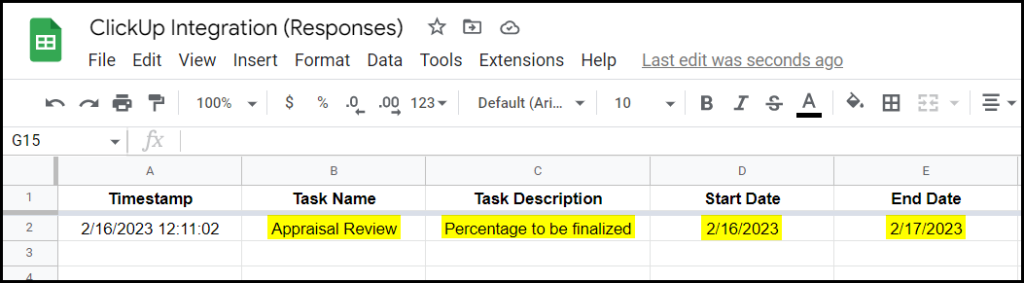
Click the green ‘View in Sheets’ icon, and you will be redirected to a new spreadsheet, where your response will also be visible. This sheet will record all your Google Forms responses and act as a repository through which Pabbly Connect will capture the data.
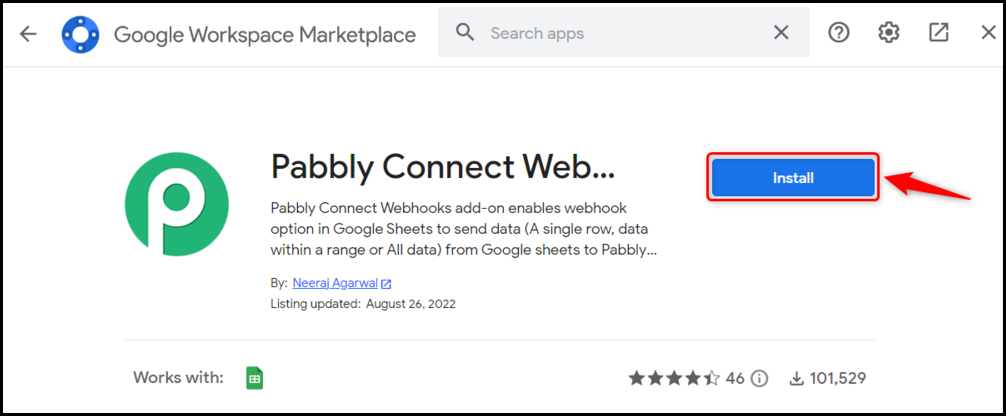
Click on Extensions > Add-ons > Get add-ons, and search for ‘Pabbly Connect Webhook’.


Install the Pabbly Connect Webhook extension.
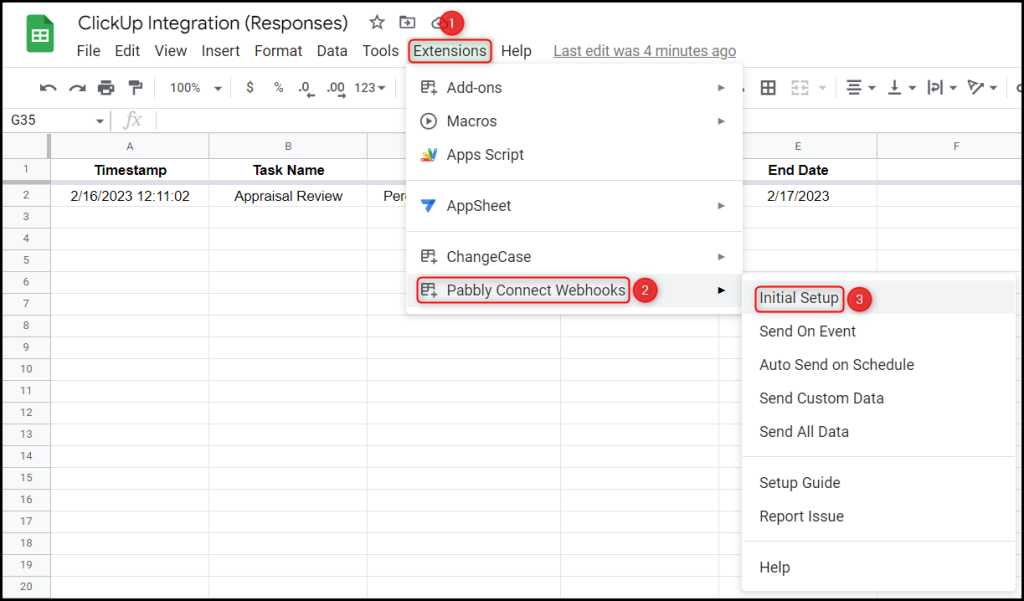
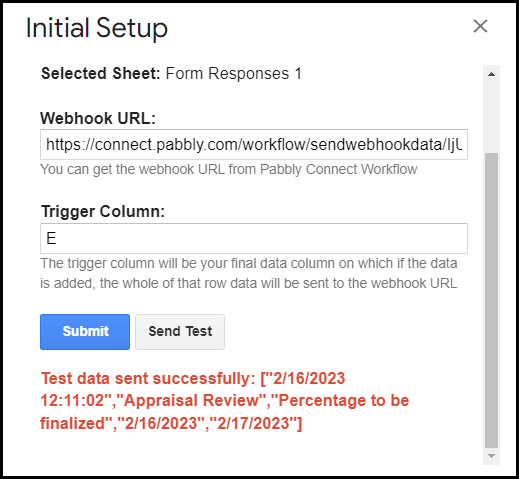
After installing the add-on, again click on Extension > Pabbly Connect Webhooks > Initial Setup.
Paste the Webhook URL we copied earlier, and in the Trigger Column, mention the name of the last column in which the data is available, and click on ‘Send Test’.
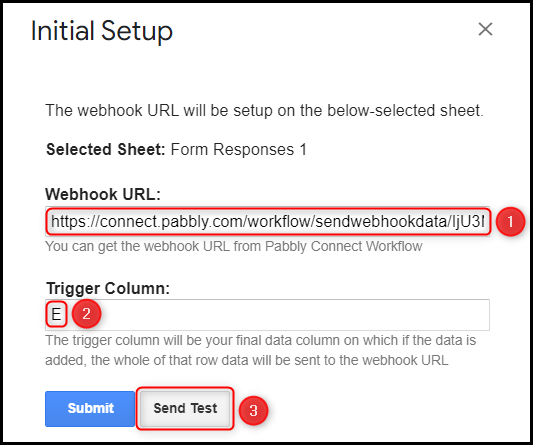
Now that the data is sent successfully – click on ‘Submit’.
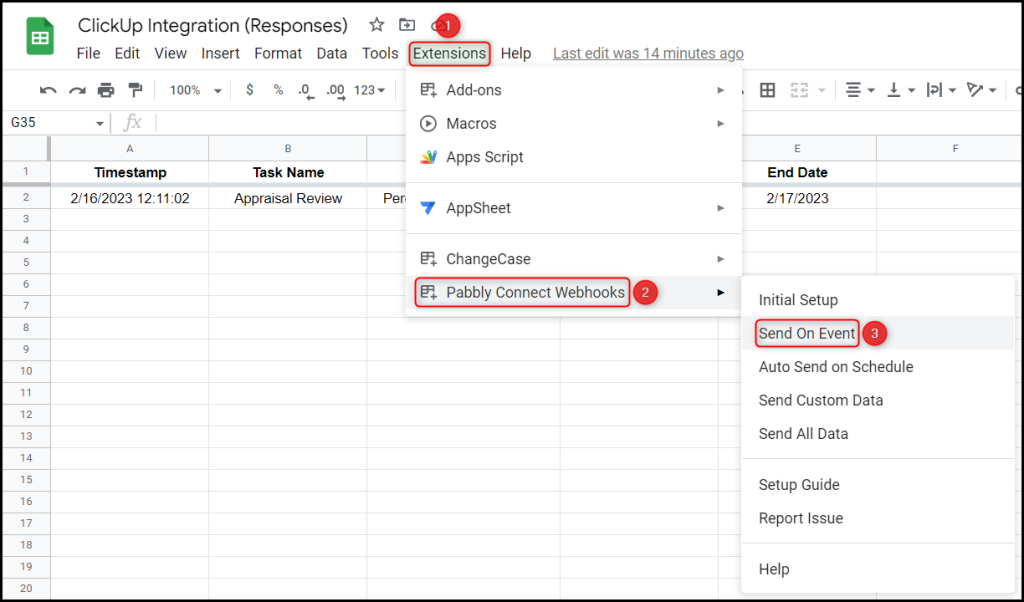
Now, click on Extension > Pabbly Connect Webhooks > ‘Send On Event’.
To confirm our established connection, ensure that the respondent details are visible by switching to Pabbly Connect and expanding the Response Received section.
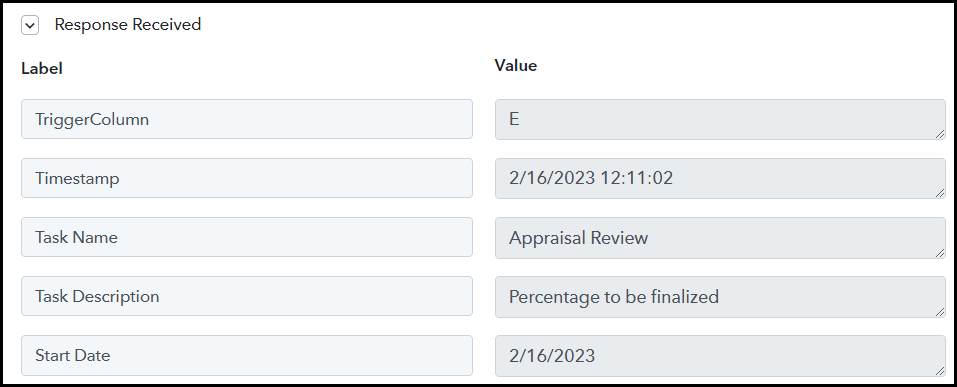
We have established a link between Google Forms and Pabbly Connect. Pabbly Connect will now automatically capture the responses upon each form submission.
Step 3:- Add Date / Time Formatter to the Workflow
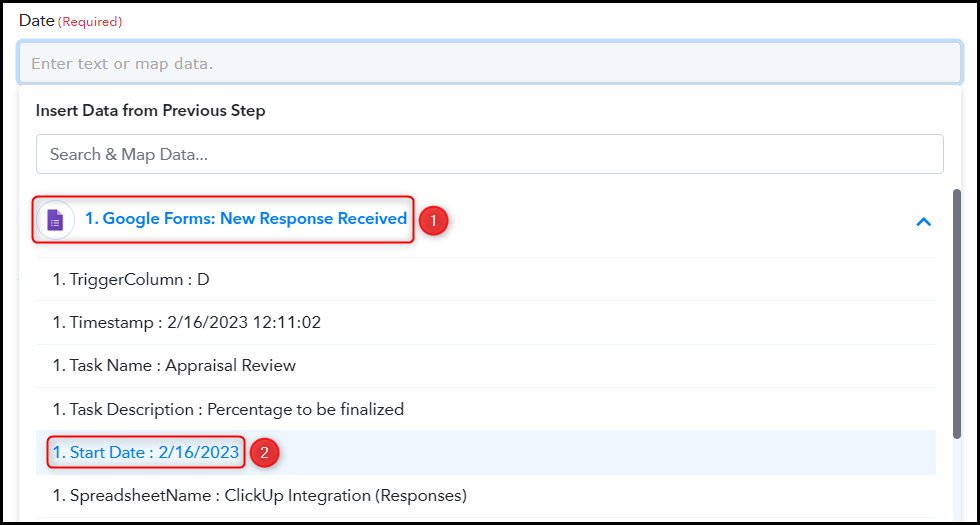
ClickUp requires us to enter Start Date and End Date as Timestamp in Millisecond format, but the responses we obtained from Google Forms do not have that – to address this issue, we will add a Date/Time Formatter to our workflow.
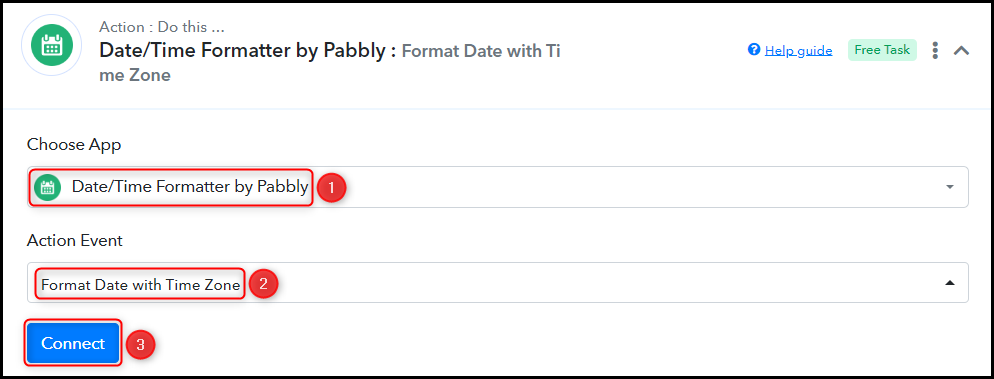
Choose ‘Date/Time Formatter by Pabbly’ as the Action App, select ‘Format Date with Time Zone’ as an Action Event, and click on ‘Connect’.
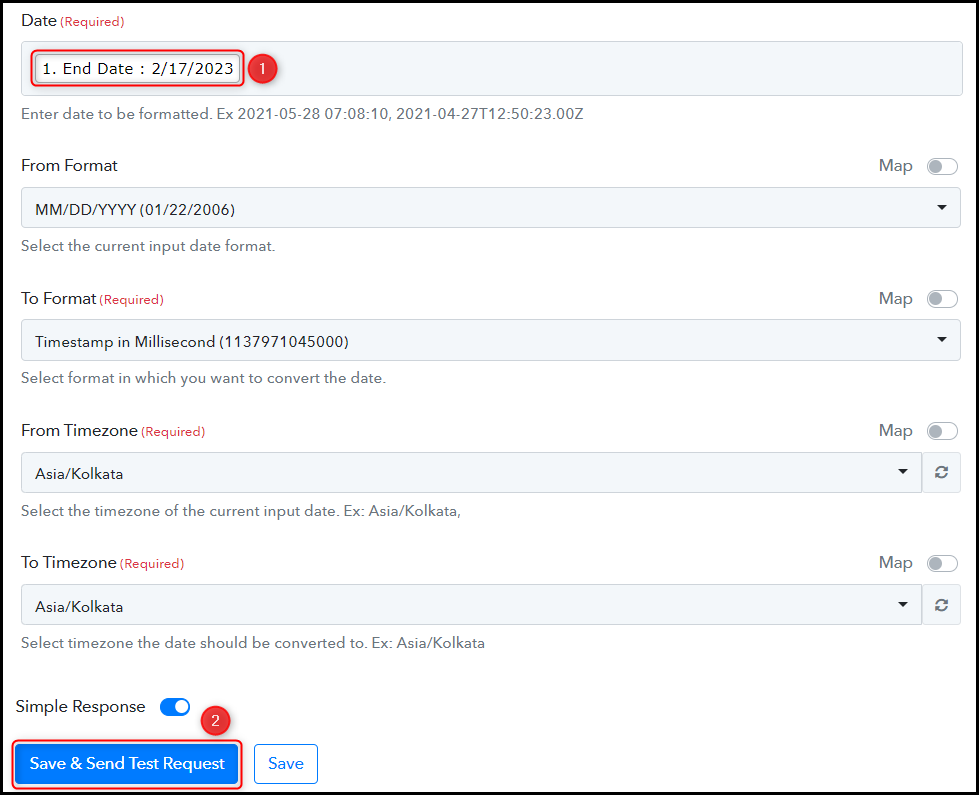
Map the Start Date from the step above.

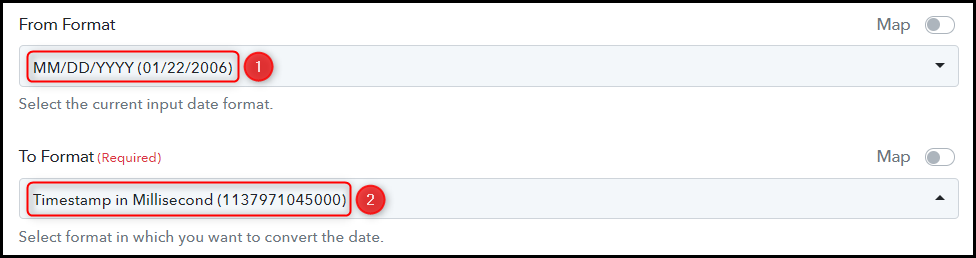
Select From and To Format and convert the Start Date format to Timestamp in Milisecond.
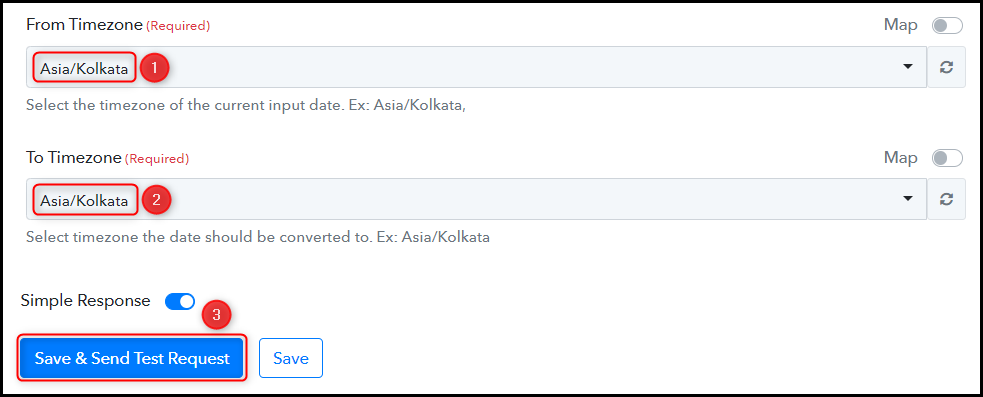
Select From and To Timezone, and click on ‘Save & Send Test Request’.
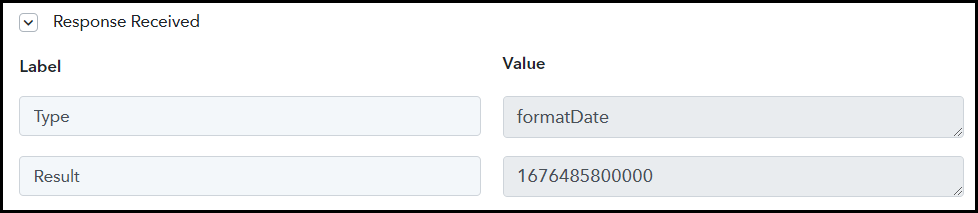
The Start Date is now in the correct format.
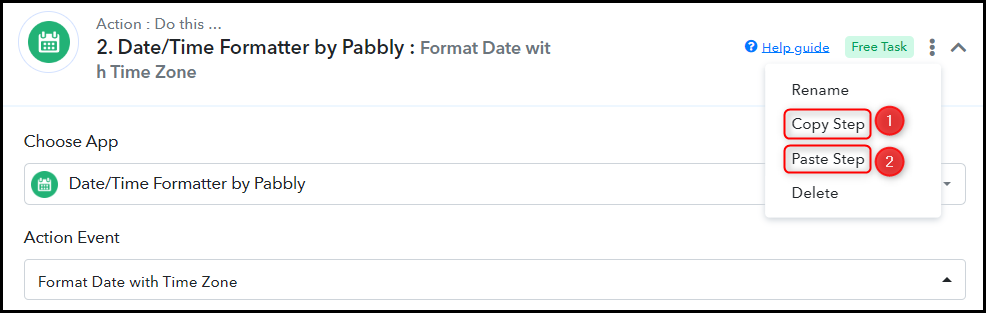
Clone this step, and fix the End Date in a similar manner.
Map the End Date from the step above, and click on ‘Save & Send Test Request’.
Step 4:- Setup ClickUp as the Action App to Create New Tasks
Action allows us to choose the application that will get executed by the workflow trigger.
We essentially want to use the captured data to create tasks in ClickUp. Therefore, ClickUp will be our Action App.
A. Action App
Choose ‘ClickUp’ as the Action App, select ‘Create Task’ as an Action Event, and click on ‘Connect’.

B. Connect ClickUp Account
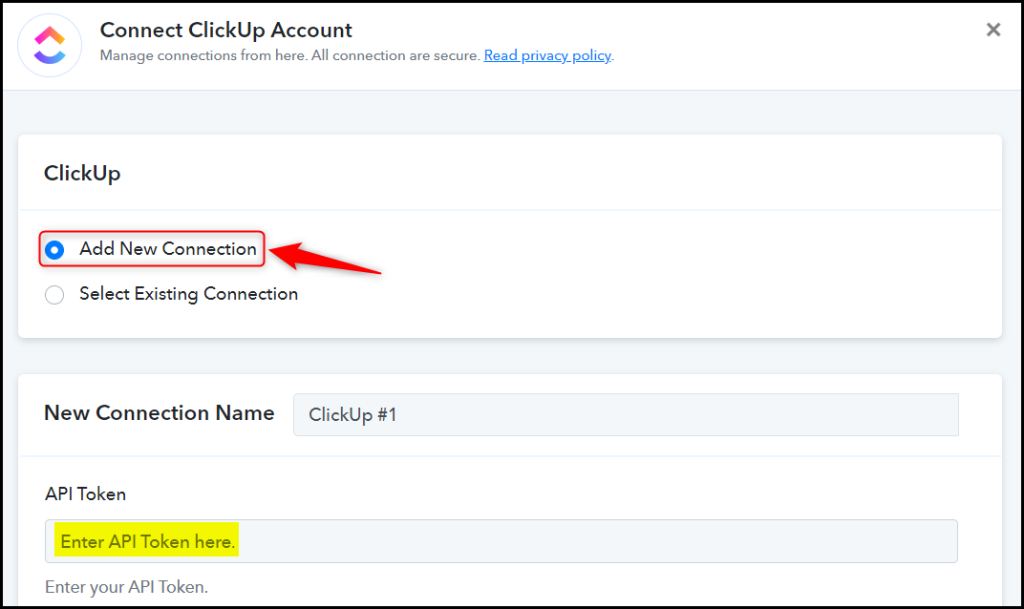
To connect with your ClickUp account, select ‘Add New Connection’. You will be prompted to enter your API Token.
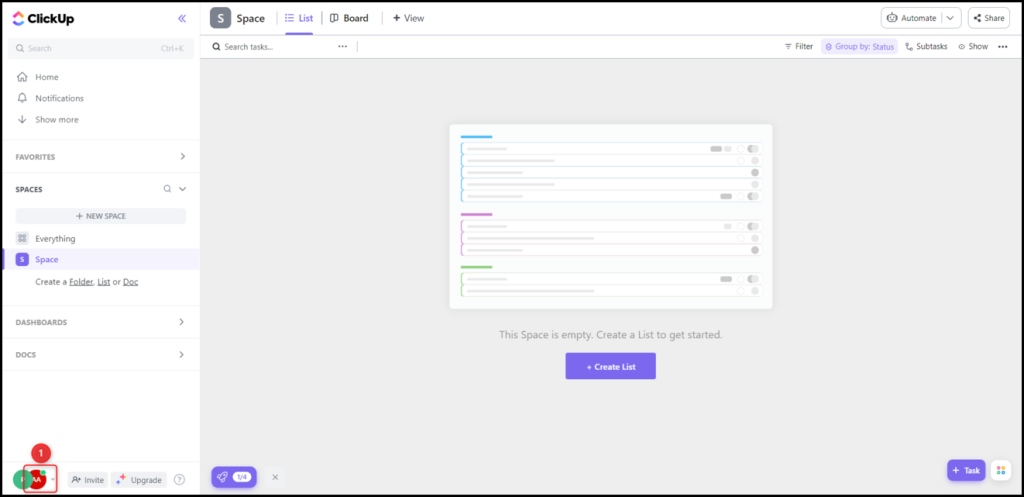
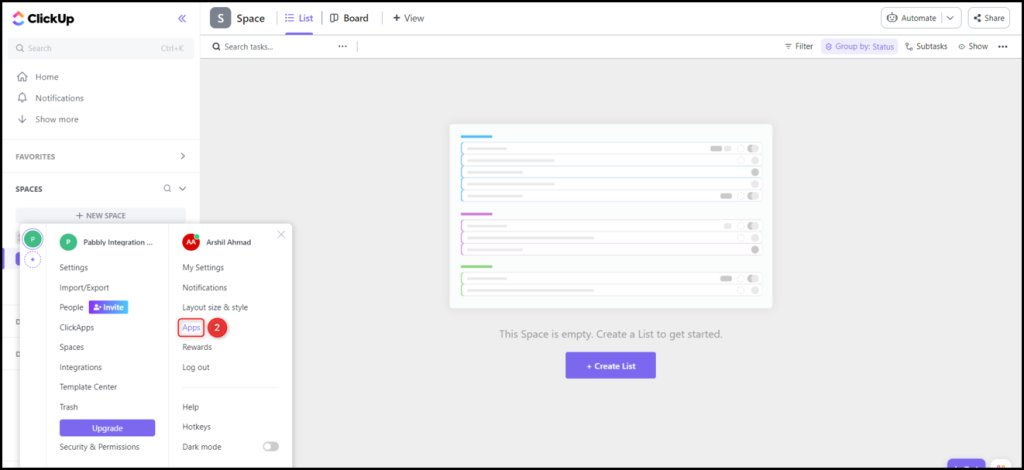
Login to your ClickUp account, and click on your ‘Profile Icon’ > ‘Apps’.
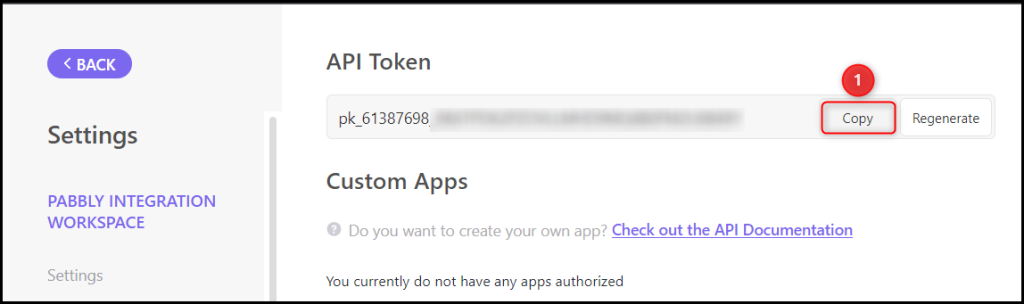
Copy your API Token, paste it into its give field, and click on ‘Save’.

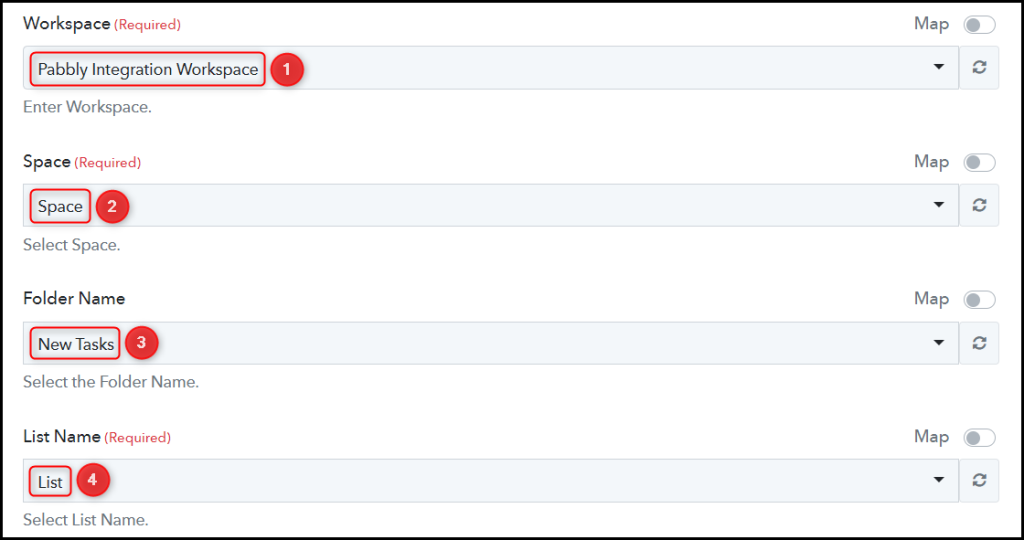
Select your Workspace, Space, Folder Name, and List Name where you want to create the tasks.
C. Map Necessary Fields
Now that you have connected your ClickUp account, all you need is to map the necessary details from the steps above. Mapping ensures our data remains dynamic and changes as per the received responses.
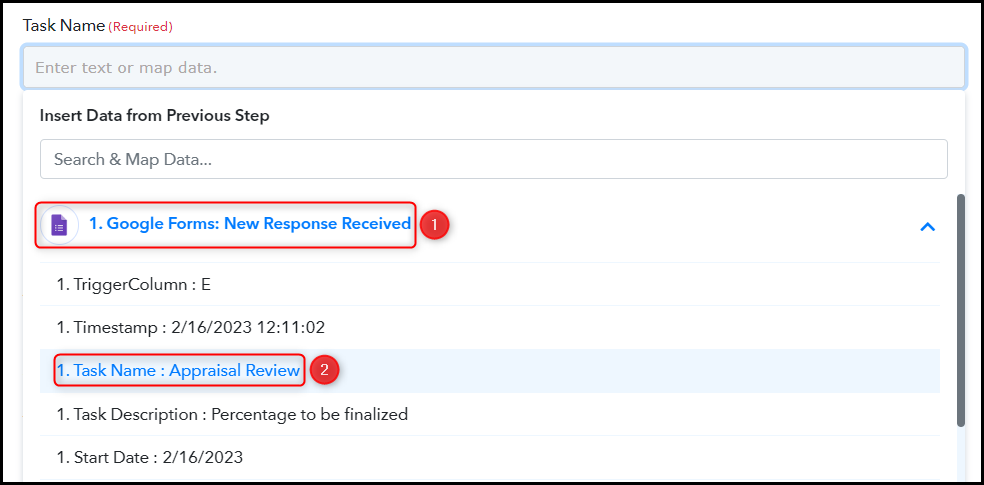
Map the Task Name from the trigger step.

Similarly, map the other fields, leaving the unnecessary ones empty, and click on ‘Save & Send Test Request’.

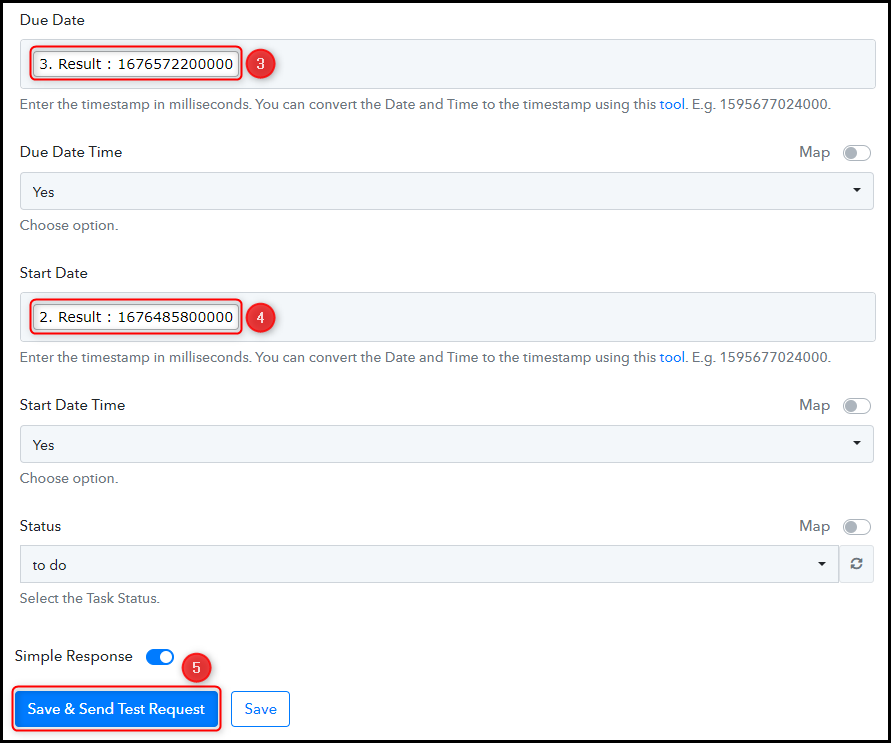
The moment you click on Save & Send Test Request, a task will be added to your ClickUp task list.
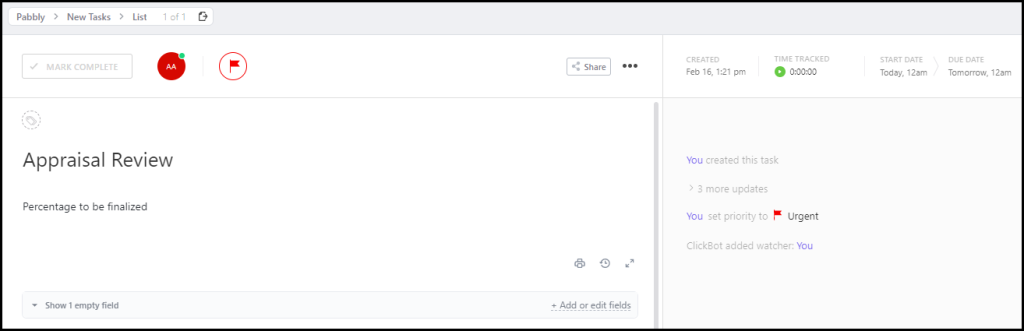
Our automation is complete. We have successfully integrated Google Forms with ClickUp. Each time a new user responds to your Google Forms, its data will be used to create new tasks in ClickUp.
You can copy this entire workflow by clicking this link.
Sign Up for a free Pabbly Connect account, and start automating your business
Subscribe to our Youtube Channel for more such automation
For any other queries, visit our forum