
In this article, we will explore the process of integrating TradingView with Google Sheets, allowing you to easily save TradingView alerts directly into your Google Sheets spreadsheet.
This automation setup requires a simple one-time configuration, which can be accomplished using Pabbly Connect.
Initially, we will establish a connection between TradingView and Pabbly Connect to retrieve new alerts. Subsequently, we will connect Pabbly Connect with Google Sheets to add the alerts into your Google Sheets spreadsheet.
Steps to Automatically Save TradingView Alerts in Google Sheets
1. Sign In / Sign Up to Pabbly Connect and Create a Workflow
2. Setup TradingView as the Trigger App to Gather Alert Messages
3. Add Text Formatter to the Workflow to Extract Details
4. Setup Google Sheets as the Action App to Save Alerts
Step 1:- Sign In / Sign Up to Pabbly Connect and Create a Workflow
A. Sign In / Sign Up
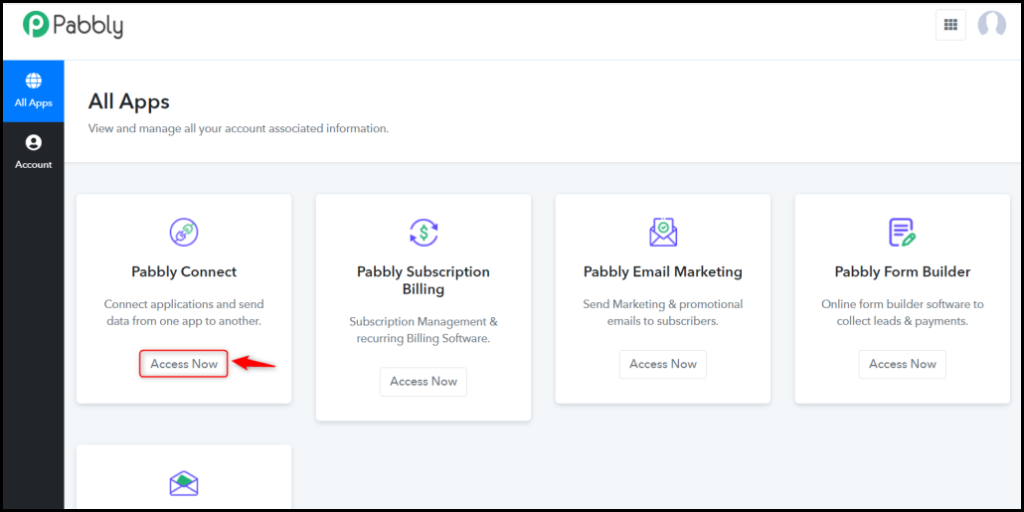
To begin this process, visit Pabbly Connect and create your account by clicking on the ‘Sign Up Free’ button. You can also click on Sign In if you already have an account.

Click on the Pabbly Connect ‘Access Now’ button
B. Create Workflow
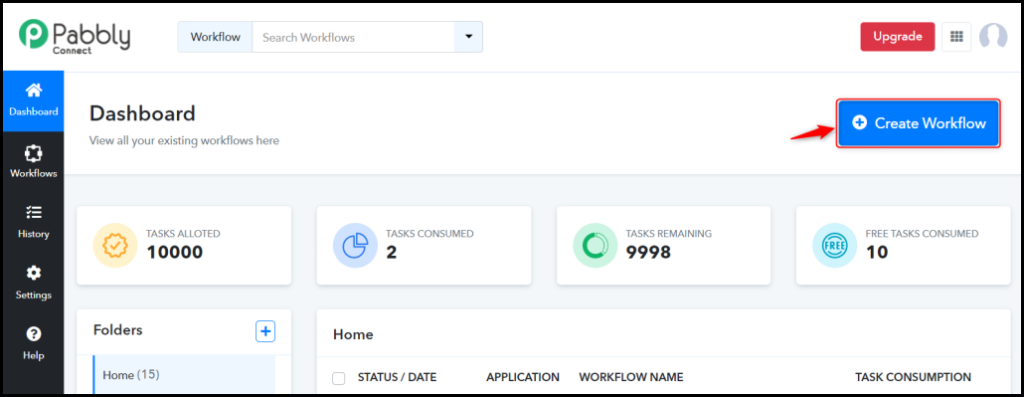
To create a new workflow, click the ‘Create Workflow’ button.
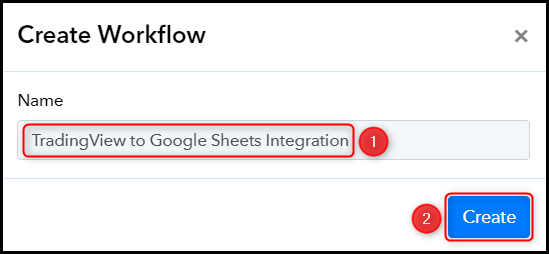
Name your workflow, and click on ‘Create’.
Step 2:- Setup TradingView as the Trigger App to Gather Alert Messages
Let us now look at the process of connecting TradingView with Pabbly Connect, which will allow us to fetch stock and index price alerts from TradingView.
A. Trigger App
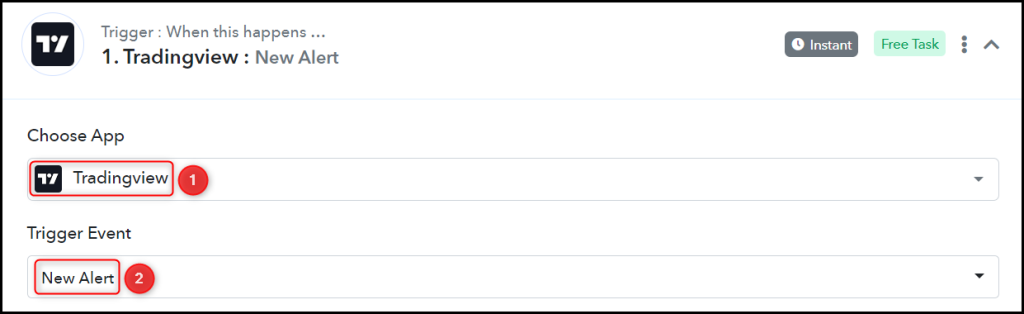
Trigger enables us to select the application from which Pabbly Connect will retrieve the data. In this case, it would be TradingView.
Choose ‘TradingView’ as the Trigger App, and select ‘New Alert’ as the Trigger Event.
B. Webhook URL
You will be provided with a new Webhook URL which can be used to connect your TradingView account. Copy the Webhook URL.

After copying the Webhook URL, Pabbly Connect will promptly initiate the search for TradingView alerts, as denoted by the rotating Waiting For Webhook Response button.

C. Connect TradingView Account
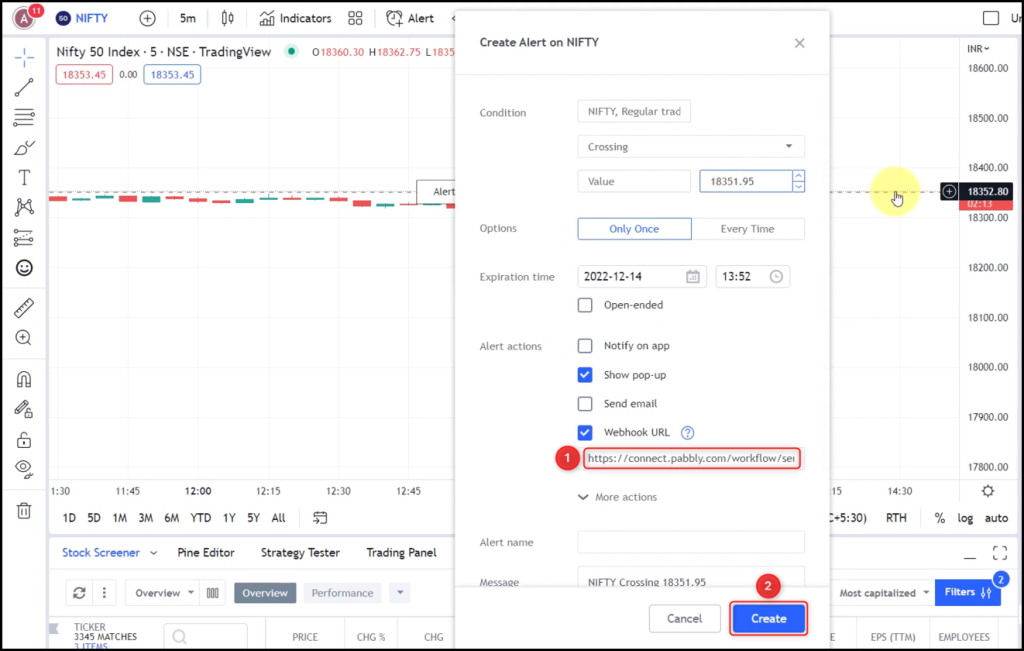
To connect your TradingView account, navigate to the Create Alert section in your TradingView account, set up all the required conditions, paste the previously copied Webhook URL, and click on ‘Create’.
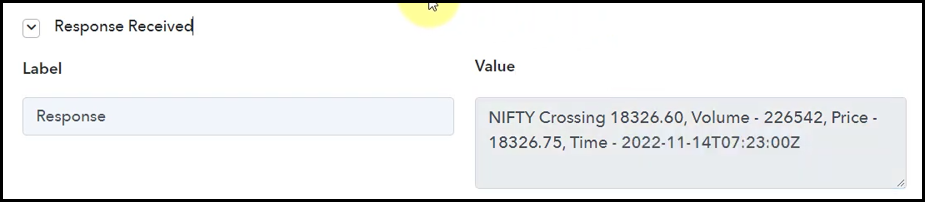
In the Response Received section, you should be able to see the captured alert, which confirms that the connection has been successfully established.
Step 3:- Add Text Formatter to the Workflow to Extract Details
In order to extract the pertinent details from the captured alerts, we will incorporate multiple Text Formatters into our workflow. This will allow us to obtain text snippets that can be saved in Google Sheets.
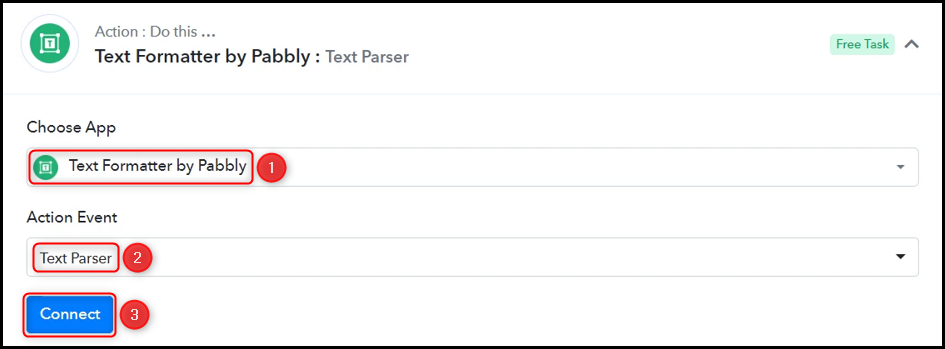
Choose ‘Text Formatter by Pabbly’ as the Action App, select ‘Text Parser’ as an Action Event, and click on ‘Connect’.
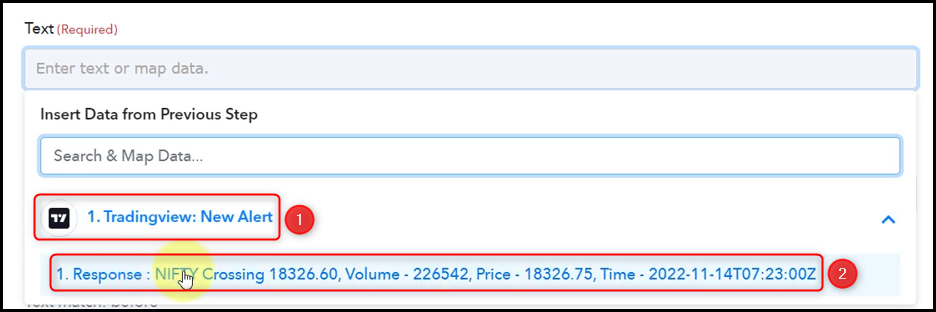
In Text, map the response received from the trigger step.

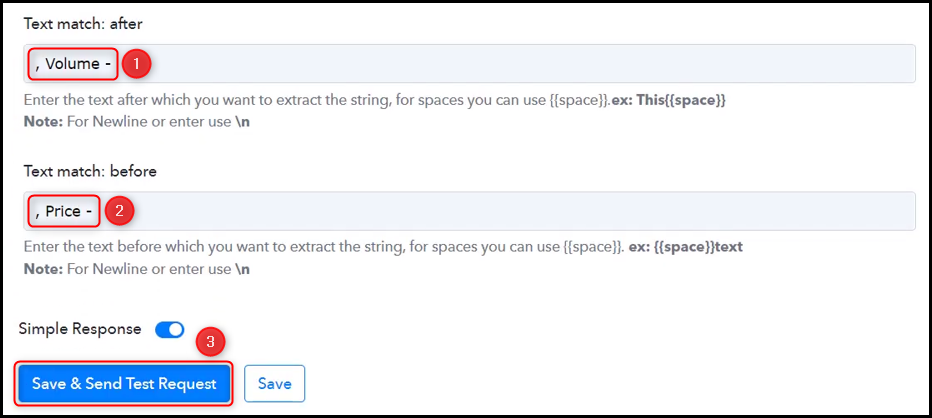
Input Text match: before to extract the text preceding the specified string, and then click on ‘Save & Send Test Request’.
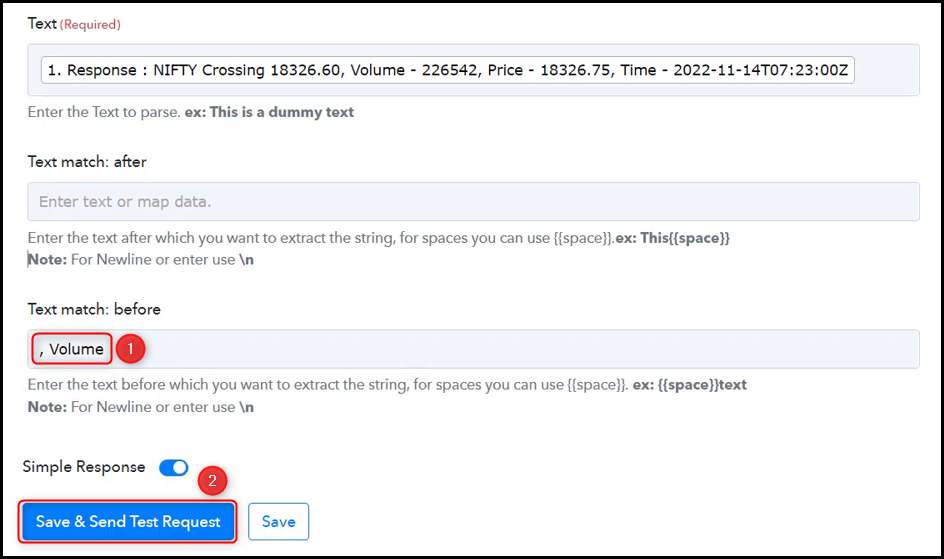
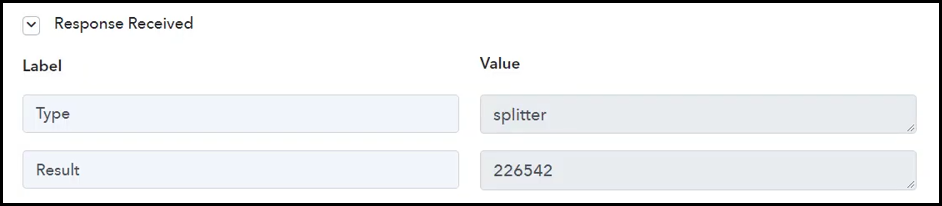
Upon clicking Save & Send Test Request, a snippet from the received alert response will be extracted.

Copy the step below and repeat the process until all the relevant data is extracted.

Step 4:- Setup Google Sheets as the Action App to Save Alerts
Action allows us to choose the application that will get executed by the workflow trigger.
Our ultimate goal is to save the captured TradingView alerts in Google Sheets, making Google Sheets our designated Action App.
A. Action App
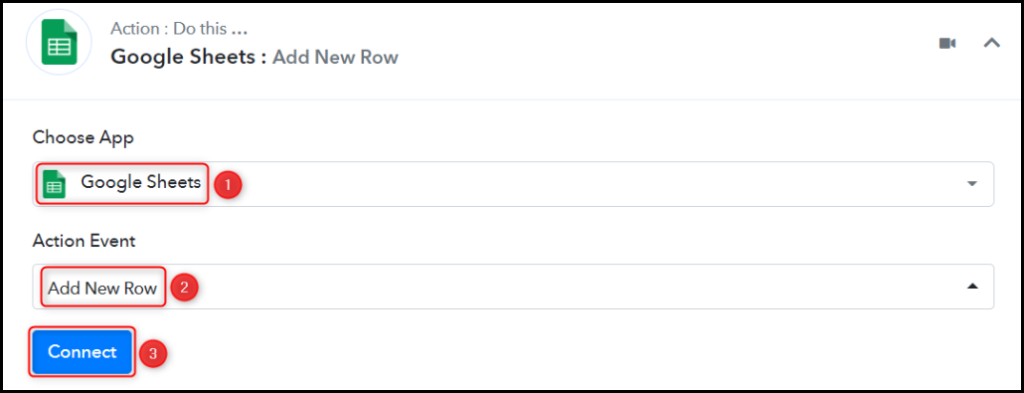
Choose ‘Google Sheets’ as the Action App, select ‘Add New Row’ as an Action Event, and click on ‘Connect’.
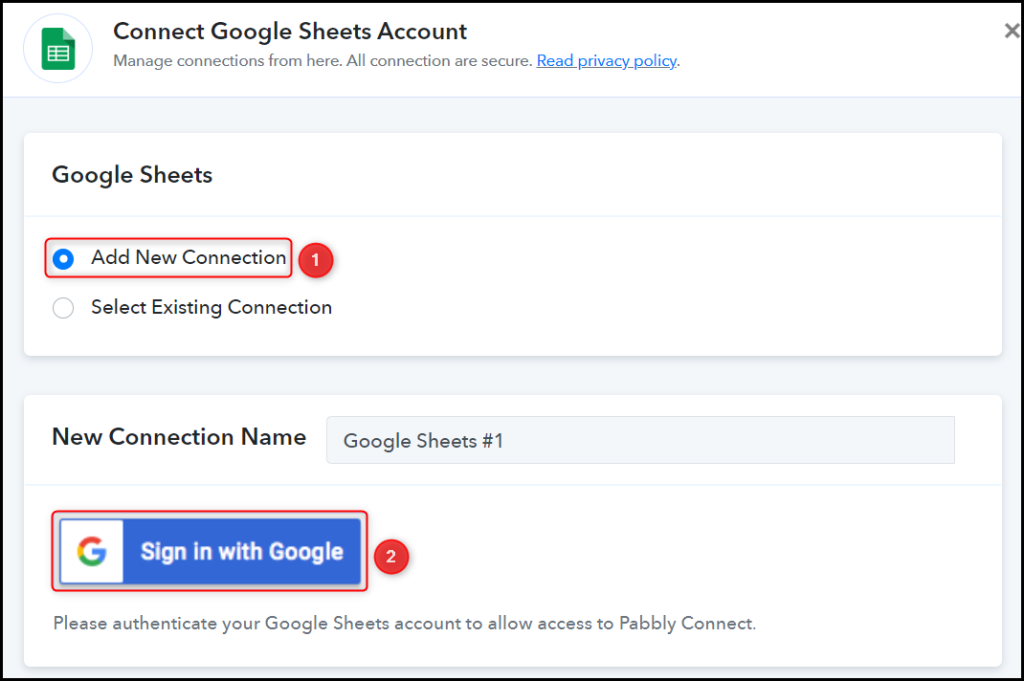
B. Connect Google Sheets Account
To establish a connection with your Google Sheets account, choose ‘Add New Connection’ and then click on ‘Sign in with Google’. Additionally, grant the necessary authorization.
Choose the desired Spreadsheet and Sheet in which you wish to store the received alerts.
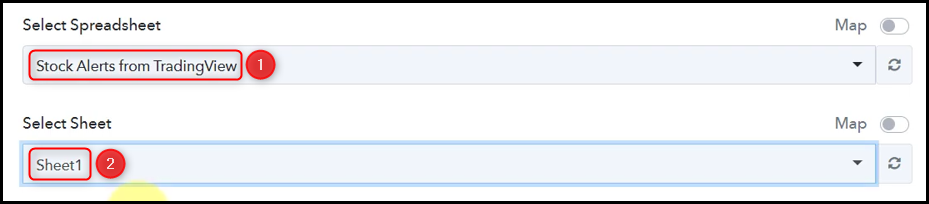
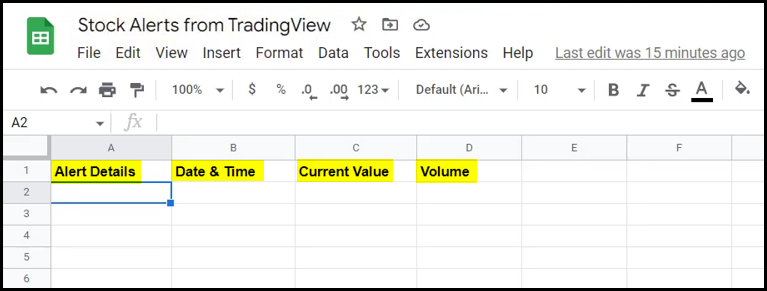
Once you have selected your sheet, the columns of the chosen sheet will automatically appear as fields in your Action Step.
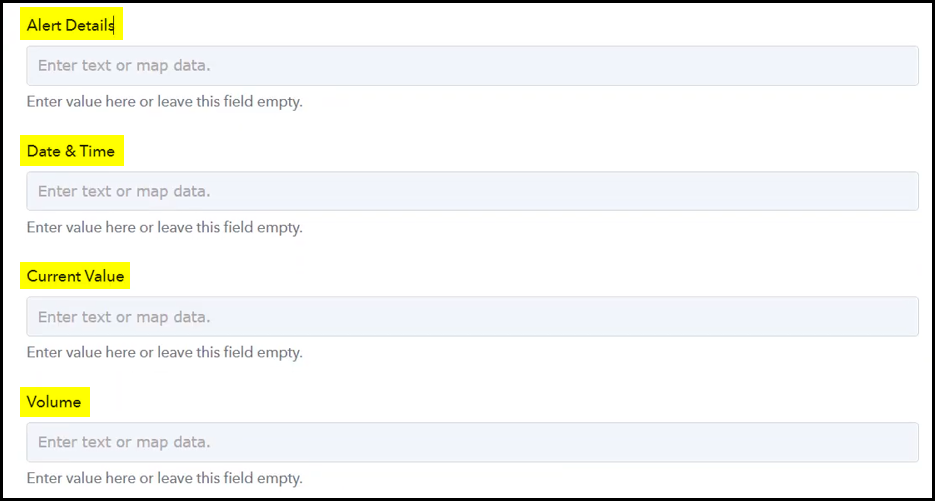
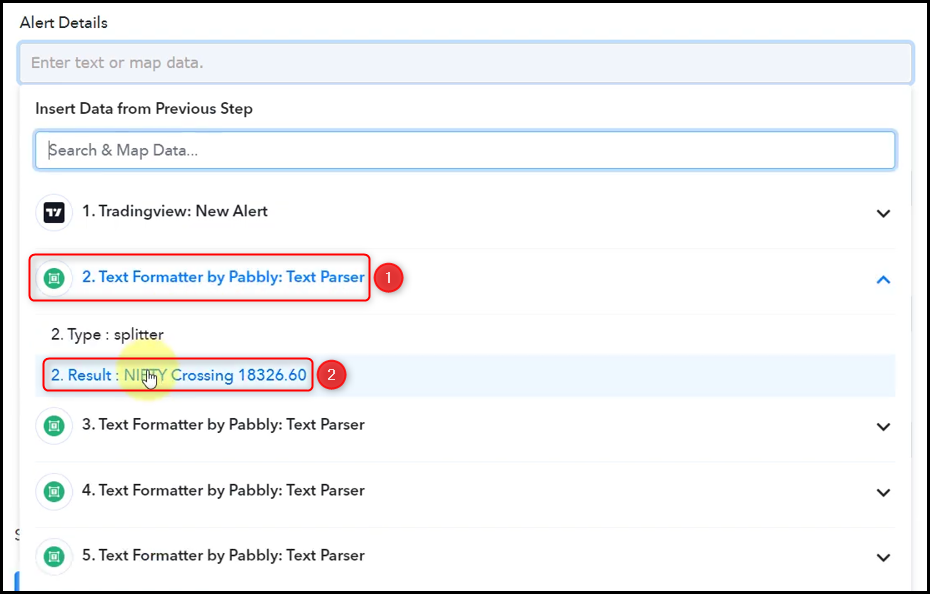
C. Map Necessary Fields
After successfully connecting your Google Sheets account, the next step is to map the alerts from the previous step. Mapping ensures that our data remains dynamic and updates accordingly based on the received responses.

Similarly, proceed to map the remaining fields as needed, and then click on ‘Save & Send Test Request’.
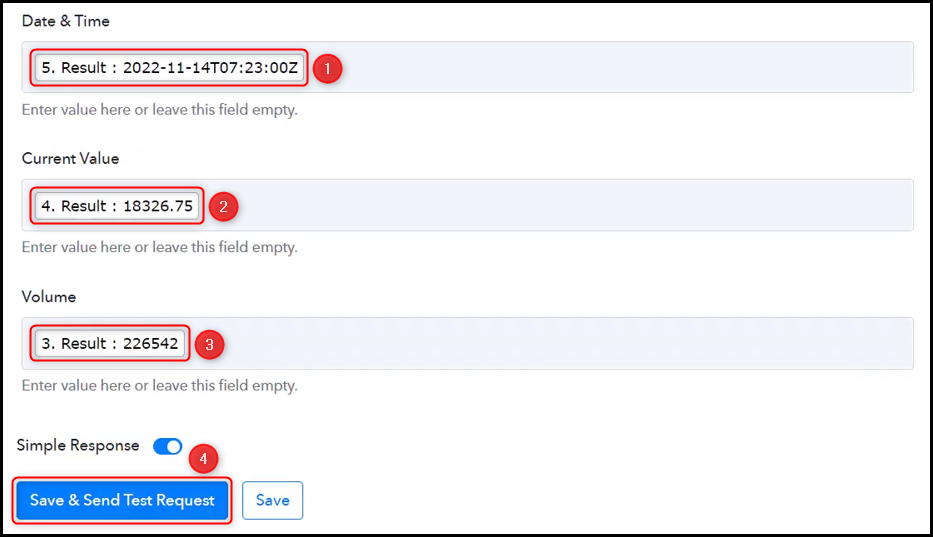
As soon as you click on Save & Send Test Request, the details of the alert will be saved in your designated Google Sheets spreadsheet.
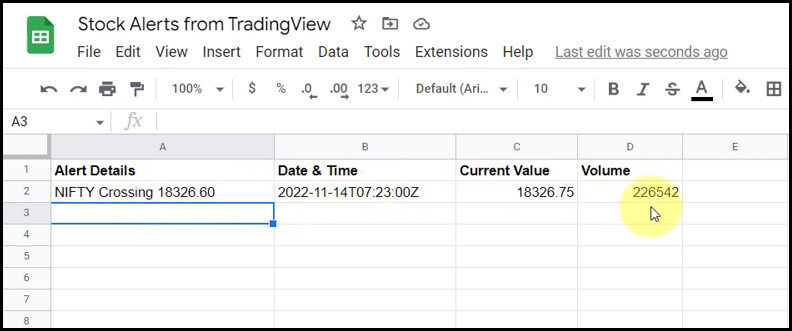
Our automation is now complete, successfully integrating TradingView with Google Sheets. Moving Forward, whenever you receive a new alert on TradingView, it will be automatically saved in your designated Google Sheets spreadsheet.
You can copy this entire workflow by clicking this link.
Sign Up for a free Pabbly Connect account, and start automating your business
Subscribe to our Youtube Channel for more such automation
For any other queries, visit our forum