This article will show you how to connect Typeform with Google Calendar. By setting up this integration, whenever a new user responds to your Typeform, their details will automatically be used to create events in Google Calendar.
The setup process for this automation is straightforward and only needs to be done once. We will utilize Pabbly Connect to accomplish this.
Initially, we will link Typeform to Pabbly Connect to collect fresh entries. Subsequently, we will establish a connection between Pabbly Connect and Google Calendar to generate events for the participants.
Steps to Automatically Create Google Calendar Events from Typeform Responses
1. Sign In / Sign Up to Pabbly Connect and Create a Workflow
2. Setup Typeform as the Trigger App to Gather Responses
3. Add Date / Time Formatter to the Workflow
4. Setup Google Calendar as the Action App to Create Events
Step 1:- Sign In / Sign Up to Pabbly Connect and Create a Workflow
A. Sign In / Sign Up
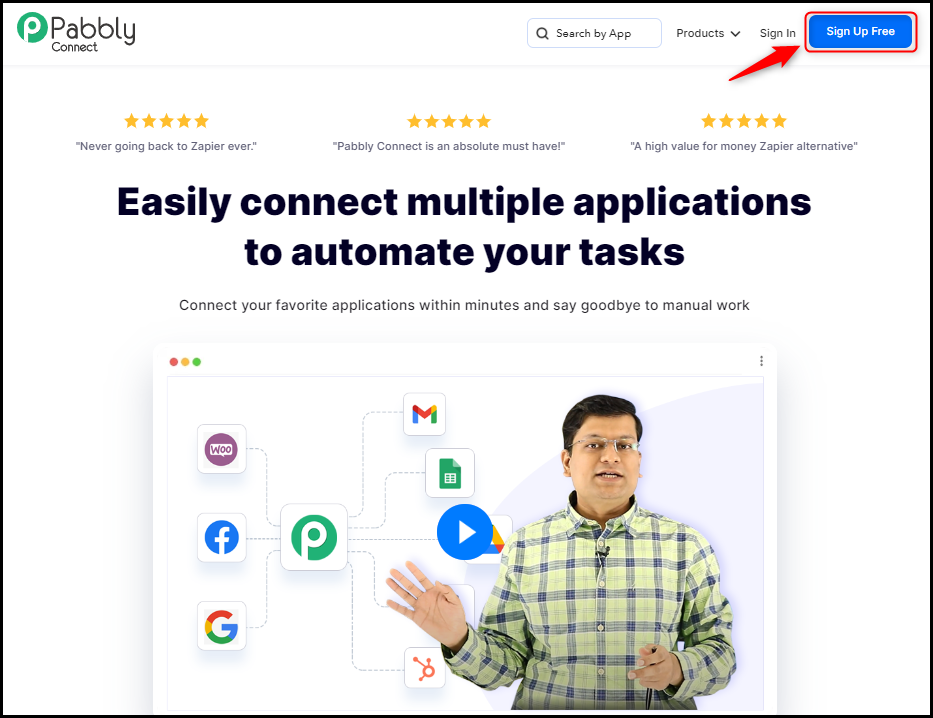
To begin this process, visit Pabbly Connect and create your account by clicking on the ‘Sign Up Free’ button. You can also click on Sign In if you already have an account.
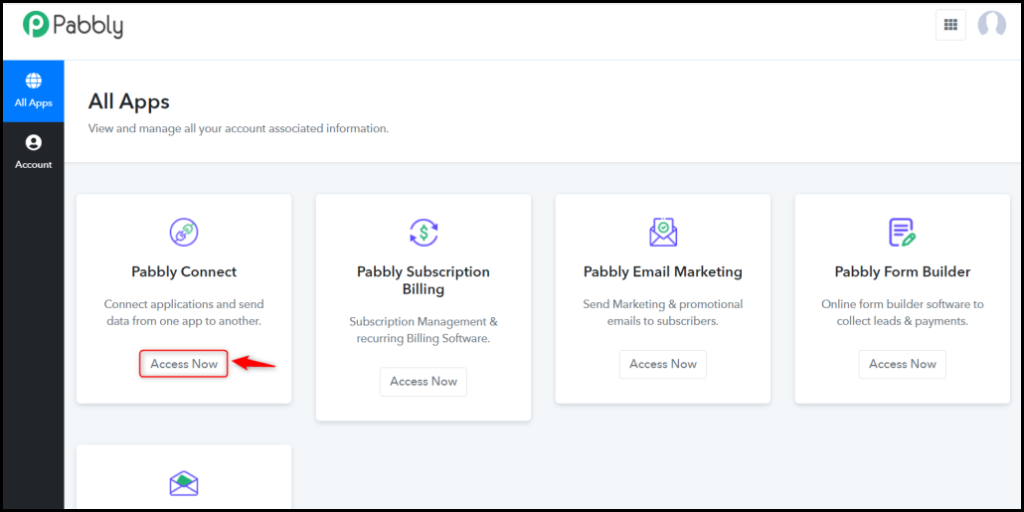
Click on the Pabbly Connect ‘Access Now’ button
B. Create Workflow
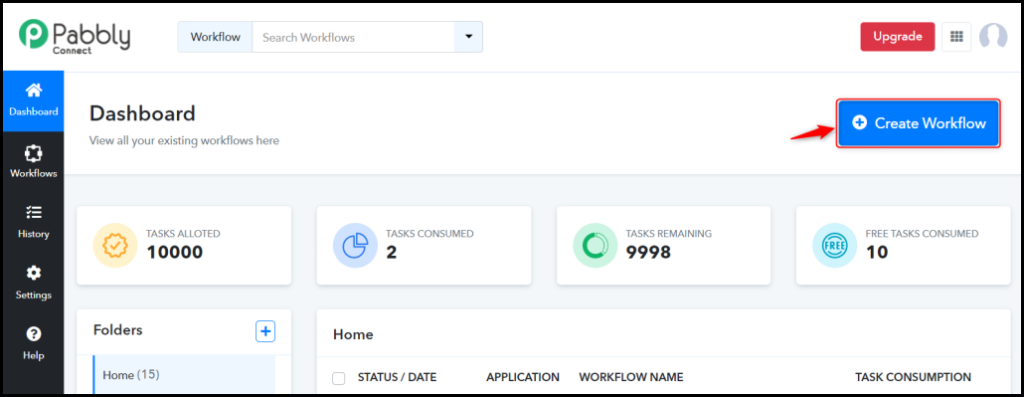
To create a new workflow, click the ‘Create Workflow’ button.
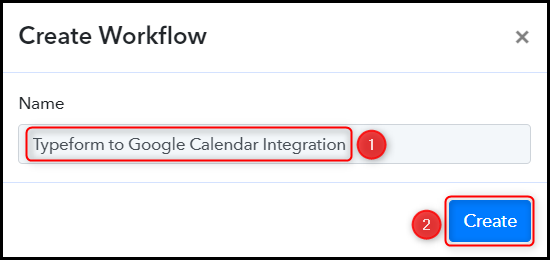
Name your workflow, and click on ‘Create’.
Step 2:- Setup Typeform as the Trigger App to Gather Responses
We will proceed by outlining the process of establishing a connection between Typeform and Pabbly Connect. Once this connection is established, we will be able to obtain respondent details from Typeform.
A. Trigger App
Trigger allows us to specify the application that will receive the data for Pabbly Connect. In our case, it would be Typeform.
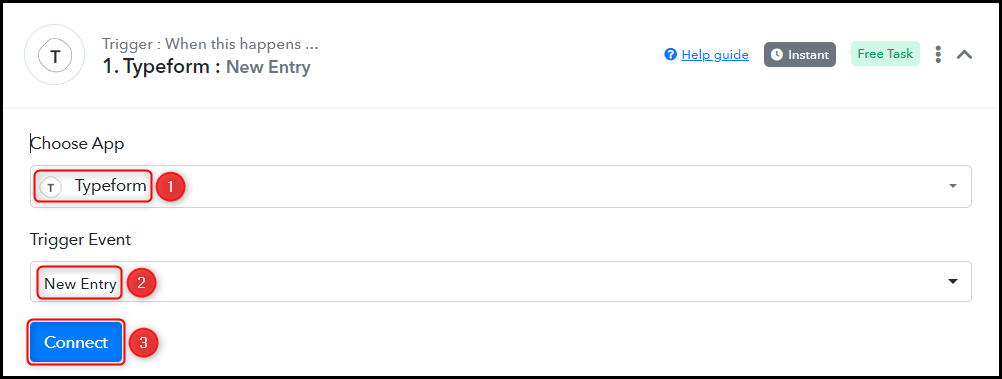
Choose ‘Typeform’ as your Action App, select ‘New Entry’ as a Trigger Event, and click on ‘Connect’.
B. Connect Typeform Account
To link your Typeform account, select ‘Add New Connection’ and then click on ‘Connect With Typeform’. You will then be required to authorize the connection by giving permission.

Choose the Form from which you want to gather responses and press ‘Save & Send Test Request’.

Once you click on Save & Send Test Request, Pabbly Connect will start looking to capture data from Typeform, as indicated by the rotating Waiting For Webhook Response button.

C. Test the Connection
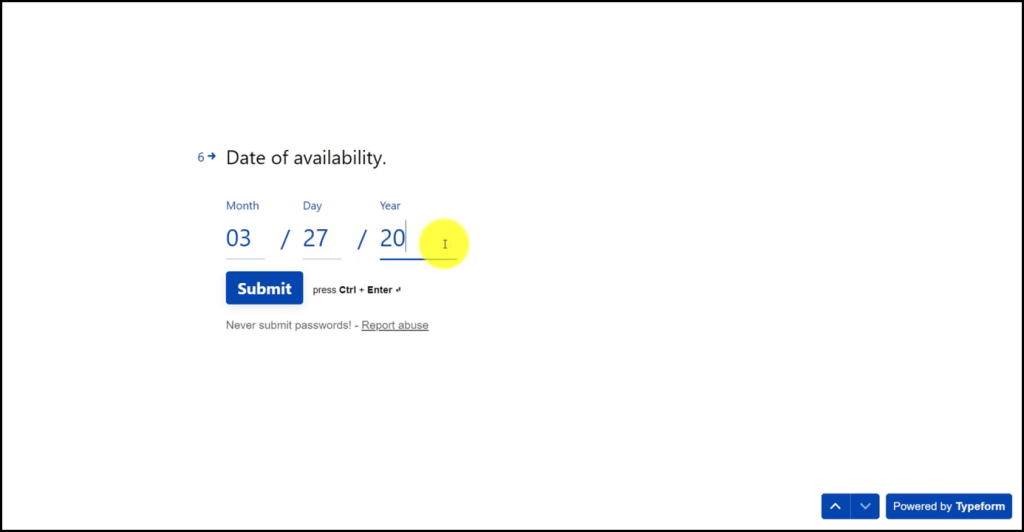
To confirm that the connection between Typeform and Pabbly Connect is functioning correctly, navigate to your Typeform account and submit a test form.
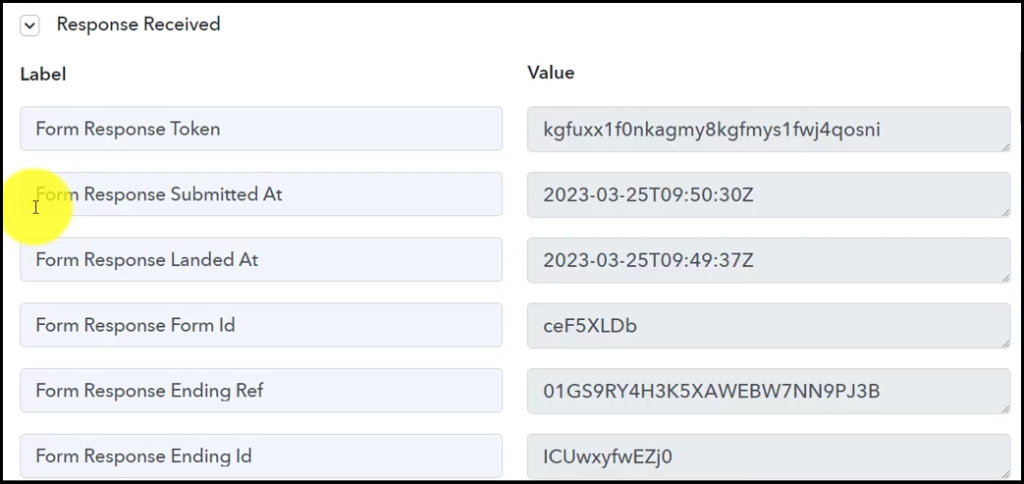
Expand Response Received to check if the participant’s information is visible, thereby validating the connection.
Step 3:- Add Date / Time Formatter to the Workflow
Google Calendar requires us to enter the date in a specific format (2020-04-28T09:30:00Z), the Start and End date we fetched from Typeform responses is not in that format. In order to comply with Google Calendar’s specific date format, we will add a Date / Time Formatter to our workflow.
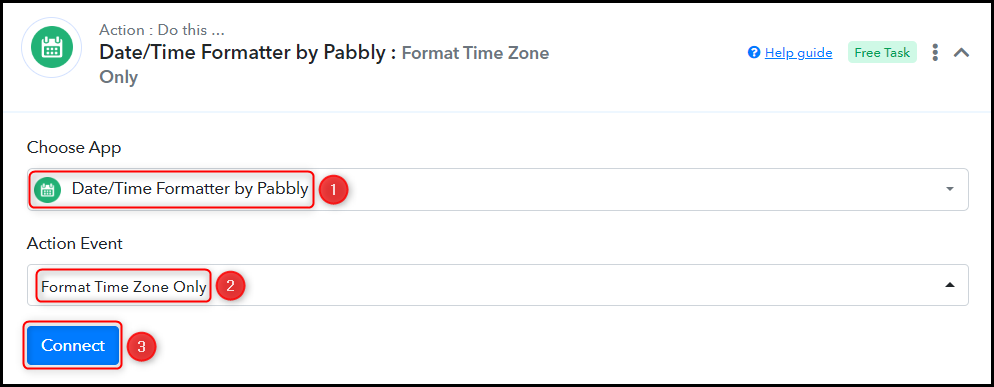
Choose ‘Date/Time Formatter by Pabbly’ as the Action App, select ‘Format Time Zone Only’ as an Action Event, and click on ‘Connect’.
Map the Start Date along with its corresponding time from the step above.
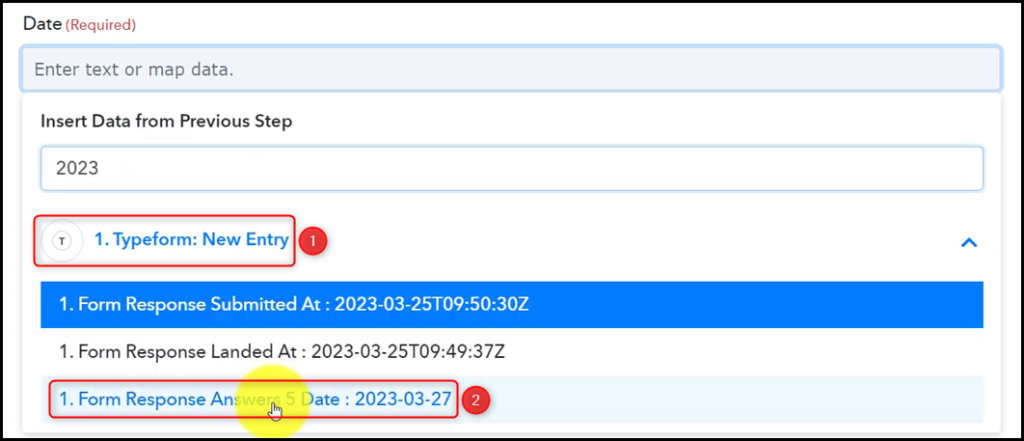

Select From Format of your start date.

Choose your From and To Timezone, and click on ‘Save & Send Test Request’.
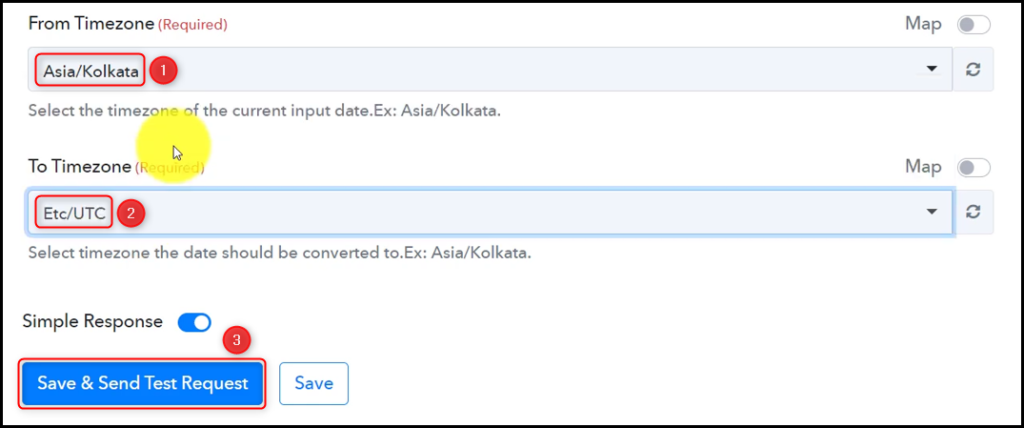
As you click on Save & Send Test Request, the format of your start date will be fixed.

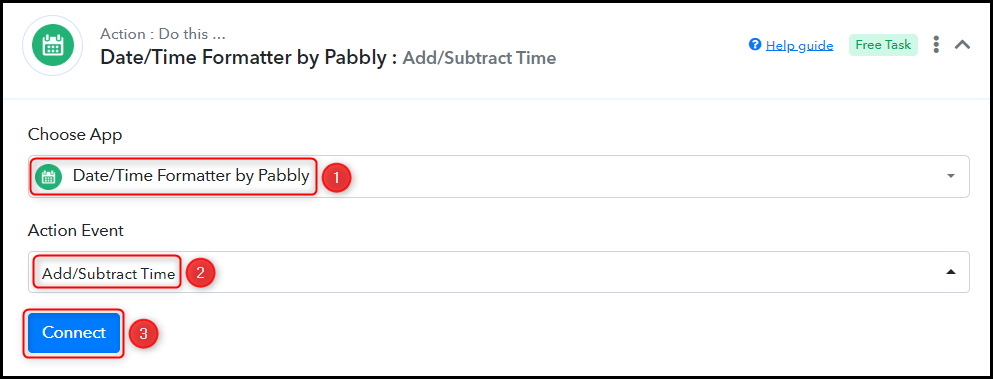
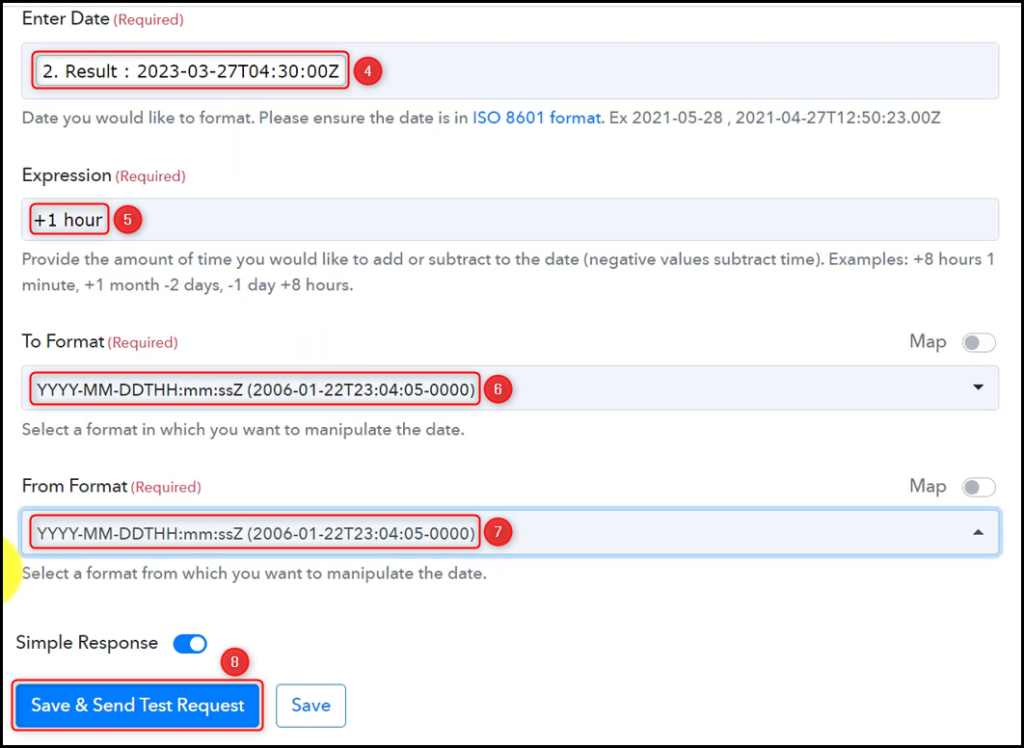
Likewise, generate an End Date by adding some time to your Start date and press ‘Save & Send Test Request’.
Step 4:- Setup Google Calendar as the Action App to Create Events
Action allows us to choose the application that will get executed by the workflow trigger.
Our main objective is to utilize the Typeform responses to generate fresh events in Google Calendar. Therefore, Google Calendar will serve as our Action App.
A. Action App
Choose ‘Google Calendar’ as the Action App, select ‘Create an Event’ as an Action Event, and click on ‘Connect’.
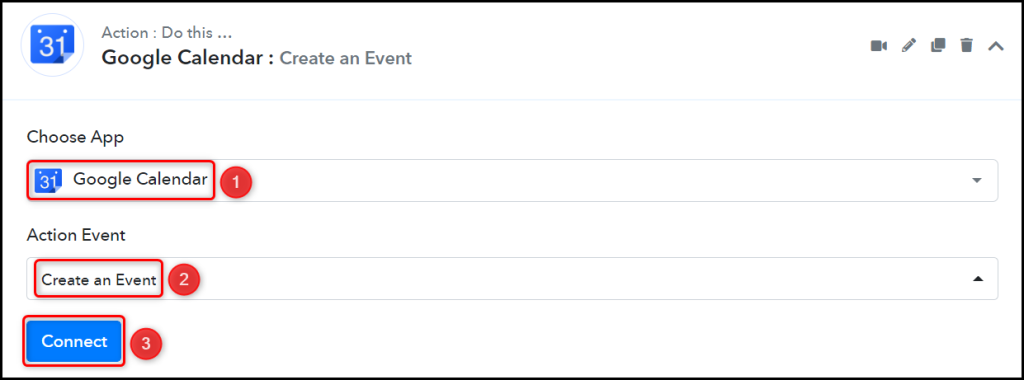
B. Connect Google Calendar Account
To connect with your Google Calendar account, select ‘Add New Connection’, and click on ‘Sign in with Google’. You will also need to grant authorization.
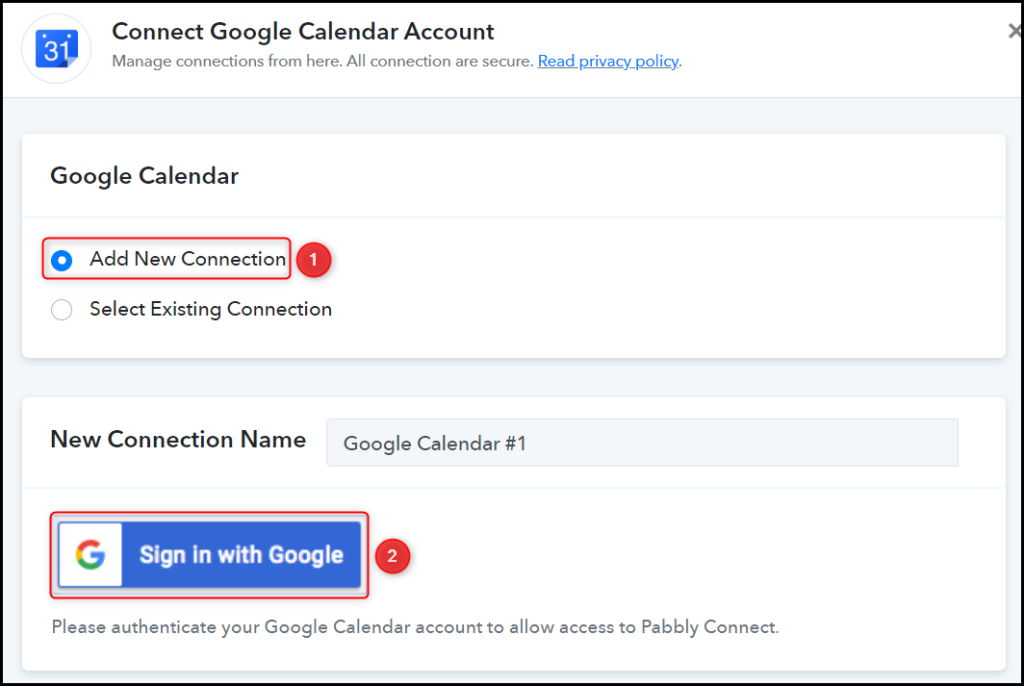
Choose the Calendar to which you would like to add the event.

C. Map Necessary Fields
After successfully linking your Google Calendar account, you only need to map the respondent information from the preceding steps. Mapping guarantees that our data stays dynamic and adapts according to the received responses.
Map the Title from the trigger step.
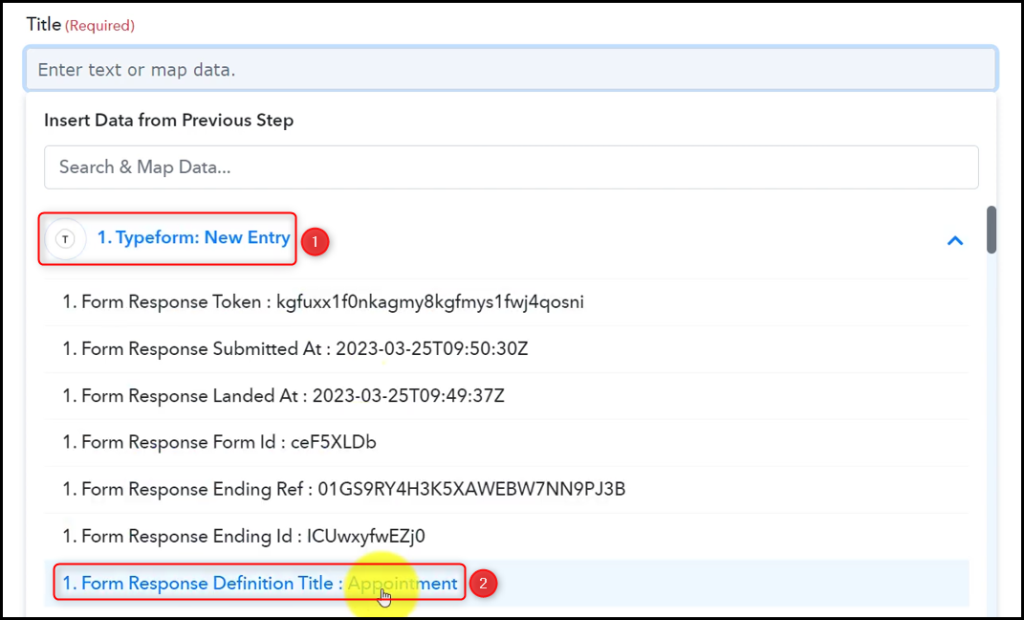

Similarly, map the other fields, leaving the unnecessary ones empty, and click on ‘Save & Send Test Request’.

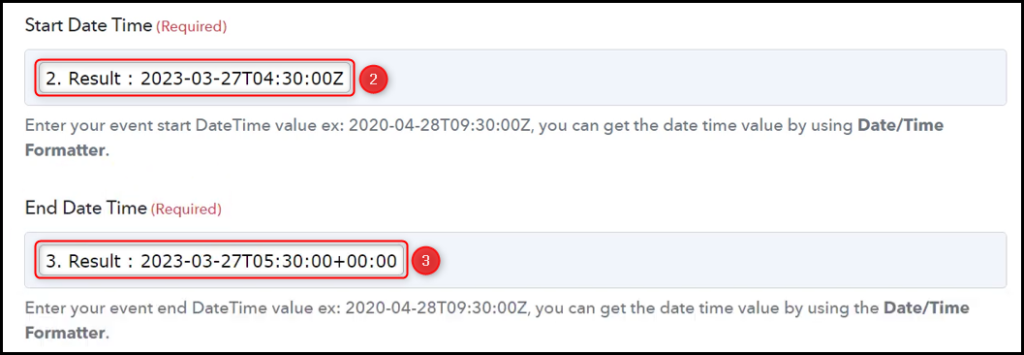

The automation process is finished. Typeform and Google Calendar have been successfully integrated. Henceforth, whenever a new user responds to your Typeform, their information will be automatically utilized to generate a new event in Google Calendar.
Sign Up for a free Pabbly Connect account, and start automating your business
Subscribe to our Youtube Channel for more such automation
For any other queries, visit our forum
