The focus of this article is on integrating Stripe with Notion database. By doing so, payment details of each customer payment via Stripe will be automatically saved as an item in your Notion database.
Setting up this automation is a one-time process and we will be using Pabbly Connect for this purpose.
Initially, we will connect Stripe with Pabbly Connect to retrieve details of any new payments made. Then, we will link Pabbly Connect with Notion and store the payment information in your Notion database.
Steps to Automatically Save Stripe Payment Details in Notion Database
1. Sign In / Sign Up to Pabbly Connect and Create a Workflow
2. Setup Stripe as the Trigger App to Fetch Payment Details
3. Add a Number Formatter to Correct the Payment Amount
4. Setup Notion as the Action App to Store Payment Details
Step 1:- Sign In / Sign Up to Pabbly Connect and Create a Workflow
A. Sign In / Sign Up
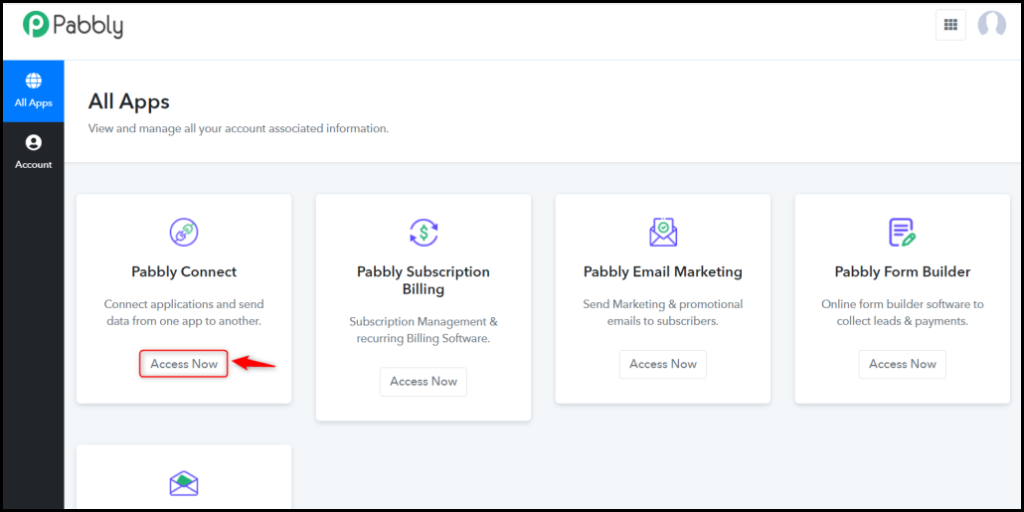
To begin this process, visit Pabbly Connect and create your account by clicking on the ‘Sign Up Free’ button. You can also click on Sign In if you already have an account.

Click on the Pabbly Connect ‘Access Now’ button
B. Create Workflow
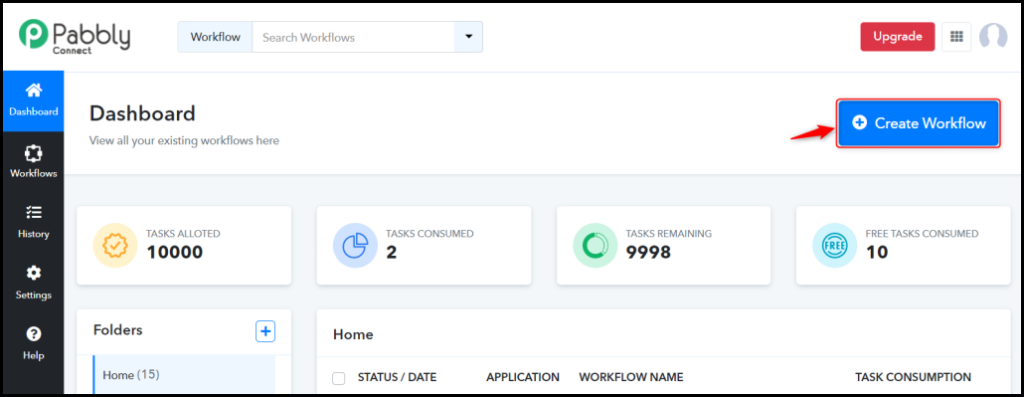
To create a new workflow, click the ‘Create Workflow’ button.
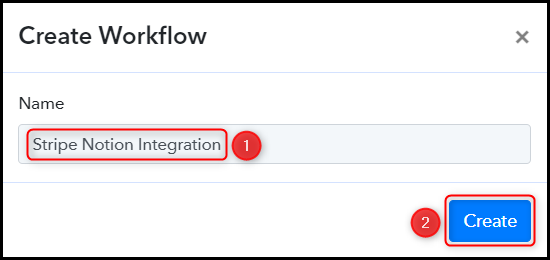
Name your workflow, and click on ‘Create’.
Step 2:- Setup Stripe as the Trigger App to Fetch Payment Details
Our focus will be on the procedures involved in connecting Stripe with Pabbly Connect. This will enable us to retrieve payment information from Stripe.
A. Trigger App
Trigger enables us to select the application from which Pabbly Connect will retrieve the data. In this instance, it would be Stripe.
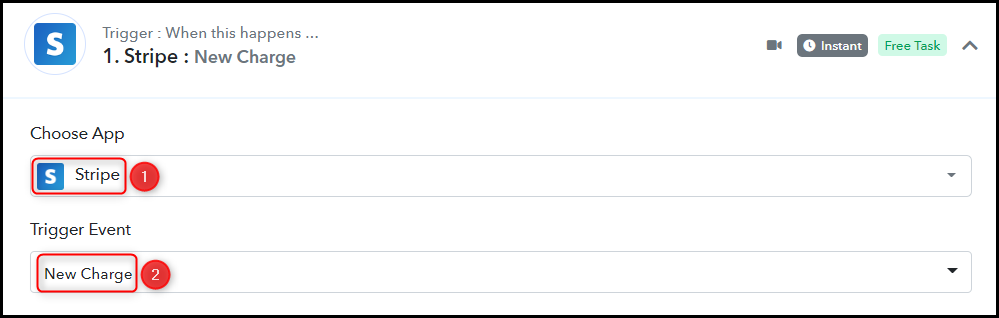
Expand the Trigger Step, choose ‘Stripe’ as your Action App, and select ‘New Charge’ as an Action Event.
B. Webhook URL
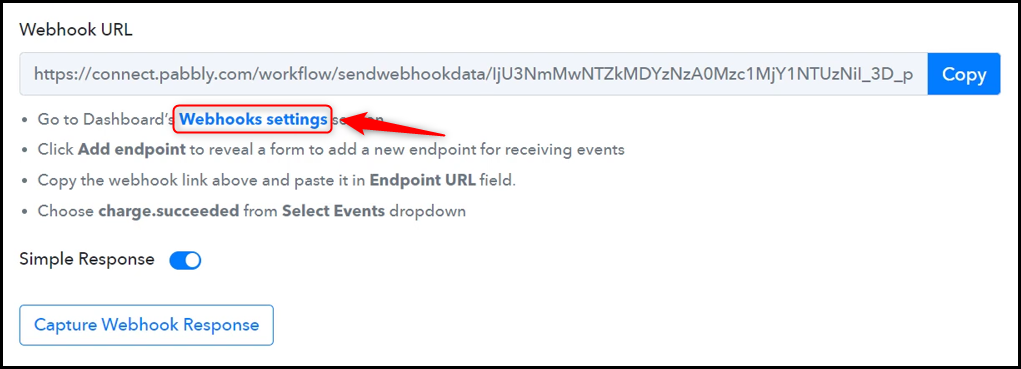
You will be provided with a new Webhook URL which will be used to connect your Mailchimp account. Copy the Webhook URL.

Once the Webhook URL is copied, Pabbly Connect will immediately begin searching for data from Stripe, which is indicated by the rotating Waiting For Webhook Response button.

C. Connect Stripe Account
To establish a connection with your Stripe account, you need to log in to your Stripe account and click on ‘Webhooks settings’.
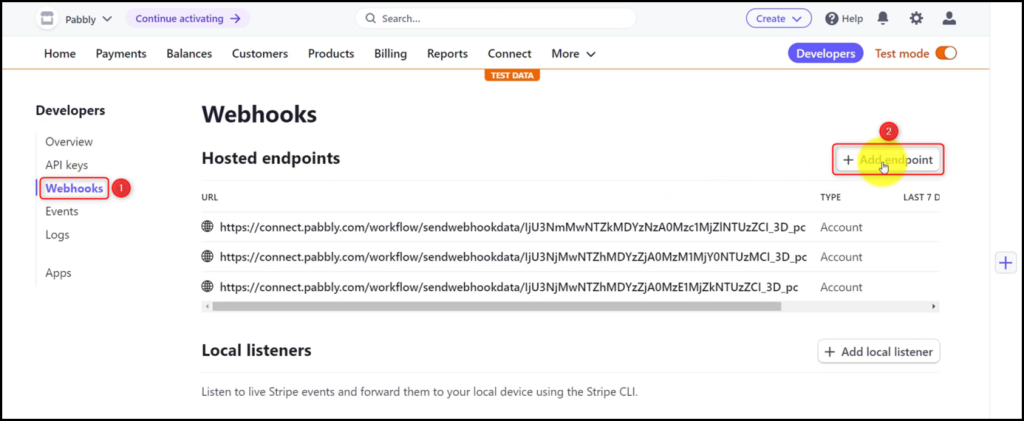
Once you have been redirected to your Stripe account, select ‘Webhooks’ and click the ‘Add endpoint’ button.
In the Endpoint URL field, paste the previously copied Webhook URL, and then click on ‘Select events’.
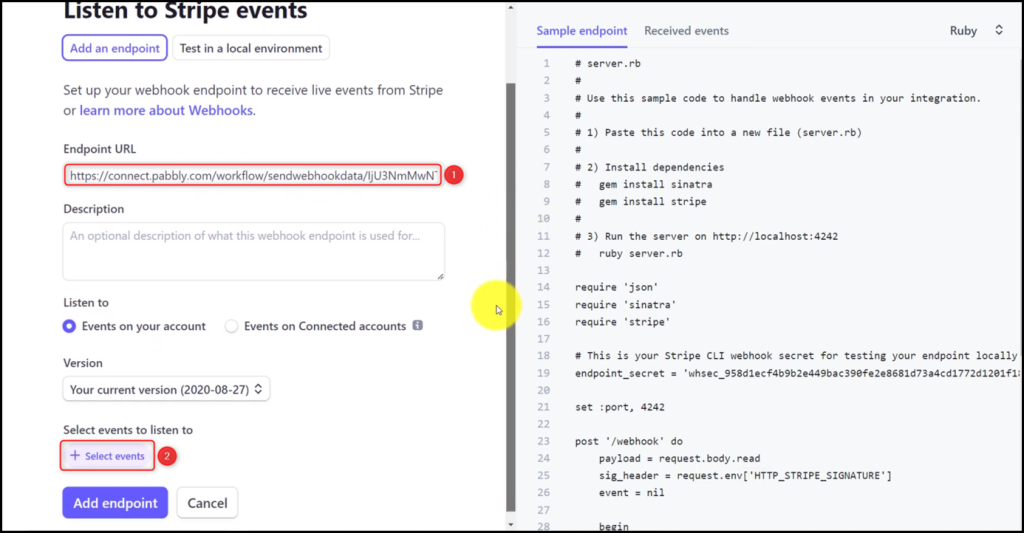
Choose ‘charge.succeeded’ as events to send, and click on ‘Add events’.
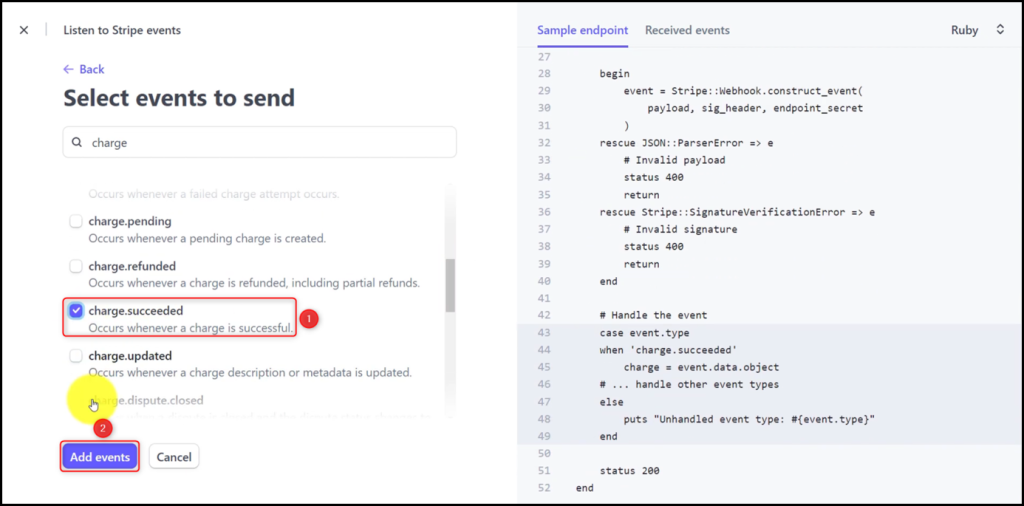
Finally, click on the ‘Add endpoint’ button to establish the connection.

D. Test Connection
Now, we can check the newly established connection by performing a test payment. Open your Stripe payment form in an incognito tab, enter the required information, and initiate a payment.
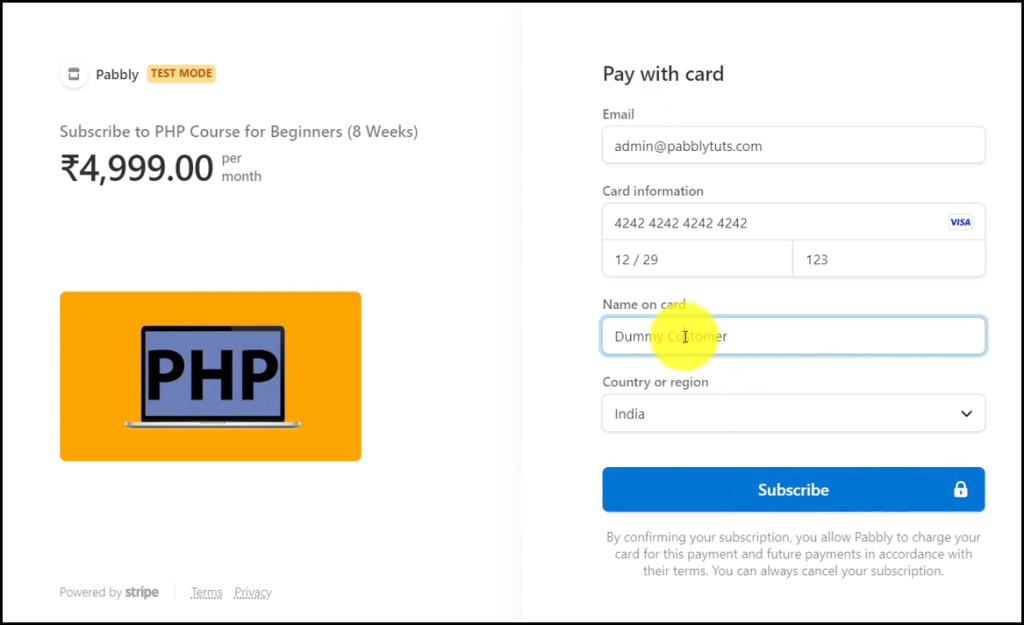
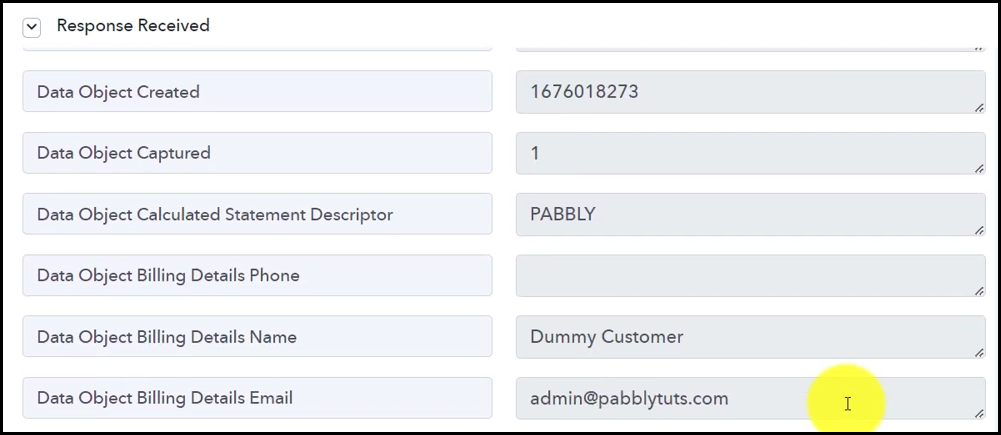
Upon completion of the payment, you should receive a successful payment response accompanied by the relevant customer information.
Step 3:- Add a Number Formatter to Correct the Payment Amount
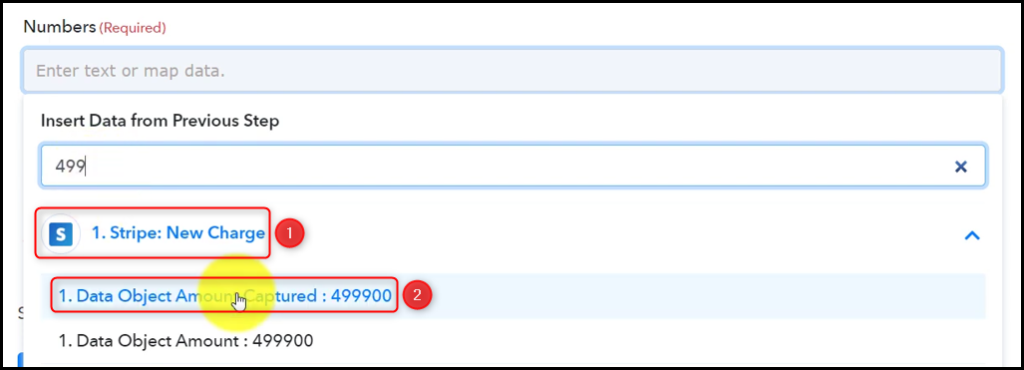
The payment amount obtained from Stripe is inaccurate, as it includes two extra zeroes. To obtain the correct amount, we need to divide the value by 100. To achieve this, we will incorporate a Number Formatter into our workflow.
Choose ‘Number Formatter by Pabbly’, select ‘Perform Math Operation’ as an Action Event, and click on ‘Connect’.

In the Numbers section of the Number Formatter, map the payment amount from the previous step, enter ‘100’, and separate both values with a comma. This will inform Pabbly that the operation needs to be performed between these two values.

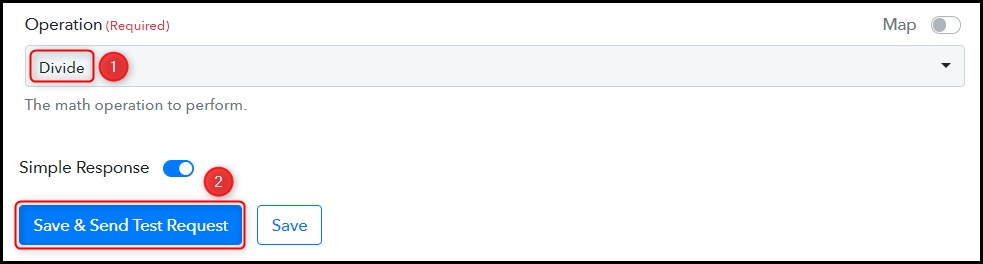
Choose ‘Division’ as the desired operation, and then click on ‘Save & Send Test Request’.
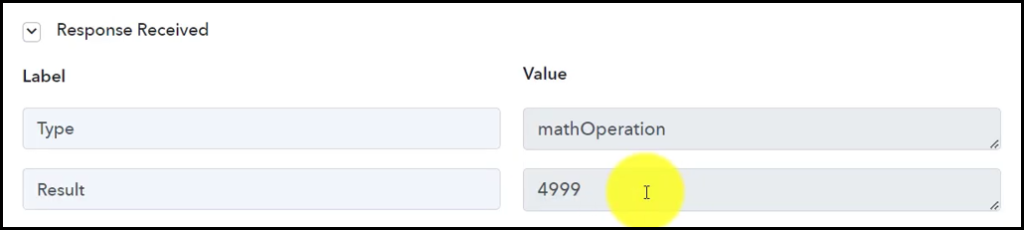
After the successful execution of the Number Formatter, the payment amount will be appropriately divided, resulting in a corrected and trimmed down amount.
Step 4:- Setup Notion as the Action App to Store Payment Details
Action allows us to choose the application that will get executed by the workflow trigger.
Our primary goal is to save the Stripe payment information to our Notion database, hence we will use Notion as our Action App.
A. Action App
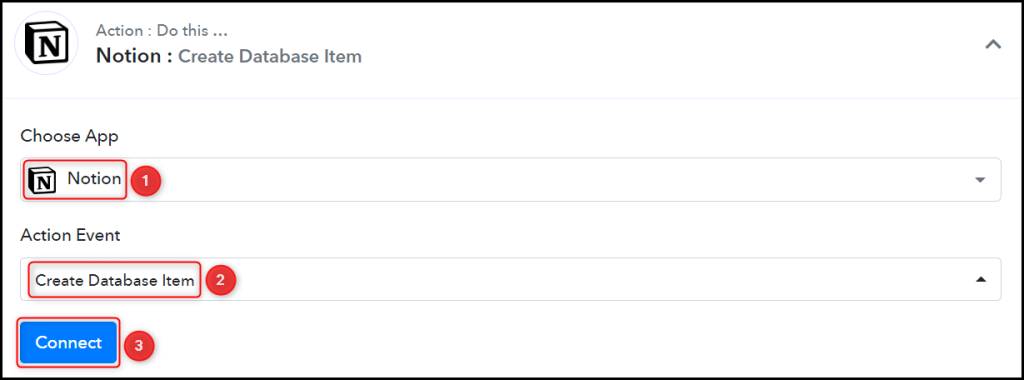
Choose ‘Notion’ as your Action App, select ‘Create Database Item’ as an Action Event, and click on ‘Connect’.
B. Connect Notion Account
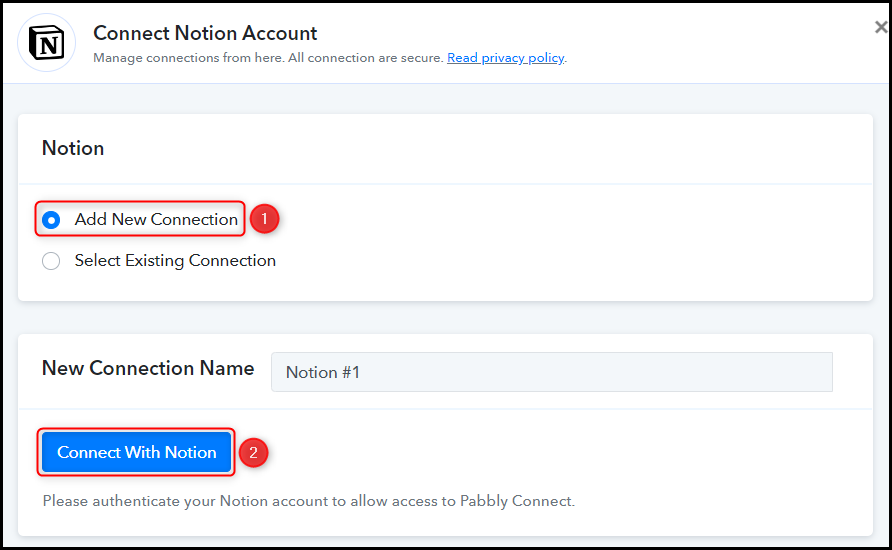
To connect with your Notion account, select ‘Add New Connection’, and click on ‘Connect With Notion’. Additionally, you will have to provide the required authorization.
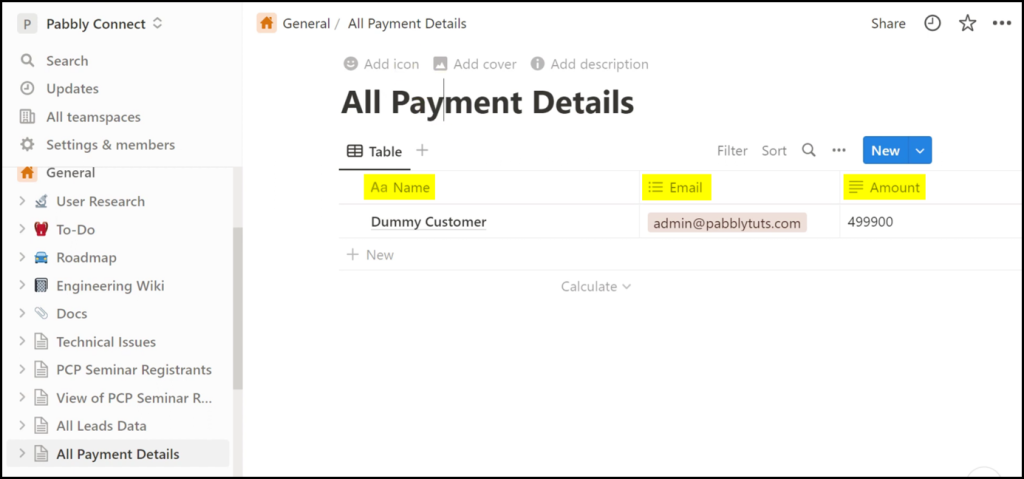
Select the Database in which you want to save the payment information.

After selecting your desired database, its properties will become visible as fields within your Action Step.
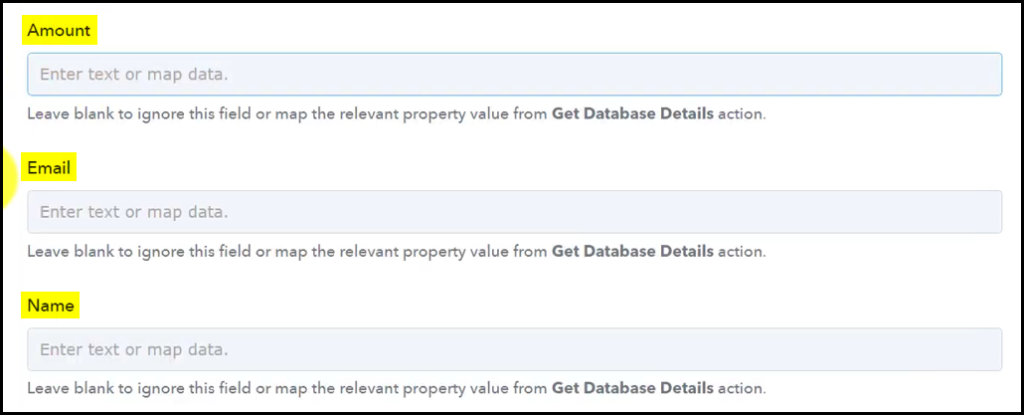
C. Map Necessary Fields
With your Notion account successfully linked, the subsequent step involves mapping the payment information obtained in the previous steps. This process enables our data to remain dynamic and change based on the received responses.
Map the Amount from the step above.


Map the remaining fields in a similar manner and click on ‘Save & Send Test Request’.
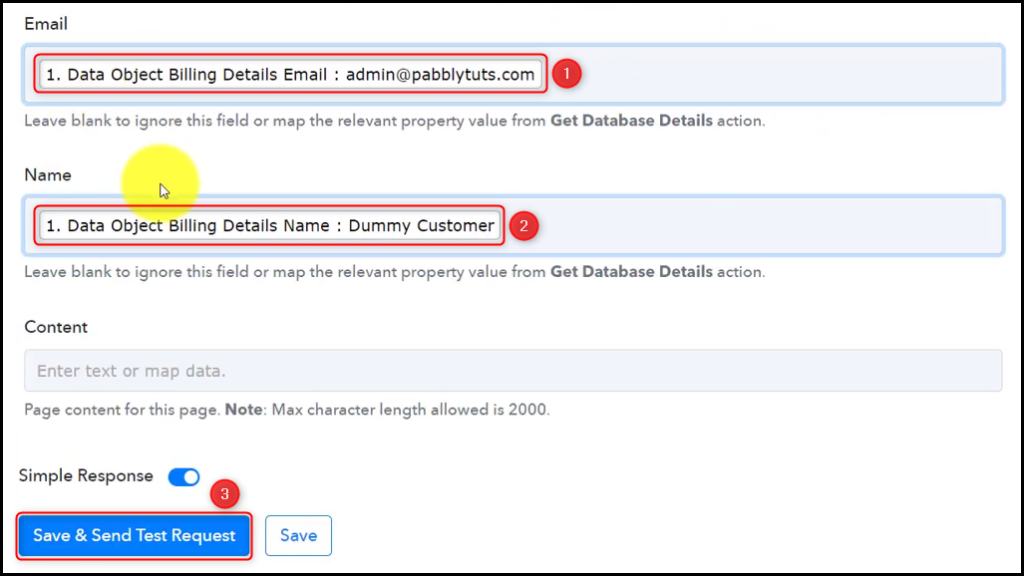
As soon as you click on ‘Save & Send Test Request’, the payment information will be stored in your Notion database.
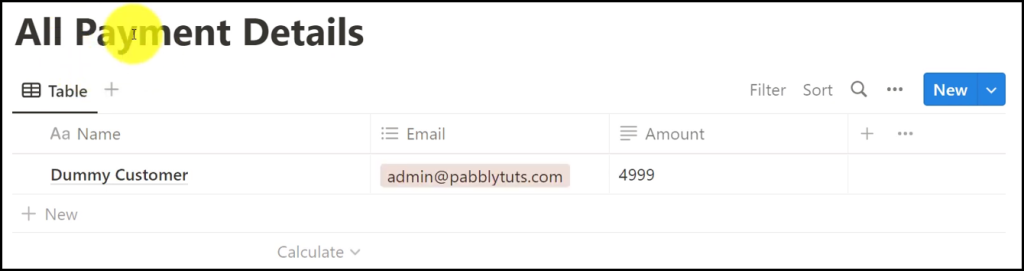
Our automation is now complete. We have successfully integrated Stripe with Notion. From now on, whenever a customer makes a successful payment via Stripe, their details will be automatically saved to your Notion database.
You can copy this entire workflow by clicking this link.
Sign Up for a free Pabbly Connect account, and start automating your business
Subscribe to our Youtube Channel for more such automation
For any other queries, visit our forum