Let us discuss how you can integrate Instamojo with WebinarKit and automatically register webinar participants in WebinarKit upon receiving payment on Instamojo.
This automation requires a one-time setup, for which we will use Pabbly Connect.
We will link Instamojo with Pabbly Connect to capture successful payments, then link Pabbly Connect with WebinarKit, and register participants for the webinar using the payment details.
Steps to Automatically Register Users in WebinarKit on Successful Instamojo Payments
1. Sign In / Sign Up to Pabbly Connect and Create a Workflow
2. Establish a connection between Instamojo and Pabbly Connect
3. Setup Instamojo as the Action App to Get Full Details
4. Setup WebinarKit as the Action App to Register Users
5. Add Text Formatter to the Workflow
6. Map the Necessary Fields
Step 1:- Sign In / Sign Up to Pabbly Connect and Create a Workflow
A. Sign In / Sign Up
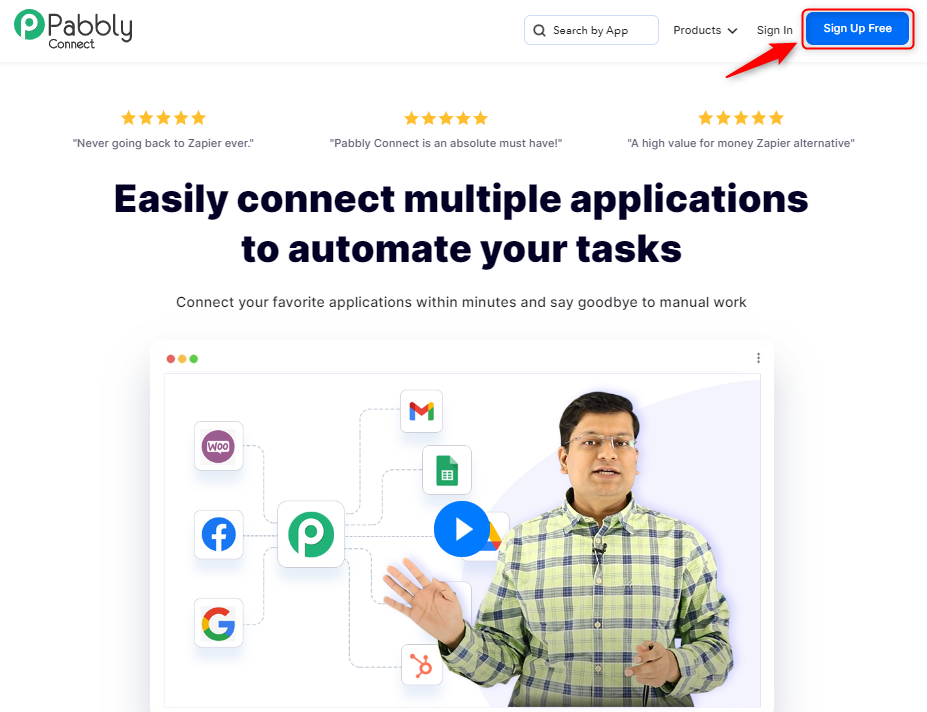
To begin this process, visit Pabbly Connect and create your account by clicking on the ‘Sign Up Free’ button. You can also click on Sign In if you already have an account.
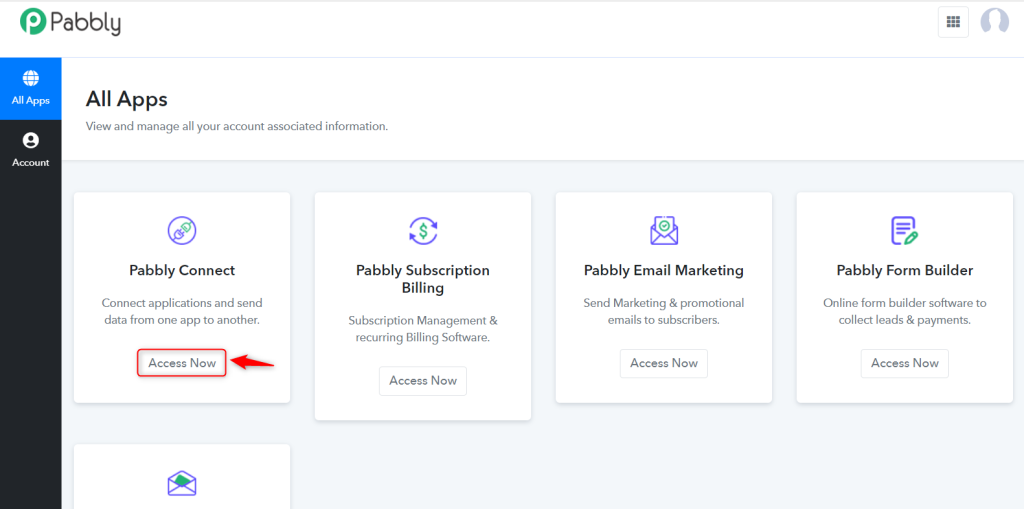
Click on the Pabbly Connect ‘Access Now’ button
B. Create Workflow
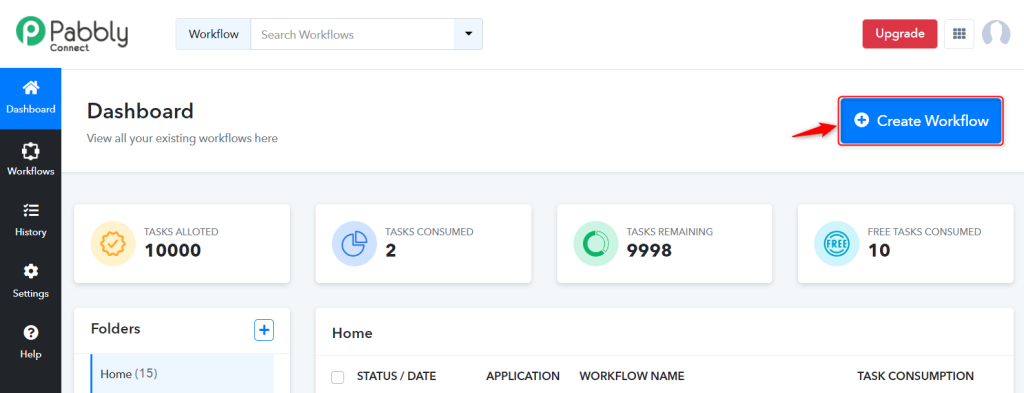
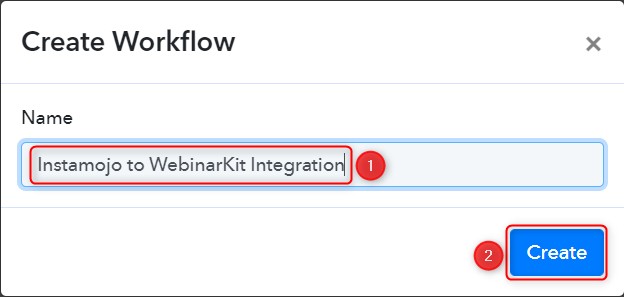
To create a new workflow, click the ‘Create Workflow’ button.
Name your workflow, and click on ‘Create’.
Step 2:- Establish a connection between Instamojo and Pabbly Connect
We will now look at the steps through which we can establish a link between Instamojo and Pabbly Connect. This will help us capture data for each successful payment.
A. Trigger App
Trigger allows us to choose the application that will receive the data for Pabbly Connect. In our case, it would be Instamojo.
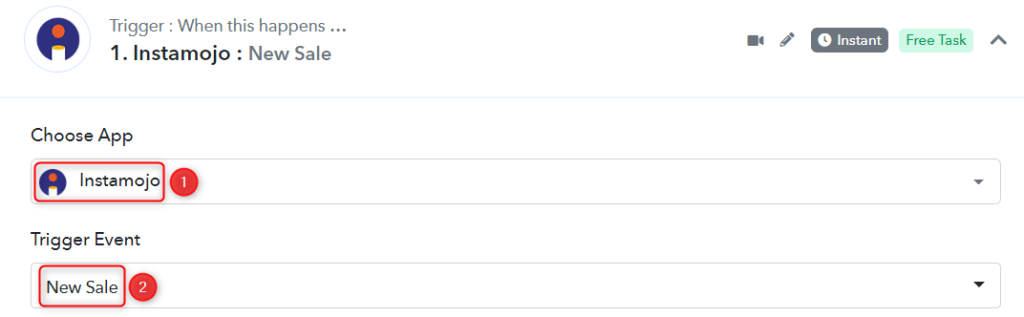
Expand the Trigger Step, choose ‘Instamojo’ as your Action App, and select ‘New Sale’ as an Action Event.
B. Webhook URL
A new Webhook URL will get generated. You will use this Webhook URL to create a connection with your Instamojo account. Copy the Webhook URL.
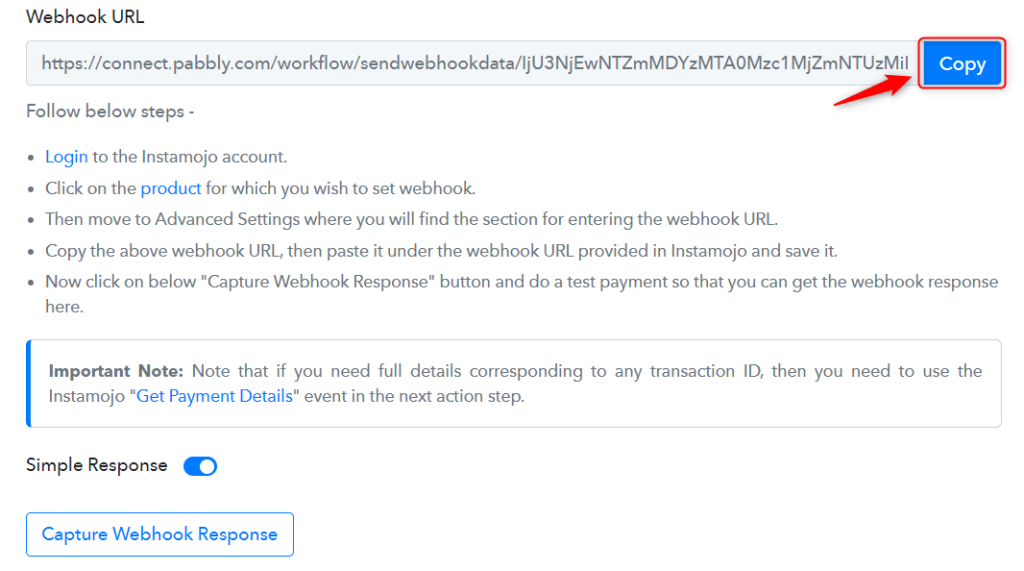
As soon as you Copy the Webhook URL, Pabbly Connect will start looking to capture data from Instamojo, as indicated by the rotating Waiting For Webhook Response button.

C. Connect Instamojo Account
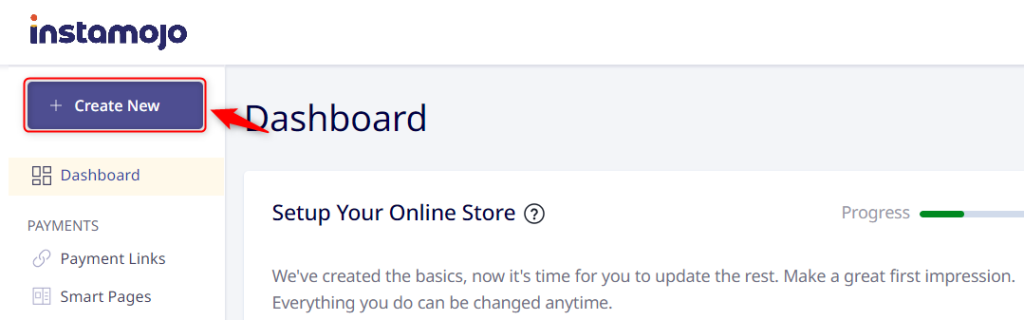
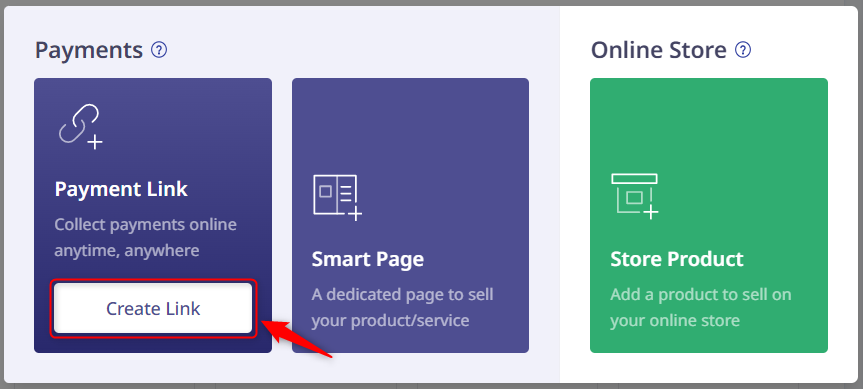
To connect with your Instamojo account, go to your Instamojo dashboard and click on ‘Create New’.
Click on ‘Create Link’ under the Payment Link tile.
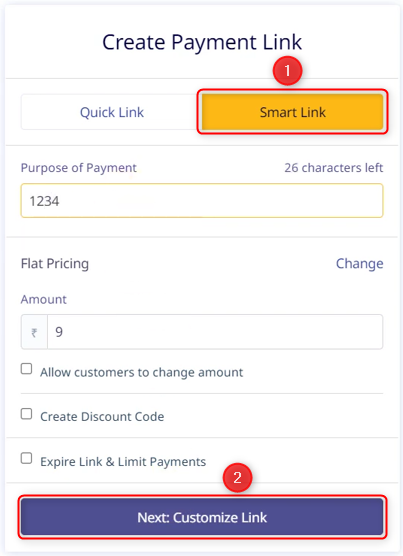
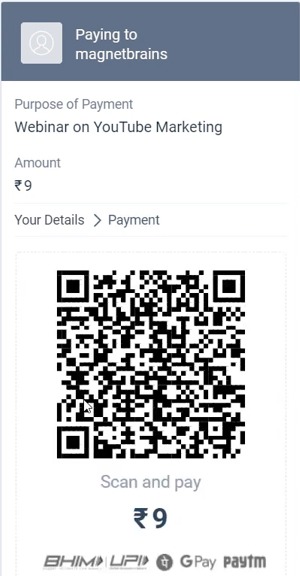
You will be prompted to Create a Payment Link. Select ‘Smart Link’, enter the Purpose of Payment, choose ‘Flat Pricing’ as your Smart Pricing Type, enter the Amount, and click on ‘Customize Link’.
Under the Update Payment Link, select ‘Smart Action’ > ‘Add Webhook’, paste the Webhook URL we copied earlier, and click on ‘Done’. This will establish a link between Instamojo and Pabbly Connect.

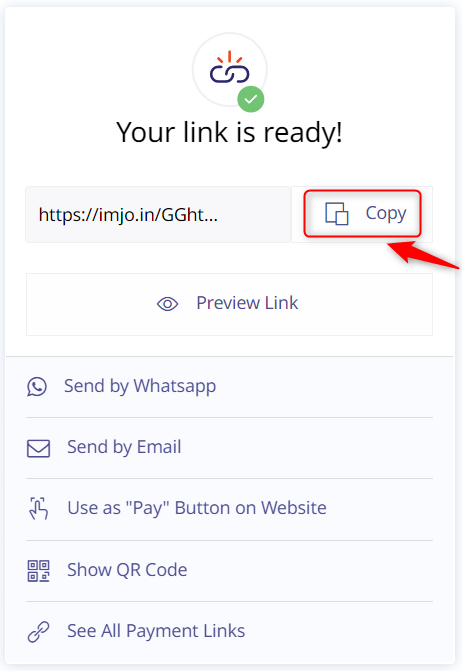
We have successfully generated a payment link and can use this link to collect payments. We have also established a connection between Instamojo and Pabbly Connect using the Webhook URL.
D. Test the Connection
You can now use this payment link to make a dummy transaction and check if your connection is successful or not.
Copy, paste, and open the payment link into an Incognito Tab.
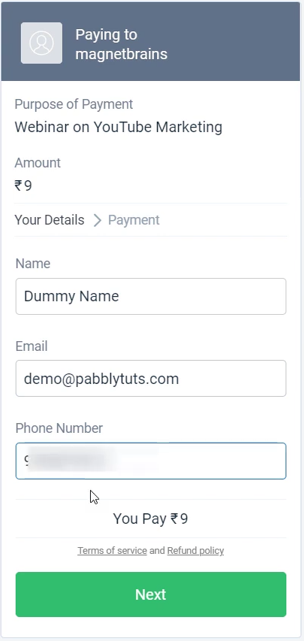
Fill up the payment form, click on ‘Next’ and make the payment.
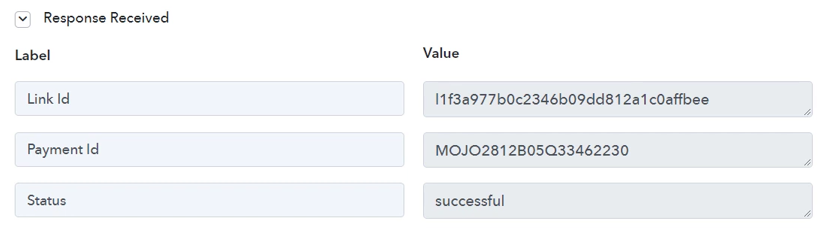
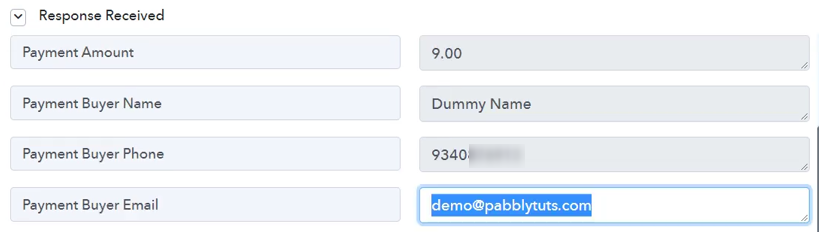
Switch back to Pabbly Connect, and expand Response Received. If the payment is successful, its status will be visible as such, along with the Payment ID.
Step 3:- Setup Instamojo as the Action App to Get Full Details
Action allows us to choose the application that will get executed by the workflow trigger.
You will notice that the data we captured from Instamojo does not contain full details of the customer. To get these details, we have to set up Instamojo as our Action App.
A. Action App
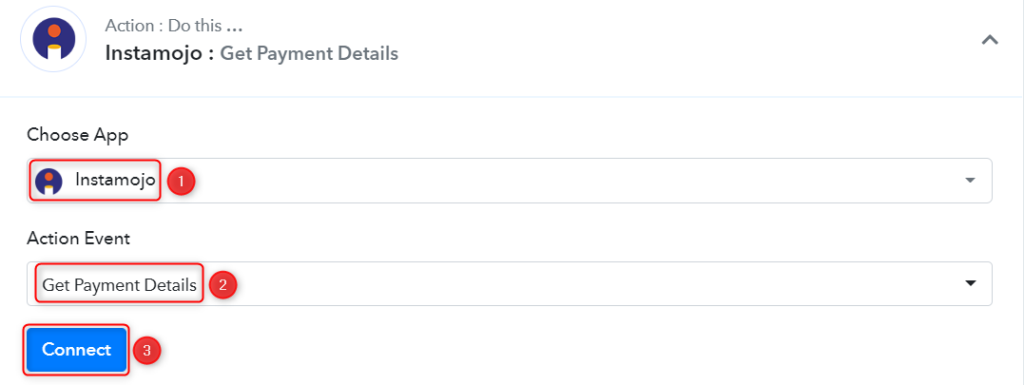
Choose ‘Instamojo’ as the Action App, select ‘Get Payment Details’ as an Action Event, and click on ‘Connect’.
B. Connect Instamojo Account
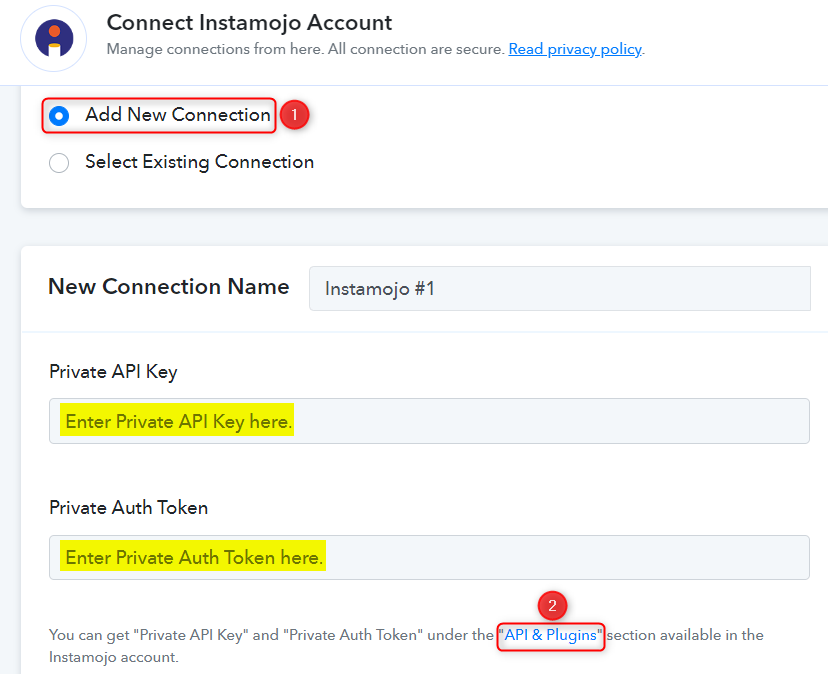
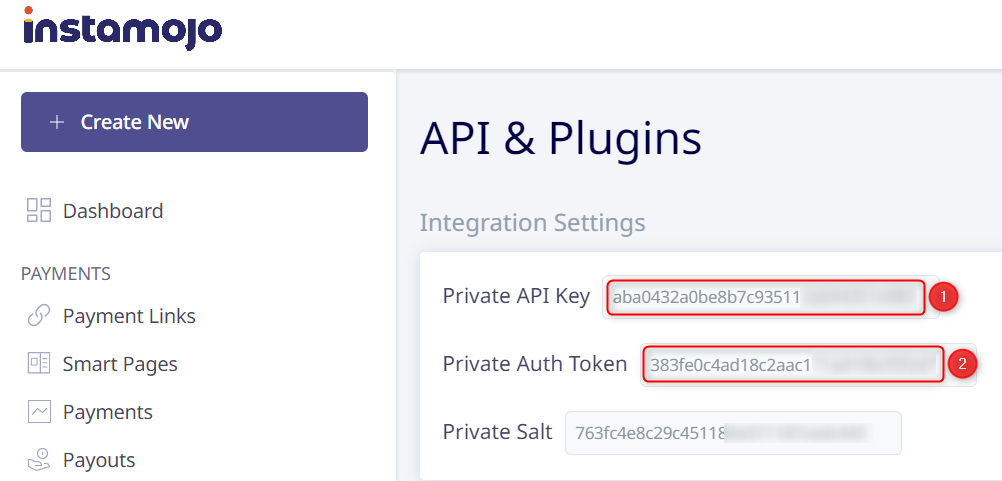
To connect with your Instamojo account, select ‘Add New Connection’. You will be asked to enter your Private API Key and Private Auth Token. To find them, click on ‘API & Plugins’
You will be redirected to your Instamojo account. Copy the Private API Key and Private Auth Token.
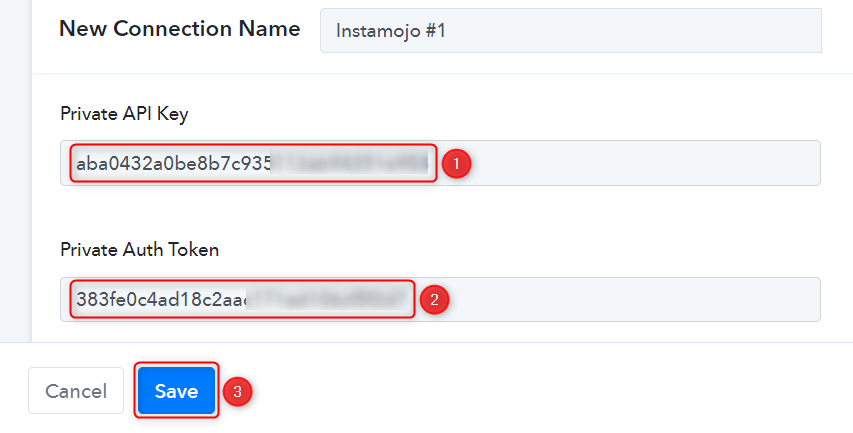
Paste both in their respective fields, and click on ‘Save’.
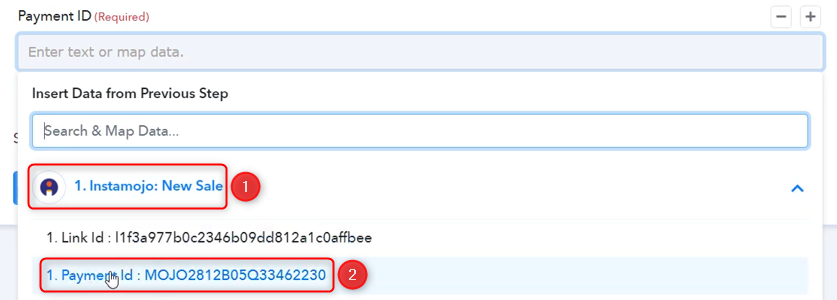
C. Map Payment ID
Since we have already captured the Payment ID in Trigger Step, all we need is to map it from above. Mapping ensures our data remains dynamic and changes as per the received responses.
Map the Payment ID from the step above, and click on ‘Save & Send Test Request’.
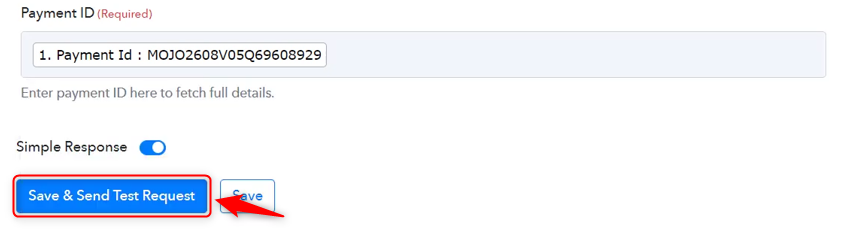
You will receive a response containing the payment details.
Step 4:- Setup WebinarKit as the Action App to Register Users
Action allows us to choose the application that will get executed by the workflow trigger.
We essentially want to register users for the webinar in WebinarKit. Thus, WebinarKit will be our Action App.
A. Action App
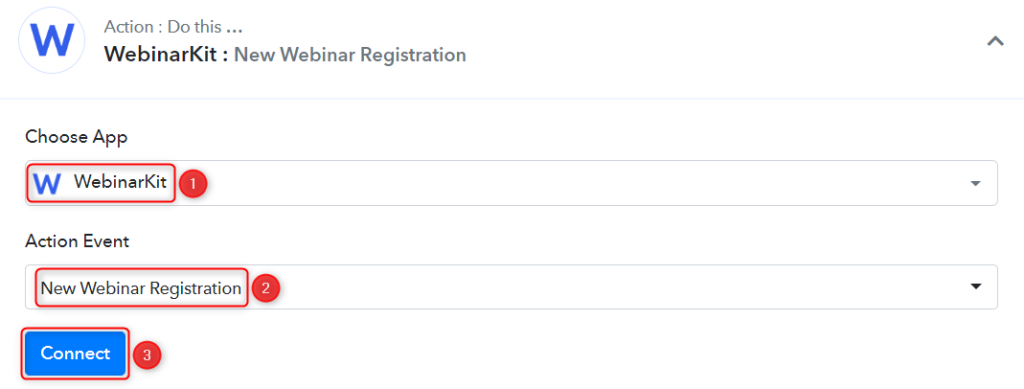
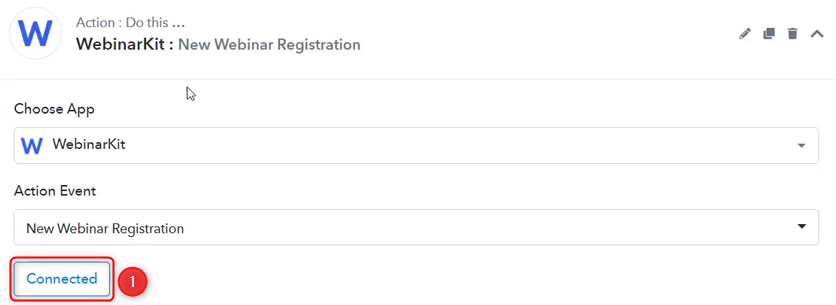
Choose ‘WebinarKit’ as the Action App, select ‘New Webinar Registration’ as an Action Event, and click on ‘Connect’.
B. Add New Connection
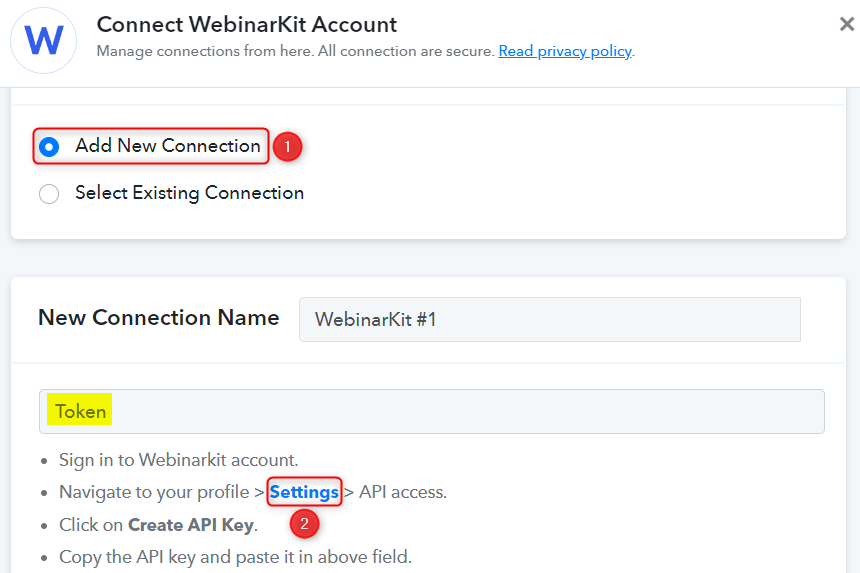
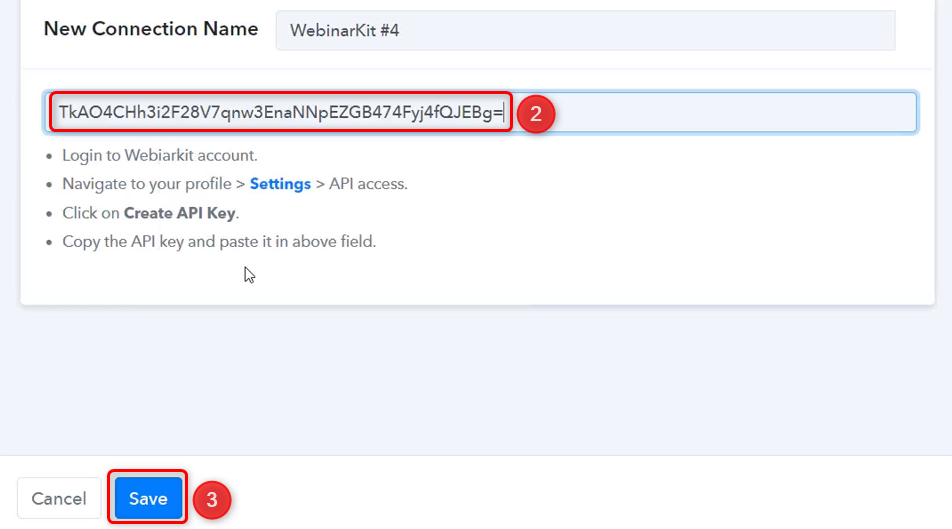
To connect with your WebinarKit account, select ‘Add New Connection’. You will be asked to enter your API Key / Token. Log in to your WebinarKit account, and click on ‘Settings’ to find your Token.
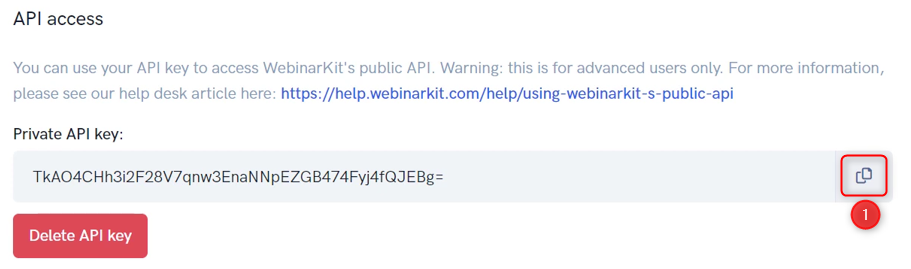
Scroll down, copy the Private API Key, paste it into its given field, and click on ‘Save’.
Select the Webinar ID in which you want to register the users.

Step 5:- Add Text Formatter to the Workflow
WebinarKit requires us to enter First Name and Last Name in separate fields. But the data we fetched from Instamojo has a Full Name. To split the full name into two separate fields, we need to add a Text Formatter to our workflow.
Add an Action Step between the two steps by clicking the ‘+’ button.

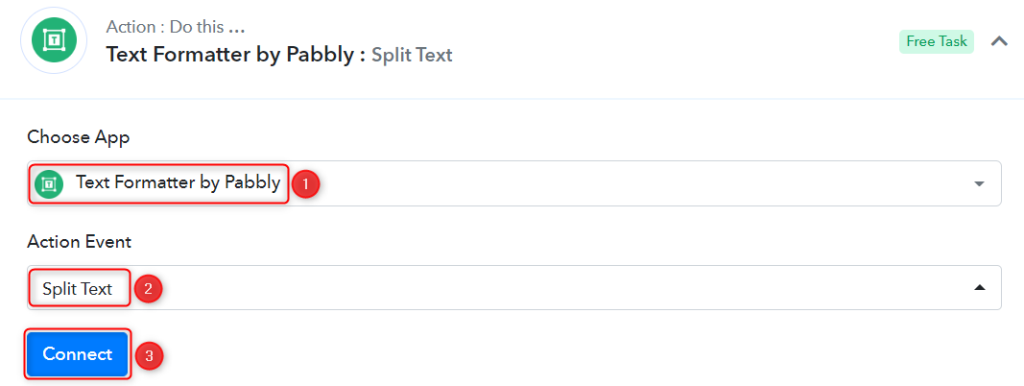
Choose ‘Text Formatter by Pabbly’ as your Action App, select ‘Split Text’ as an Action Event, and click on ‘Connect’.
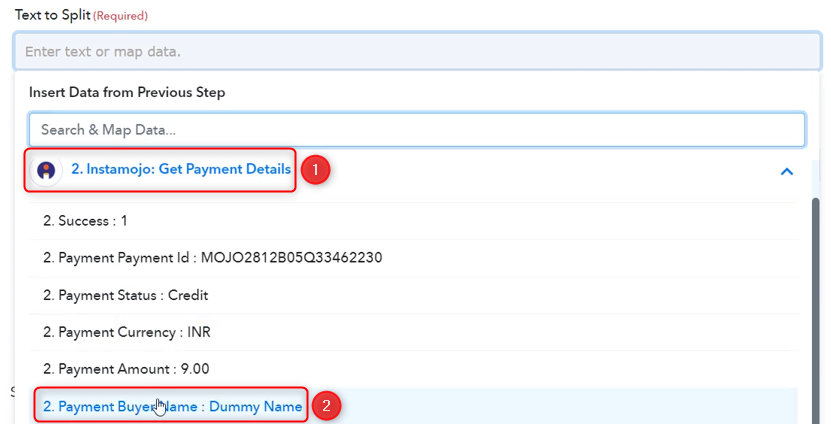
In Text to Split Field, map the Full Name from the step above.
Enter ‘{{space}}’ as your Separator to split the text on either side of the space.

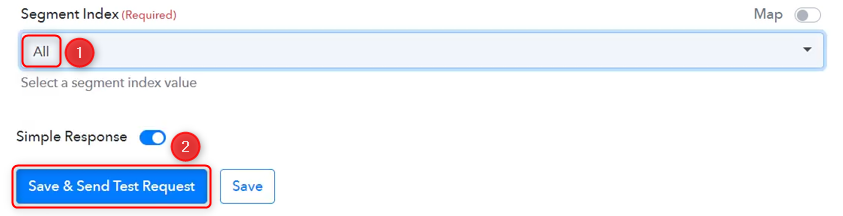
To retain the entire data on either side of the space, select ‘All’ as the Segment Index, and click ‘Save And Send Test Request’.
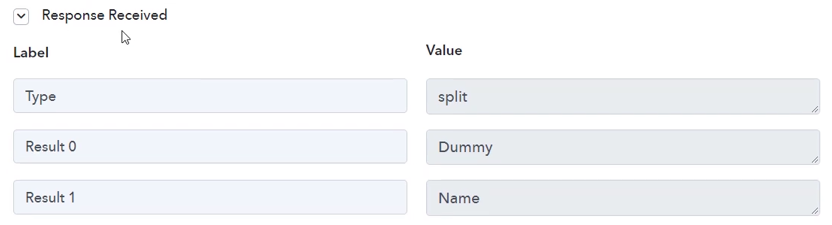
Full Name is now split into two separate parts.
Reauthorize the connection by clicking on ‘Connected’ > ‘Save’.

Step 6:- Map the Necessary Fields
Since we have already captured the payment details from Instamojo, all we need is to map those details from above. Mapping ensures our data remains dynamic and changes as per the received responses.
Map the Email Address from the step above.


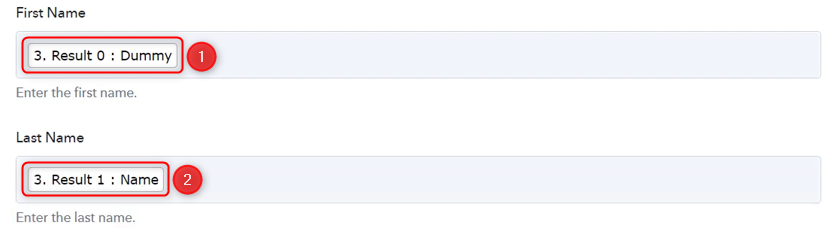
Similarly, map the other fields, leaving the unnecessary ones empty.

Enter the Webinar Presentation Date in ISO 8601 format E.g., YYYY-MM-DDTHH:MM:SS.000Z, and click on ‘Save & Sent Test Request’.
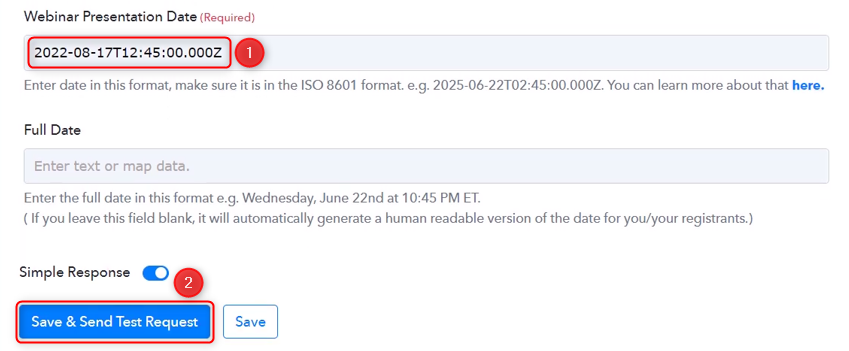
As soon as you click on Save & Send Test Request, the user will be registered for your webinar.
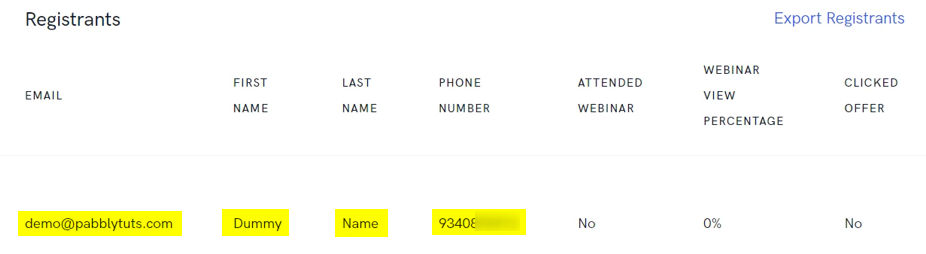
Our automation is complete. We have successfully integrated Instamojo with WebinarKit. Each new user who makes a successful payment on Instamojo will automatically be registered for the scheduled webinar in WebinarKit.
You can copy this entire workflow by clicking this link.
Sign Up for a free Pabbly Connect account, and start automating your business
Subscribe to our Youtube Channel for more such automation
For any other queries, visit our forum