In this section, we will see how you can integrate Razorpay with Gmail. Following this integration, you will be able to notify your customers of failed payments on Razorpay through Gmail automatically.
This automation requires a one-time setup, for which we will use Pabbly Connect.
We will first link Razorpay with Pabbly Connect to capture failed payment details, link Pabbly Connect with Gmail, compose an email containing the failed payment details, and at last send this email to the customer.
Steps to Automatically Notify Customers of Failed Payment on Razorpay via Gmail
1. Sign In / Sign Up to Pabbly Connect and Create a Workflow
2. Establish a Connection between Razorpay and Pabbly Connect
3. Correct the Payment Amount Captured
4. Setup Gmail as the Action App to Send Email
Step 1:- Sign In / Sign Up to Pabbly Connect and Create a Workflow
A. Sign In / Sign Up
To begin this process, visit Pabbly Connect and create your account by clicking on the ‘Sign Up Free’ button. You can also click on Sign In if you already have an account.
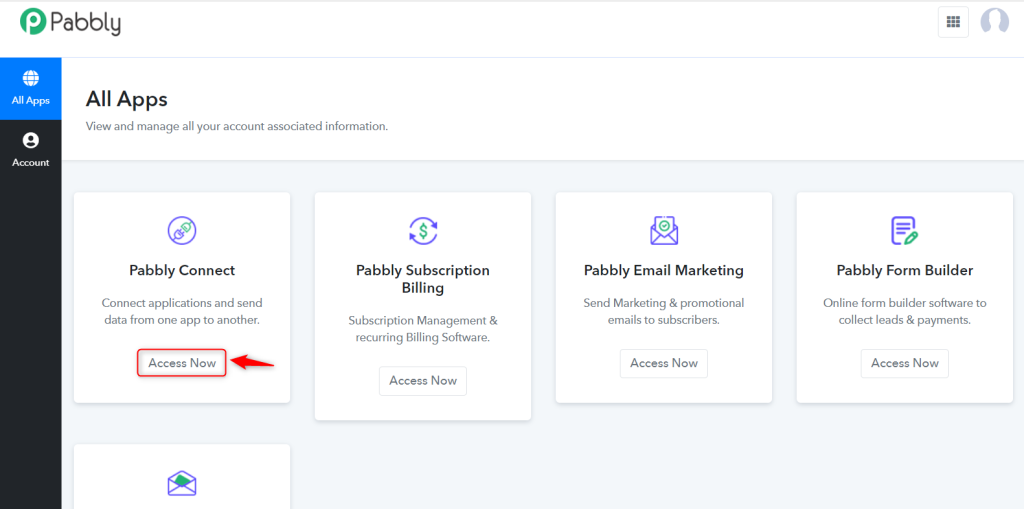
Click on the Pabbly Connect ‘Access Now’ button
B. Create Workflow
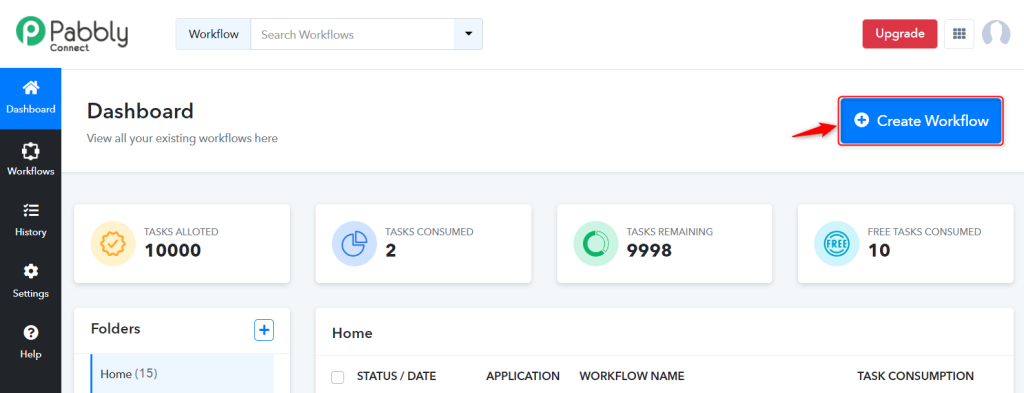
To create a new workflow, click the ‘Create Workflow’ button.
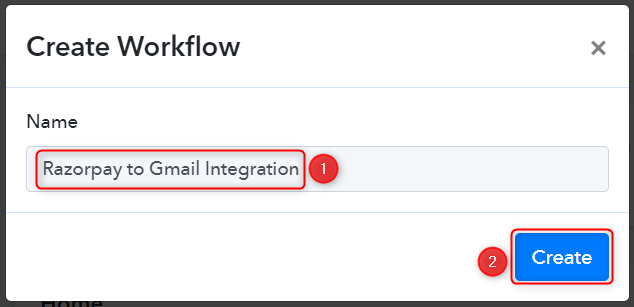
Name your workflow, and click on ‘Create’.
Step 2:- Establish a Connection between Razorpay and Pabbly Connect
We will look at the steps through which we can establish a link between Razorpay and Pabbly Connect. This will help us capture the data for each failed payment.
A. Trigger App
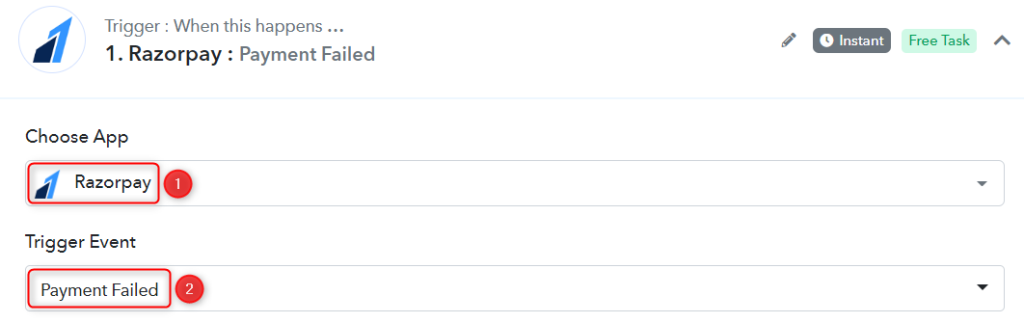
Trigger allows us to choose the application that will receive the data for Pabbly Connect. In our case, it would be Razorpay.
Expand the Trigger Step, choose ‘Razorpay’ as your Action App, and select ‘Payment Failed’ as an Action Event.
B. Webhook URL
A new Webhook URL will get generated. You will use this Webhook URL to create a connection with your Razorpay account. Copy the Webhook URL.
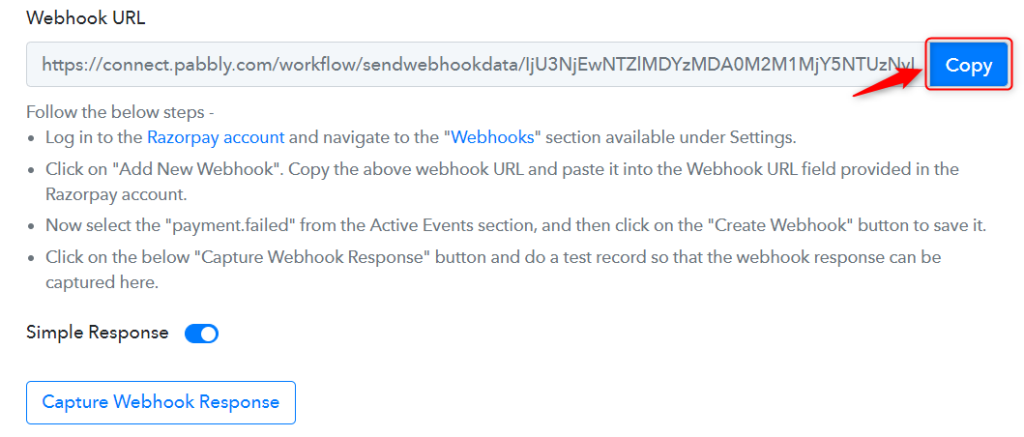
As soon as you Copy the Webhook URL, Pabbly Connect will start looking to capture data from Razorpay, as indicated by the rotating Waiting For Webhook Response button.

C. Connect Razorpay Account
To connect with your Razorpay account, go to your Razorpay dashboard and click on ‘Settings’ > ‘Webhooks’ > ‘Add New Webhook’.
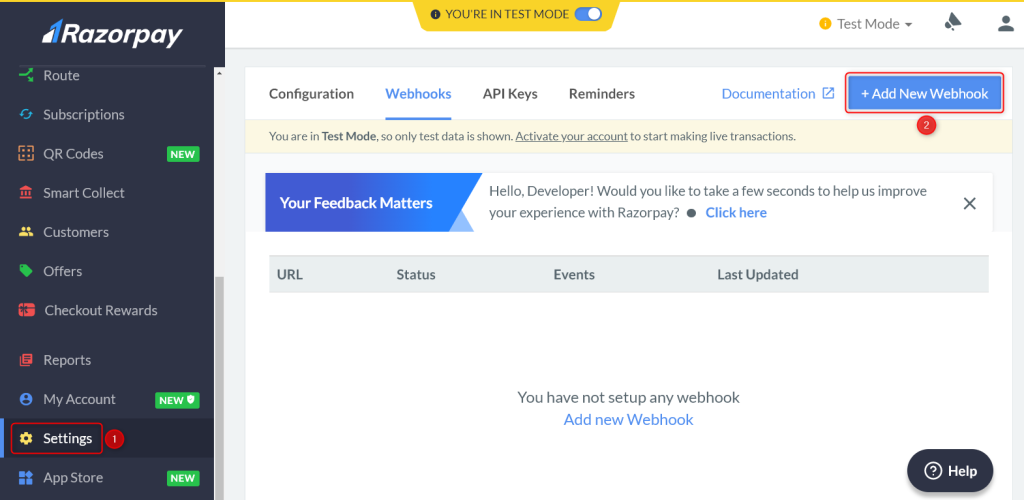
You will be prompted to create a Webhook URL. Paste the Webhook URL we copied earlier. Since we only want to capture responses in case of failed payments we will select ‘payment.failed’ as the Active Events and click on ‘Create Webhook’.

D. Test Connection
Let us now test the connection we just established by making a dummy payment. Open your Razorpay payment form in an incognito tab, fill in dummy credentials and make the payment fail.

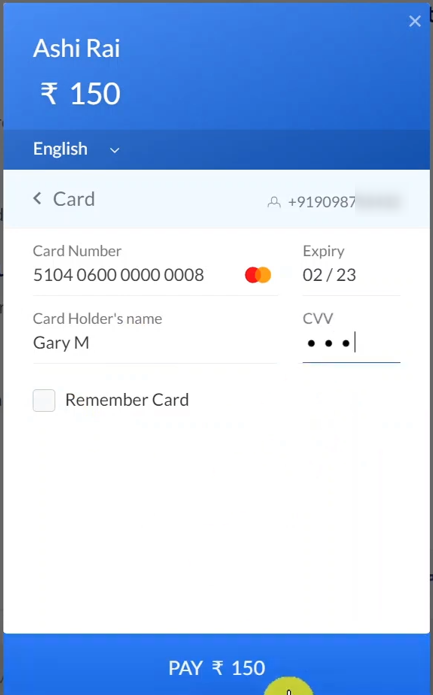
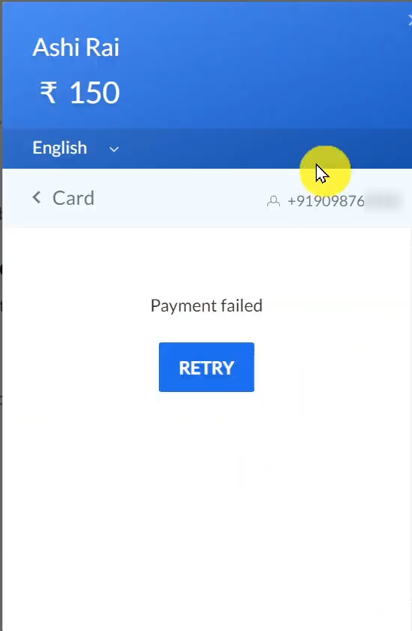
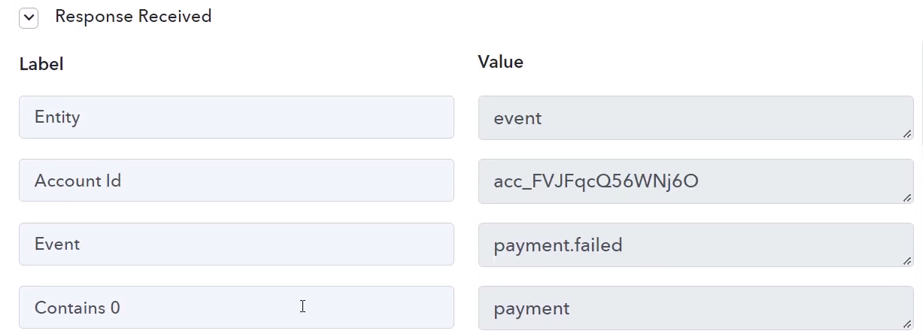
You will receive a failed payment response along with the customer details and reason for the failed payment. Thus, confirming the successful connection.
Step 3:- Correct the Payment Amount Captured
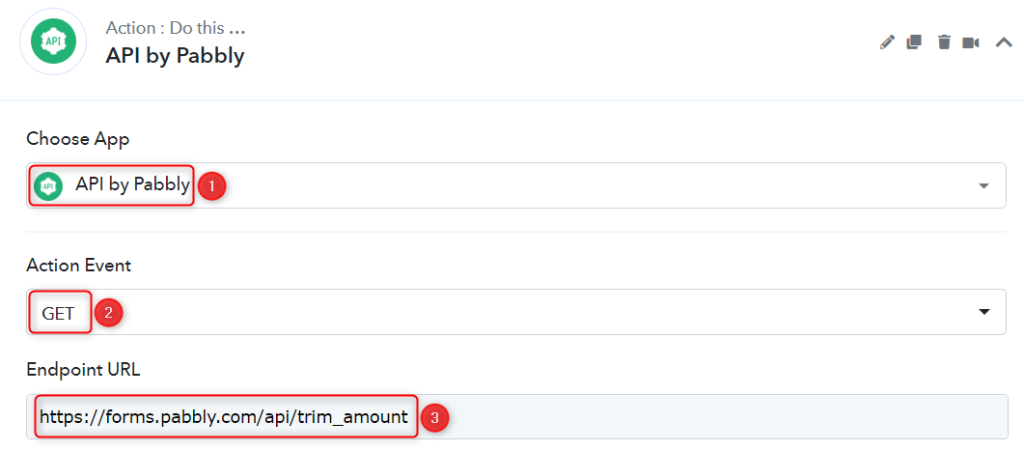
The payment amount we captured from Razorpay is incorrect as it contains two extra zeroes. To trim this value, we will add an API to our workflow.
Choose ‘API by Pabbly’ as your Action App, select ‘GET’ as an Action Event, and enter ‘https://forms.pabbly.com/api/trim_amount’ as your Endpoint URL.
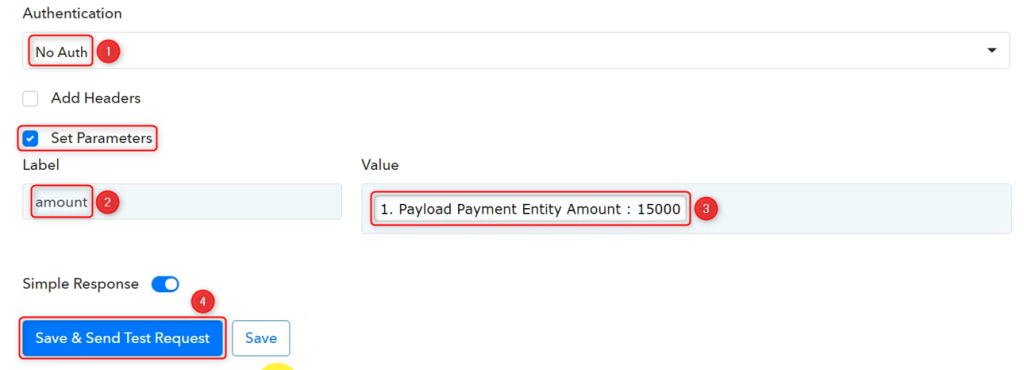
Choose ‘No Auth’ as Authentication and check ‘Set Parameters’. You will be asked for a Label and Value. Give a Label and map the Value from the step above. At last, click on ‘Save & Send Test Request’.
Your amount is trimmed down and correct.

Step 4:- Setup Gmail as the Action App to Send Email
Action allows us to choose the application that will get executed by the workflow trigger.
We essentially want to notify customers of failed payments on Gmail. Therefore, Gmail will be our Action App.
Add another Action Step by clicking the ‘+’ button.

A. Action App
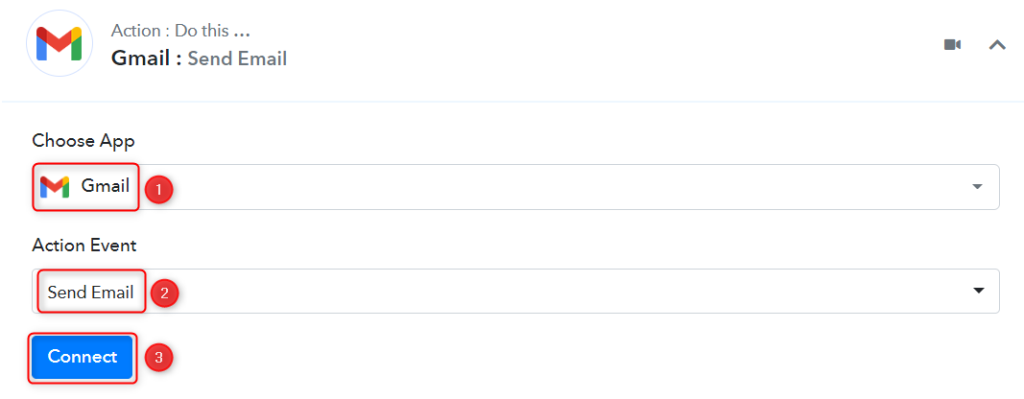
Choose ‘Gmail’ as your Action App, select ‘Send Email’ as an Action Event, and click on ‘Connect’.
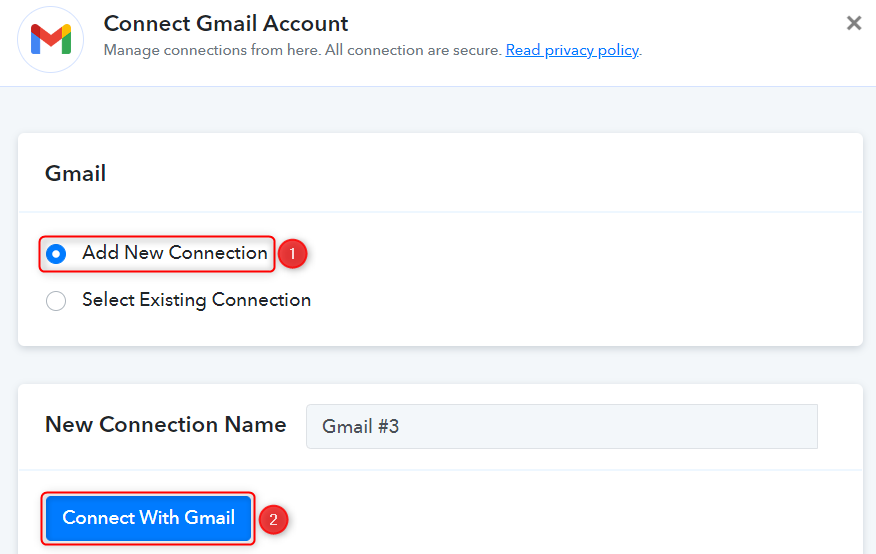
B. Connect with Gmail Account
To connect your Gmail account, select ‘Add New Connection’, and click on ‘Connect With Gmail’. Also, grant the authorization. This account will be used for sending emails.
C. Map the Necessary Fields
Now that you have connected your Gmail account, all you need is to map the necessary details from the step above. Mapping ensures our data remains dynamic and changes as per the received responses.
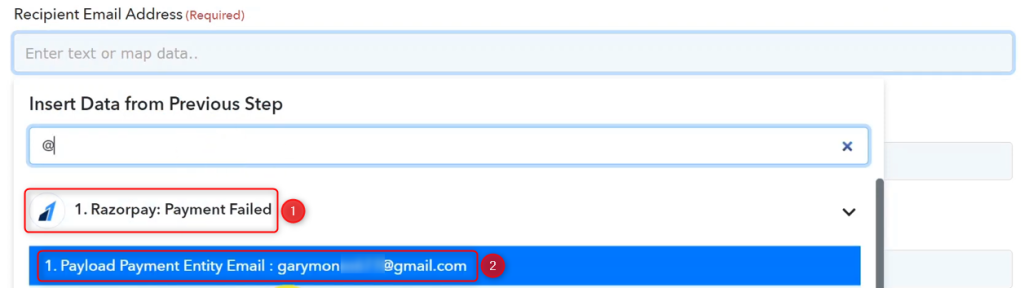
Map the Recipient Email Address from above.

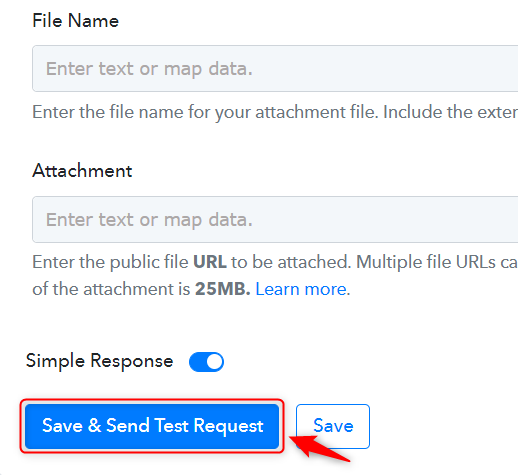
Enter the Subject of your email. If you wish, you can also add a Sender Name.

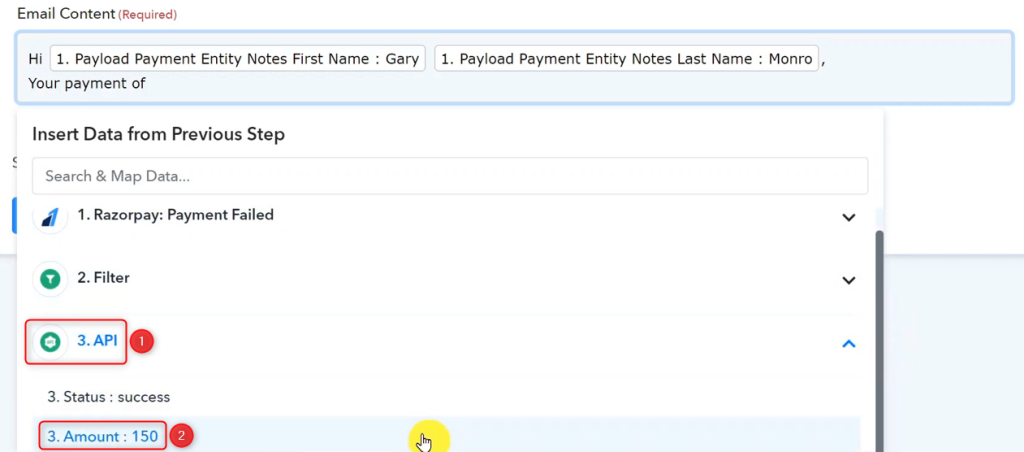
Enter your Email Content, and map the lead details from the step above.

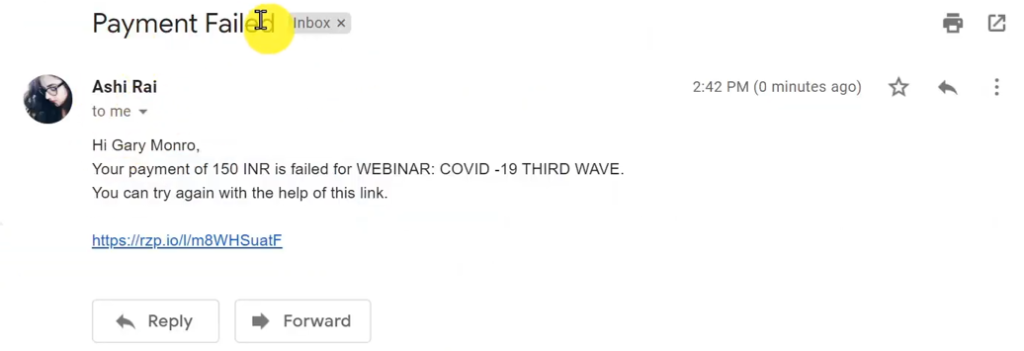
Attach a file if you have any, click on ‘Save & Send Test Request’
As soon as you click on Save & Send Test Request, the customer will be notified of his failed payment.
Our automation is complete. We have successfully integrated Razorpay with Gmail. The customers will now be automatically notified of their failed payment on Razorpay through Gmail.
You can copy this entire workflow by clicking this link.
Sign Up for a free Pabbly Connect account, and start automating your business
Subscribe to our Youtube Channel for more such automation
For any other queries, visit our forum