Manually adding multiple lead details from Facebook Lead Ads to Salesforce is a tedious process. You have to copy user details from Facebook Forms, sort those details and manually add the lead in Salesforce. Doing this frequently will result in inefficiencies in your business.
In this post, we will discuss the way through which you can automatically generate Salesforce leads from new Facebook Lead Ads form responses.
We will fetch the lead details from Facebook Forms, and send those details to Salesforce using Pabbly Connect.
Steps to create Salesforce Lead from Facebook Lead Ads
1. Establish a link between Facebook Lead Ads and Pabbly Connect
2. Setup Salesforce as the Action App
3. Add Text Formatter to the workflow
4. Map the necessary details from the steps above
Step 1:- Establish a link between Facebook Lead Ads and Pabbly Connect
We will now look at the steps through which we will establish a link between Facebook Lead Ads and Pabbly Connect. This will help us to fetch the lead details from Facebook Form responses.
A. Sign In / Sign Up
To begin this process, visit Pabbly Connect and create your account by clicking on the ‘Sign Up Free’ button. You can also click on Sign In if you already have an account.
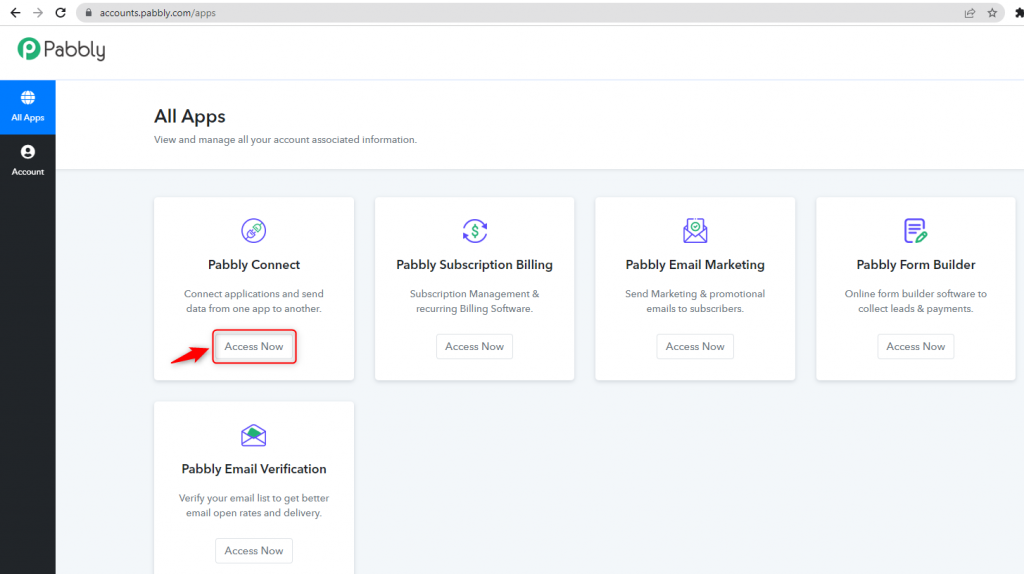
Click on the Pabbly Connect ‘Access Now’ button
B. Create Workflow
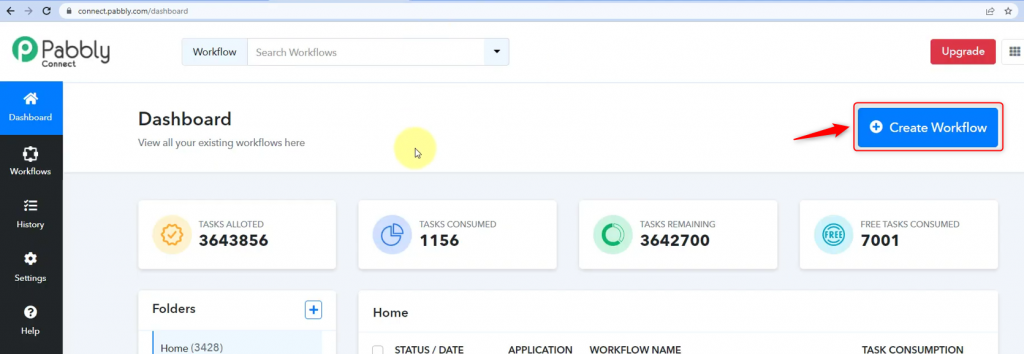
To create a new workflow, click the ‘Create Workflow’ button.
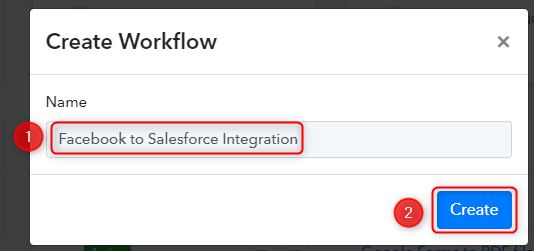
Name your workflow, and click on ‘Create’.
C. Trigger App Setup
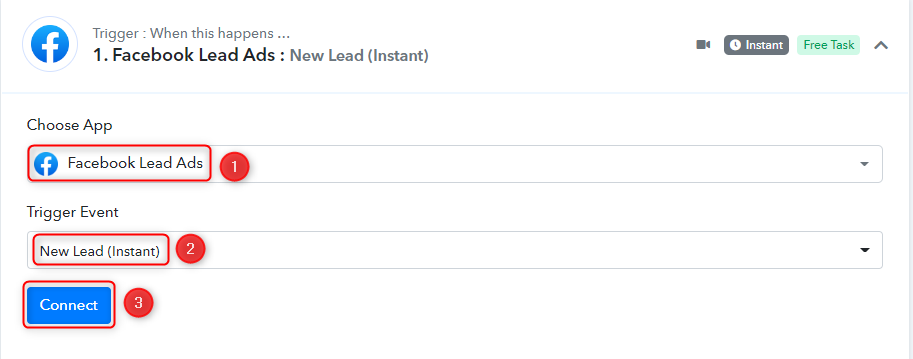
Trigger allows us to choose the application that will receive the data for Pabbly Connect. In our case, it would be Facebook Lead Ads.
Expand the trigger step, choose ‘Facebook Lead Ads’ as the trigger app, and select ‘New Lead (Instant)’ as your trigger event. Click on ‘Connect’. Doing this will result in Facebook Lead Ads sending data directly to Pabbly Connect whenever a new lead is generated.
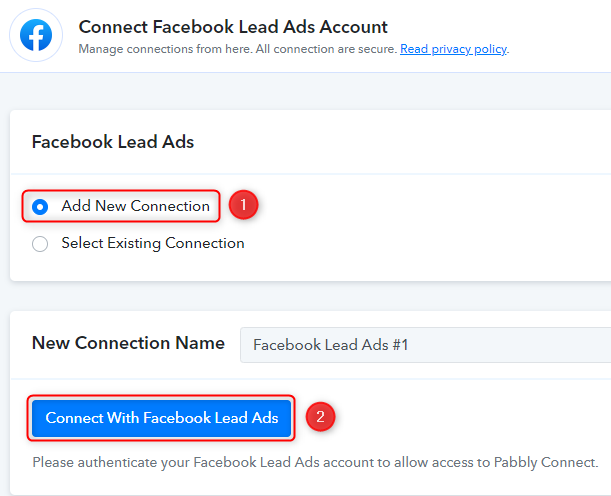
Select ‘Add New Connection’, and click on ‘Connect With Facebook Lead Ads’. Also, grant the authorization.
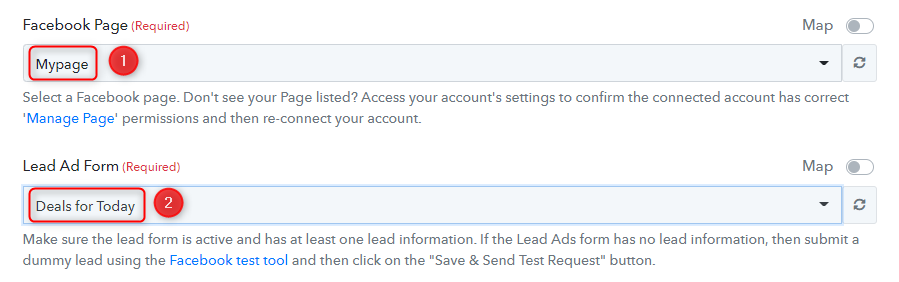
Select your Facebook Page, and choose the Lead Ad Form you want to link with Pabbly Connect.
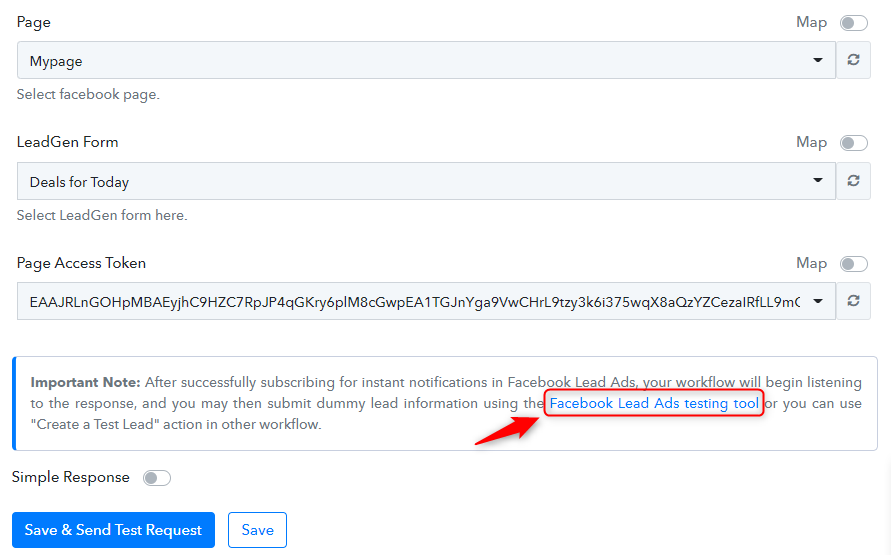
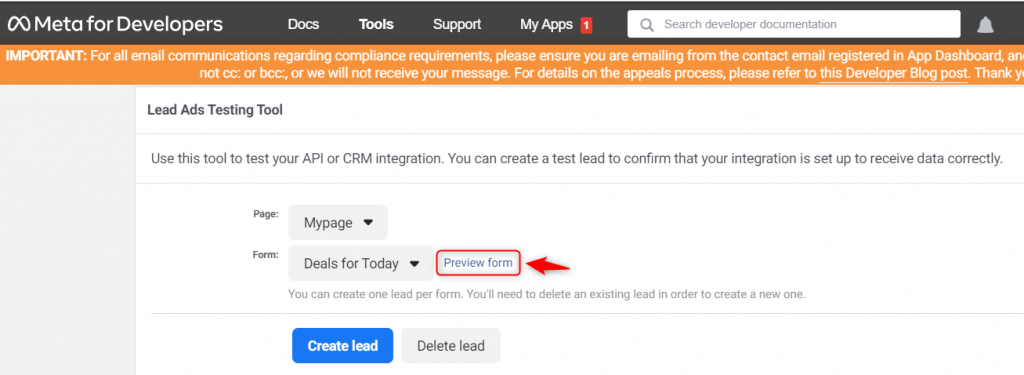
Click ‘Facebook Lead Ads testing tools’ to submit a test form for testing the connection between Facebook Lead Ads and Pabbly Connect.
You will be redirected to Lead Ads Testing Tool page, click on ‘Preview Form’
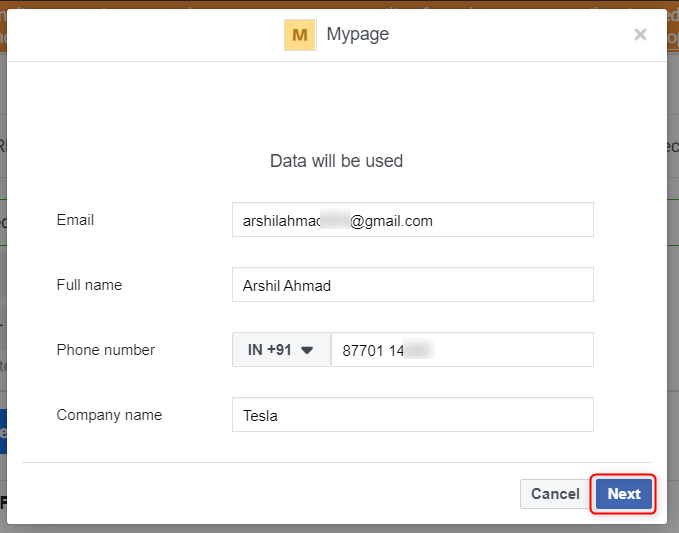
Fill up the form with dummy lead details, and click ‘Next’. ‘Submit’ the test form.
Click on ‘Save And Send Request’, and Pabbly Connect will fetch details of your recently created lead.
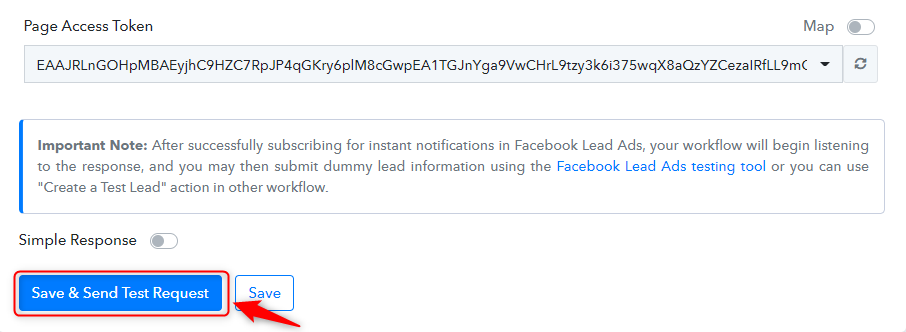
We have established a link between Facebook Lead Ads and Pabbly Connect. Pabbly Connect will now automatically fetch the details of any new leads.
Step 2:- Setup Salesforce as the Action App
Action allows us to choose the application that will get executed by the workflow trigger.
We essentially want to create a new lead in Salesforce using Facebook Lead Ads details. Therefore, Salesforce will be our action app.
Expand the action step, choose ‘Salesforce’ as the action app, and since we want to create a new lead, select ‘Create Lead’ as your Action Event. Click on ‘Connect’.

Select ‘Add New Connection’, and click on ‘Connect With Salesforce’
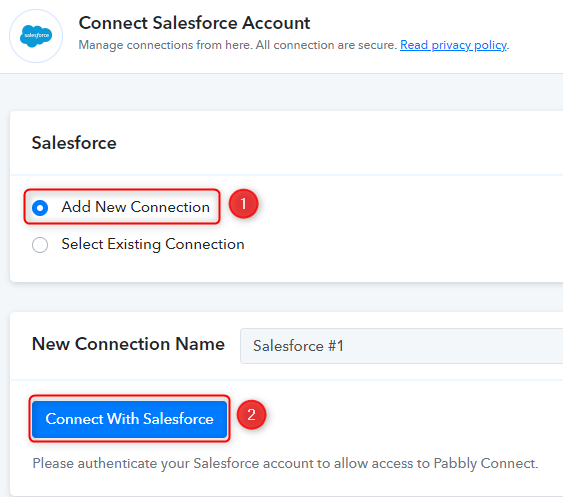
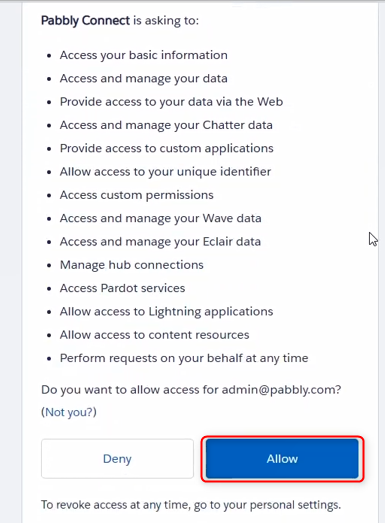
A dialogue box will pop up, asking you for authorization. Grant the permission by clicking the ‘Allow’ button.
Step 3:- Add Text Formatter to the workflow
As soon as you give the necessary authorization, new fields will appear asking you to fill up the details of your lead.
These fields require you to fill in the First and Last names of your lead separately. But the data we fetched from Facebook Lead Ads has a Full Name. To split this full name into two separate fields, we need to add a Text Splitter to our workflow.
A. Add Action Step
Add another action step between the trigger and action app by clicking the ‘+’ button.

B. Add a Text Formatter
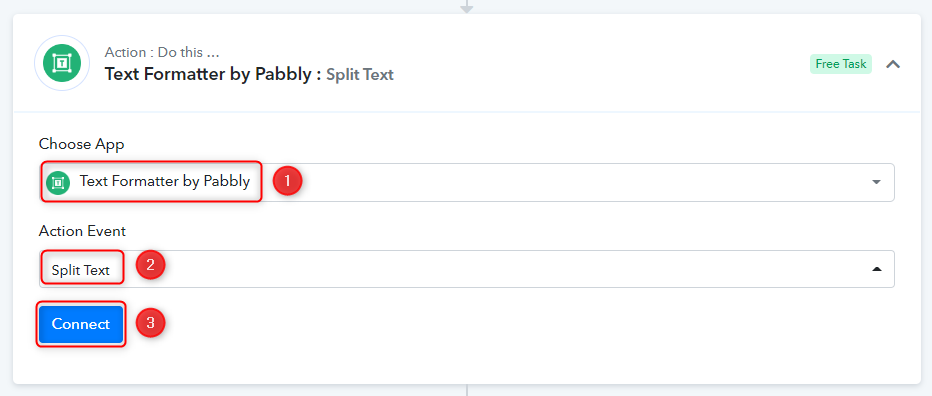
Choose ‘Text Formatter by Pabbly’ as your app, and select ‘Split Text’ as your action event. Click on ‘Connect’.
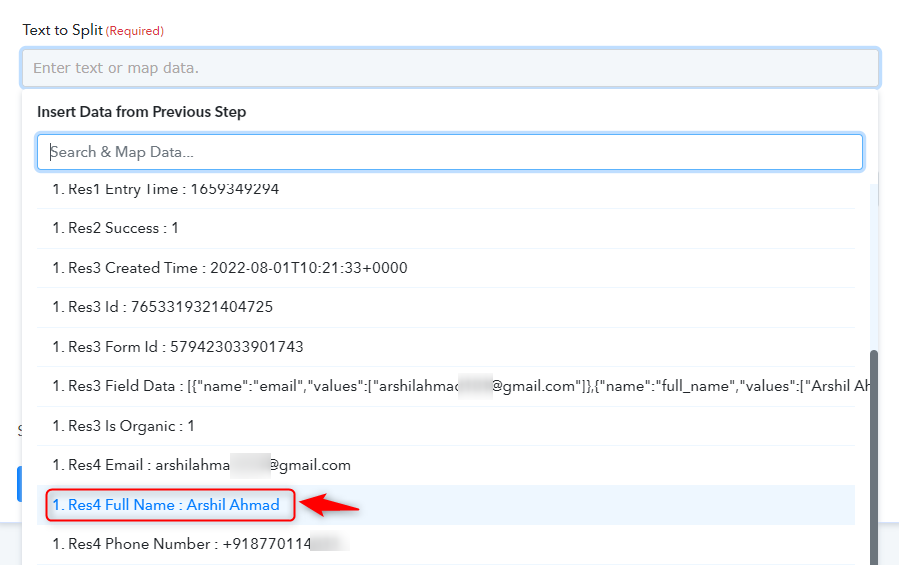
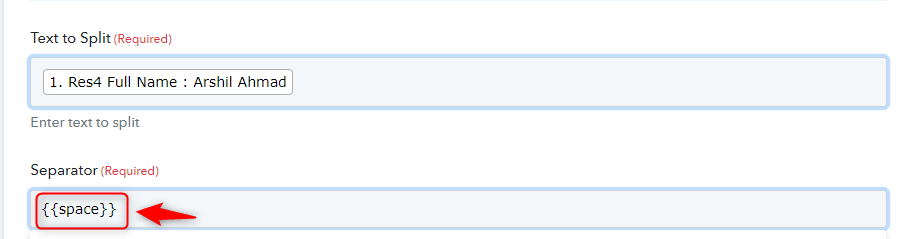
In Text to Split Field, map the Full Name from above
Add ‘{{space}}’ as your Separator to split the text on either side of the space.
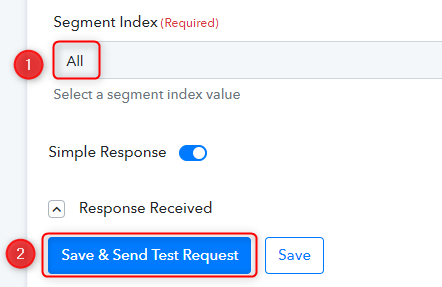
Select ‘All’ as the Segment Index, and click on ‘Save And Send Test Request’.
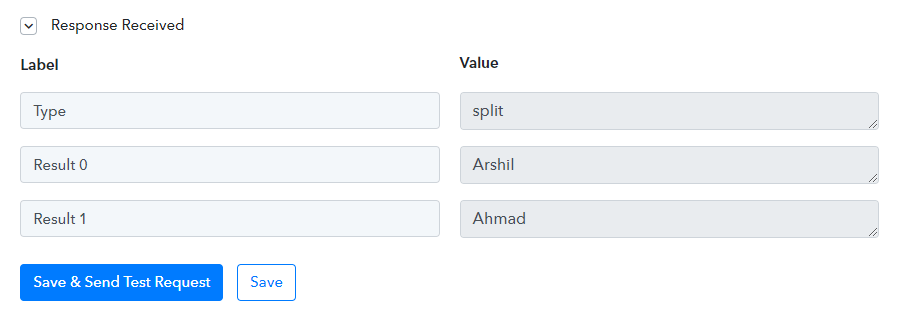
Full Name has now split into First and Last Names.
Step 4:- Map the necessary details from the steps above
We will now fill up the fields by mapping the details from above.
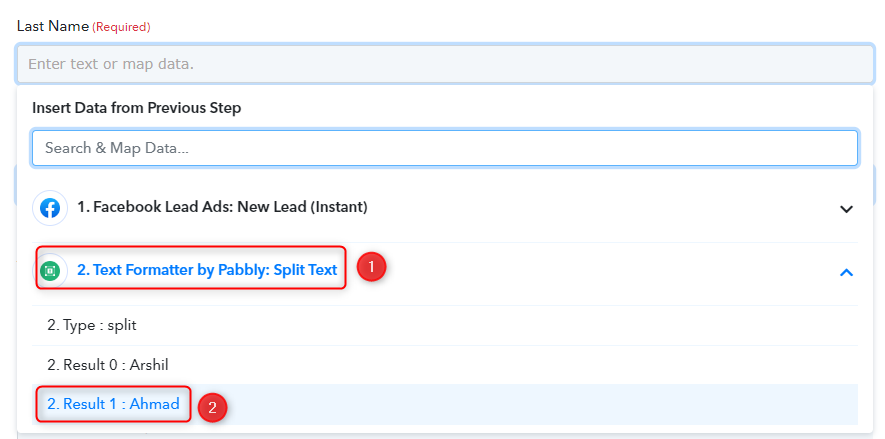
Map the Last Name from above.
Similarly, map the other required details.
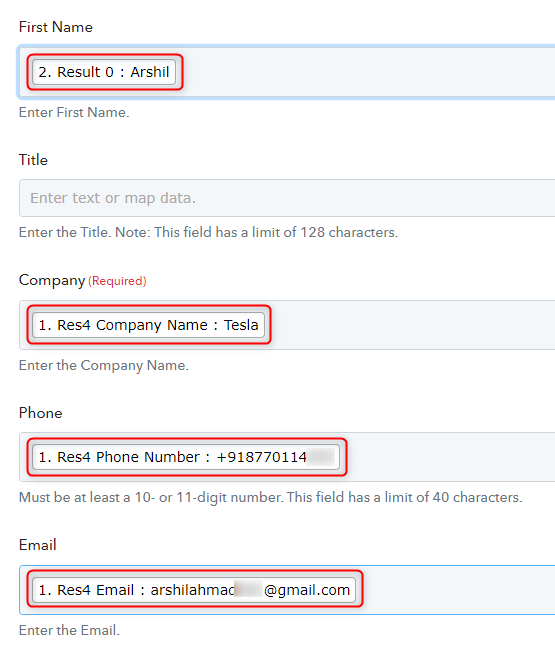
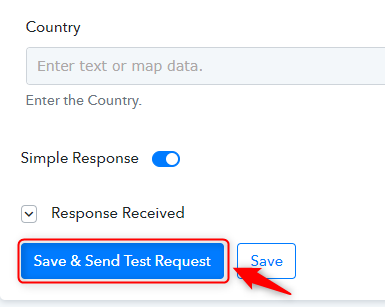
Click on ‘Save And Send Request’. Your automation is now complete.
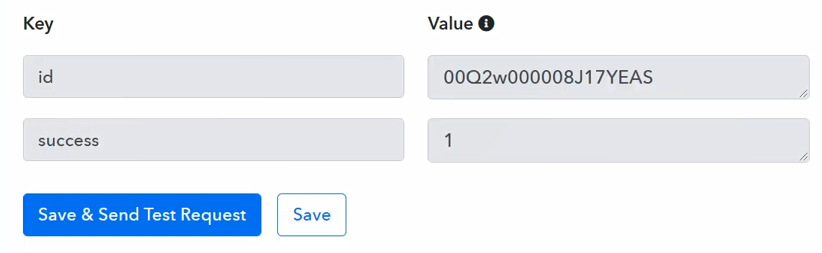
We have successfully integrated Facebook Lead Ads forms with Salesforce.
Now, whenever a user responds to your Facebook form, a new lead will be automatically generated in Salesforce along with complete details of the respondent.
Sign Up for a free Pabbly Connect account, and start automating your business.
Subscribe to our Youtube Channel for more such automation.
For any other queries, visit our forum