Manually tracking failed payments on Instamojo, adding those customers to ConvertKit, and filling out their information on Google Sheets can be quite time-consuming.
So, in this post, we will discuss the process for automatically sending details of Failed Payments on Instamojo to ConvertKit and Google Sheets.
Steps for getting failed payment via Instamojo to Google Sheets or ConvertKit
1. Sign In / Sign Up to Pabbly Connect and Create a Workflow
2. Set up Instamojo as the Trigger App
3. Filter out successful payments
4. Fetch the complete information of the customers who made the payment
5. Add the customer details to the ConvertKit account
6. Set up Google Sheets as the Action App
Step 1:- Sign In / Sign Up to Pabbly Connect and Create a Workflow
Visit pabbly.com and Sign-in to your account. If you don’t already have an account, ‘Sign Up Free’ to create a free Pabbly Connect account.

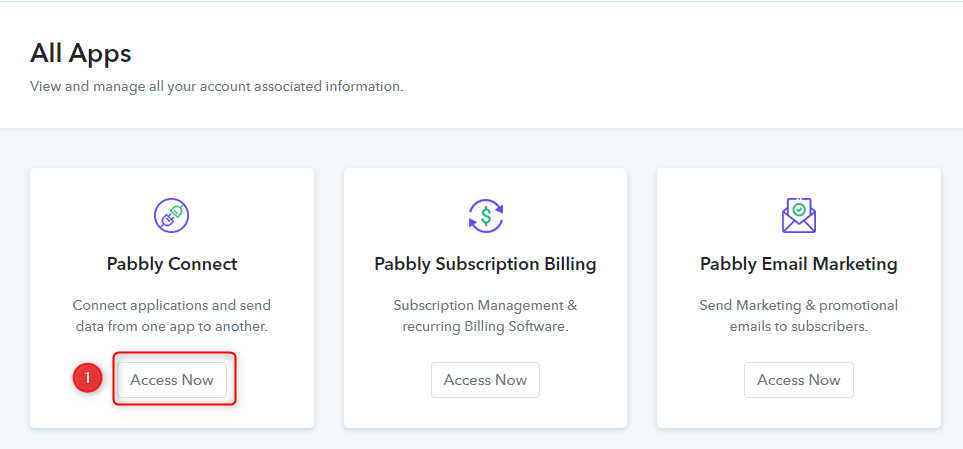
Click on Pabbly Connect ‘Access Now’ button
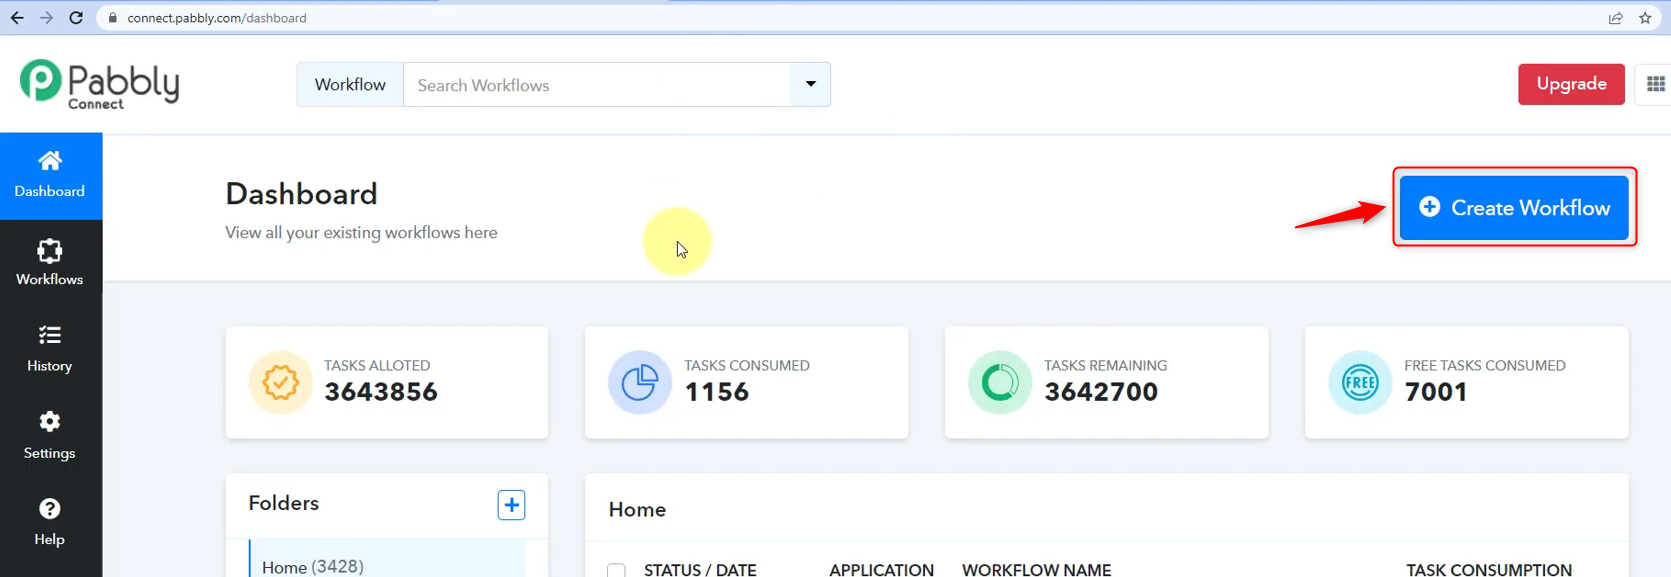
Click on ‘Create Workflow’
Name your Workflow and click on ‘Create’.

Step 2:- Set up Instamojo as the Trigger App
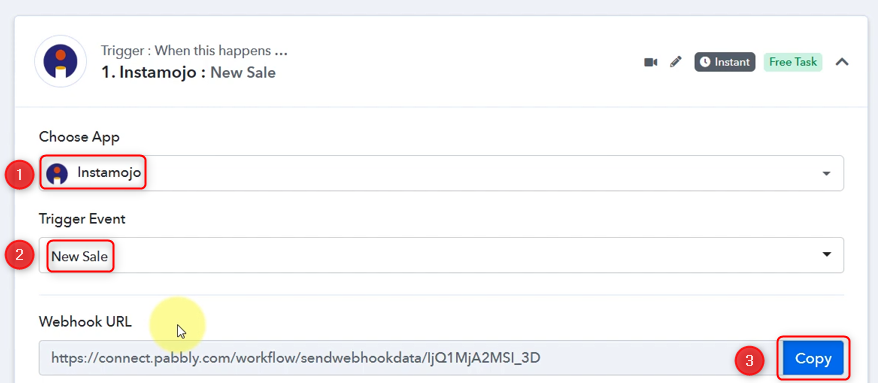
A. Choose a Trigger App and Event
Choose ‘Instamojo’ as your app, and select ‘New Sale’ as your Trigger Event. Copy the Webhook URL
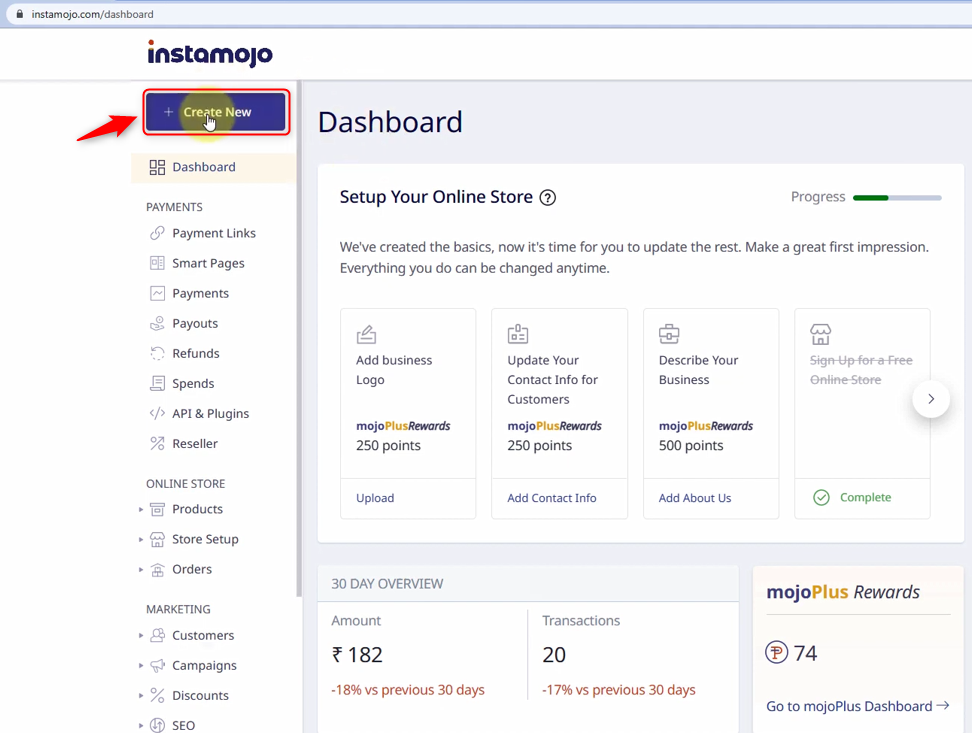
B. Create a new Payment Link
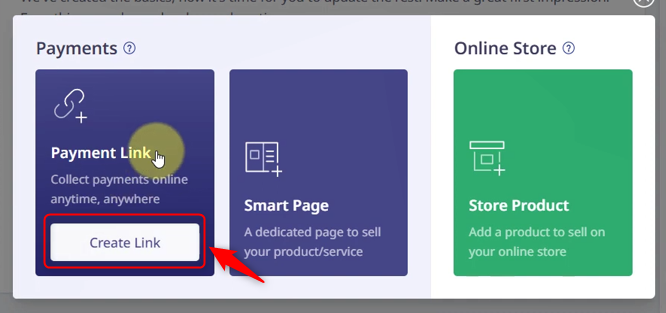
Visit the Instamojo dashboard and click on the ‘Create New’ button.
Click on ‘Create Link’ under the Payment Link tile.
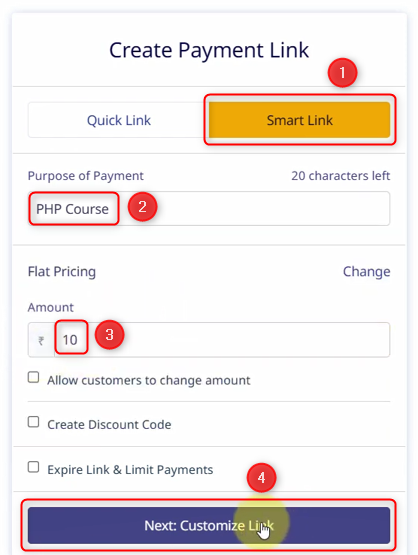
Select ‘Smart Link’, fill up the details, and ‘Customize Link’
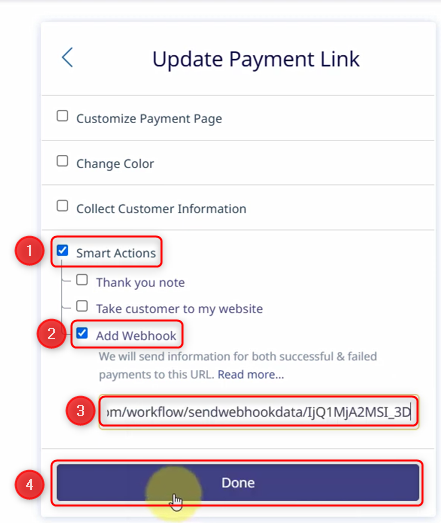
Select ‘Smart Action’ > ‘Add Webhook’, and paste the Webhook URL we copied earlier. Click on ‘Done’. This will establish a link between Instamojo and Pabbly Connect.
C. Test the connection
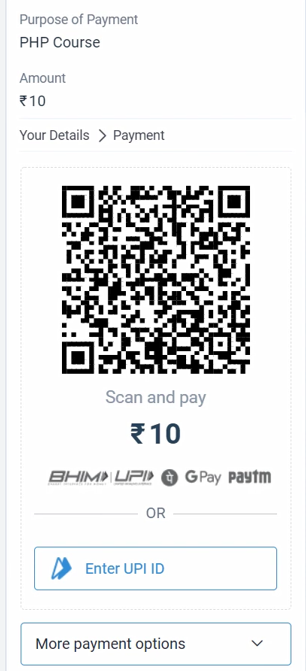
To test this connection, copy this link
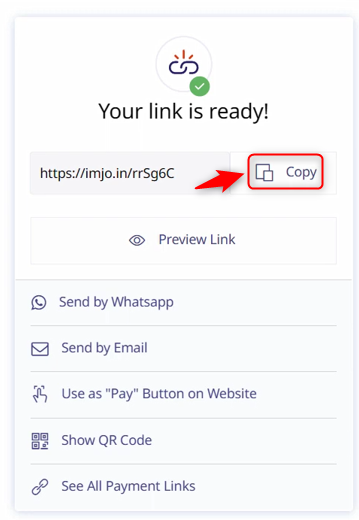
Paste and open this link in a separate tab.

Fill out the payment form with details of a dummy user, and click on ‘Next’
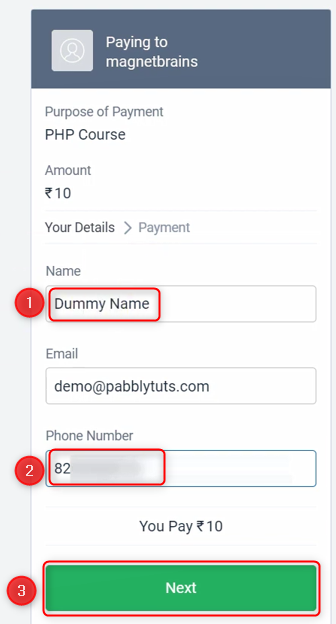
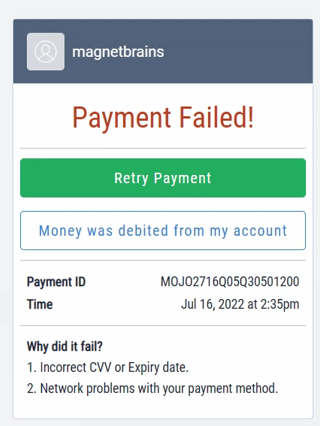
Our payment failed.
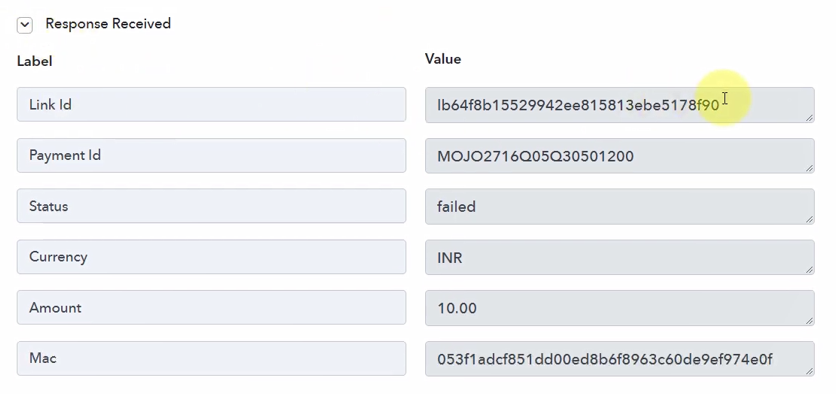
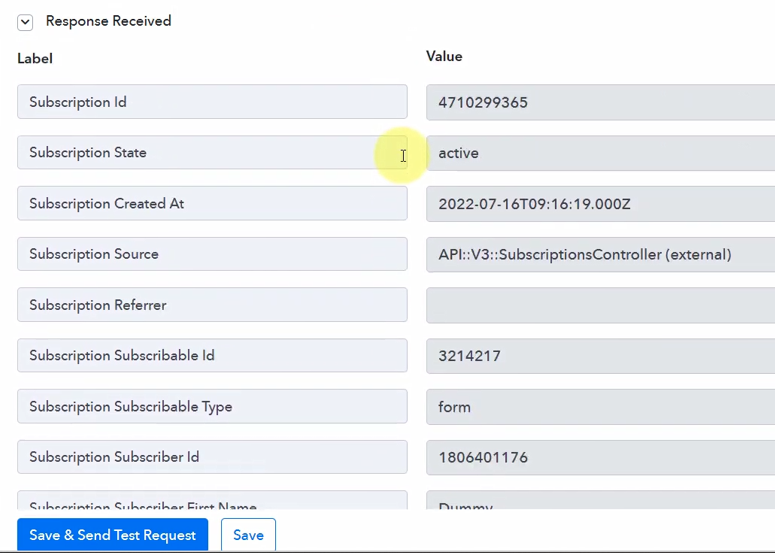
Response Received on Pabbly Connect
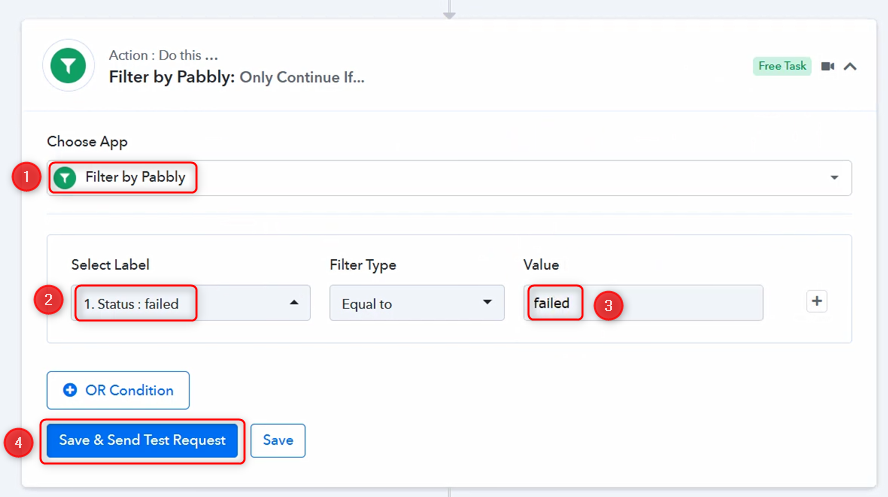
Step 3:- Filter out successful payments
Since we require the details of only failed payments and filter out the data of successful ones, we can do that by adding a filter to our Workflow.
Choose ‘Filter by Pabbly’ as the action app. Map Select Label as ‘Status: Failed’, select ‘Equal to’ as Filter Type and enter ‘Failed’ as the Value. ‘Save and Send Test Request’.
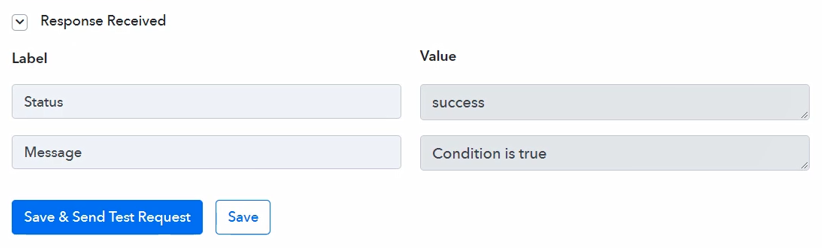
We have received a response.
Note: If you want to receive details of all payments in ConvertKit, irrespective of their status, you can use this filter after the ConvertKit step.
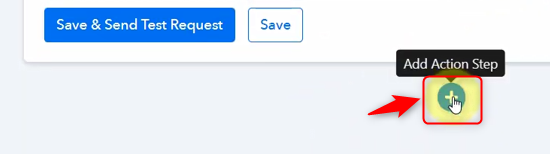
Step 4:- Fetch the complete information of the customers who made the payment
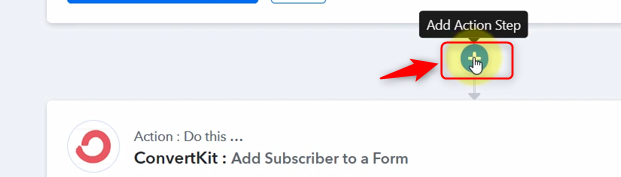
‘Add Action Step’ by clicking the + button
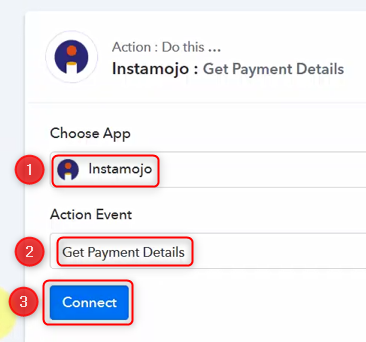
Choose ‘Instamojo’ as your app, select ‘Get Payment Details’ as an action event to get complete details of the customer and ‘Connect’.
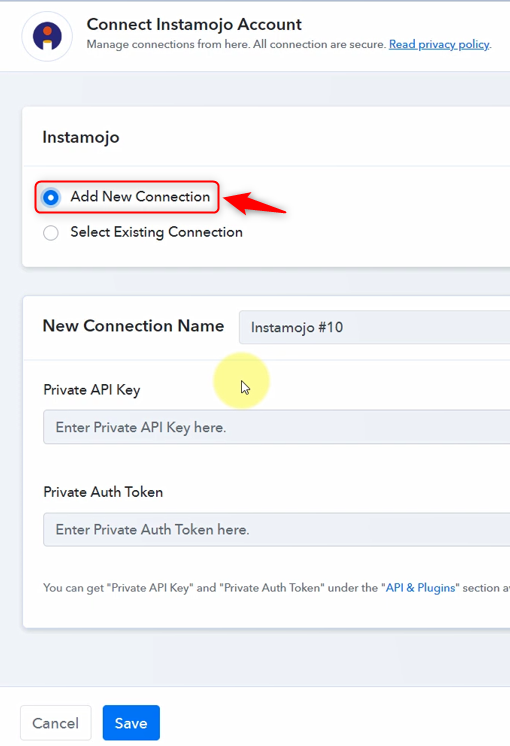
Click ‘Add New Connection’ and to get Private API Key and Private Auth Token
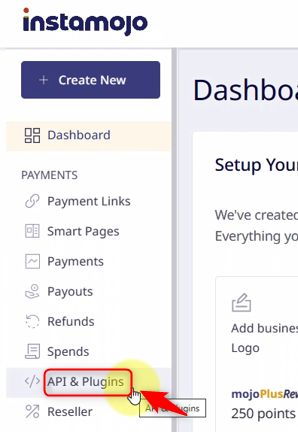
Switch to the Instamojo dashboard, select ‘API and Plugins’, copy both Private API Key and Private Auth Token
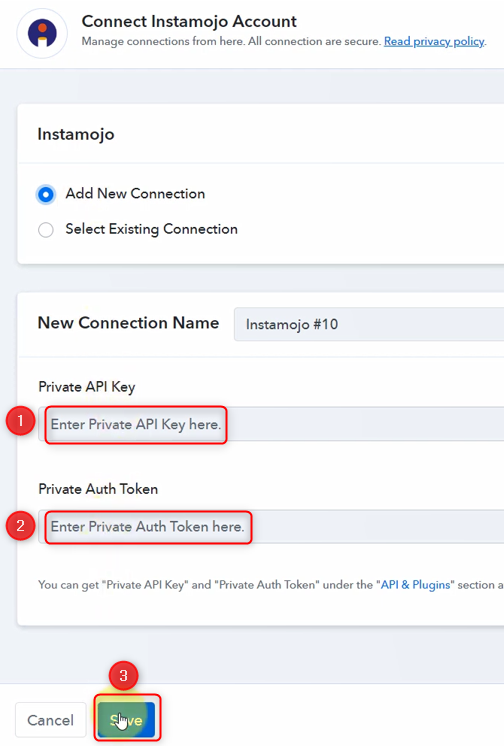
Paste both in their respective fields and ‘Save’.
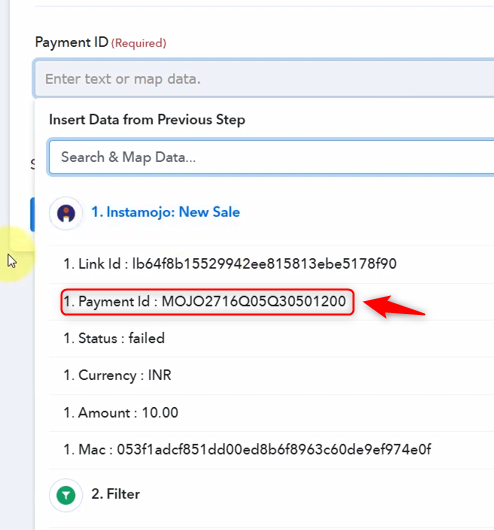
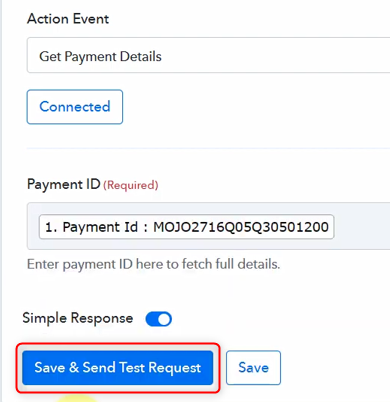
Map the Payment ID
Click on ‘Save and Send Test Request’.
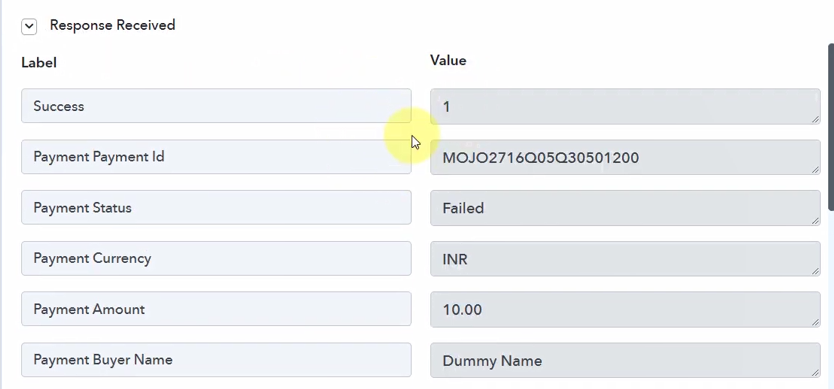
We have received a response with complete details of the customer.
Step 5:- Add the customer details to the ConvertKit account
A. Add Action App
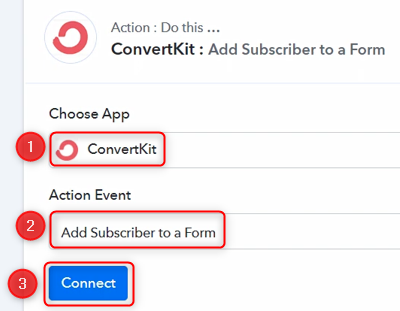
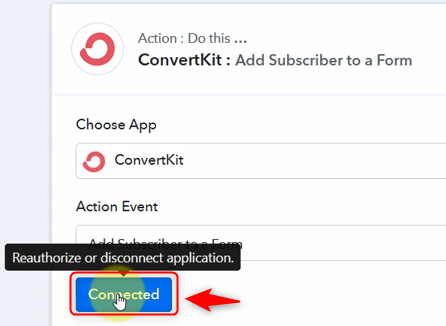
Choose ‘ConverKit’ as your app and select an Action Event as per your choice. Click on ‘Connect’
B. Connect ConvertKit Account
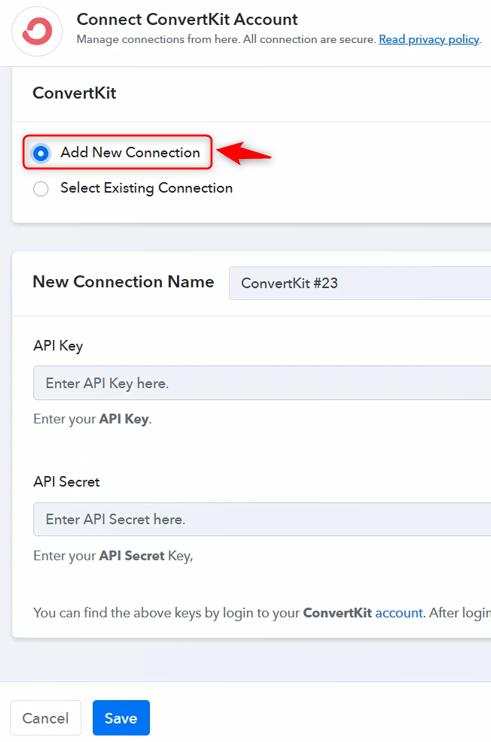
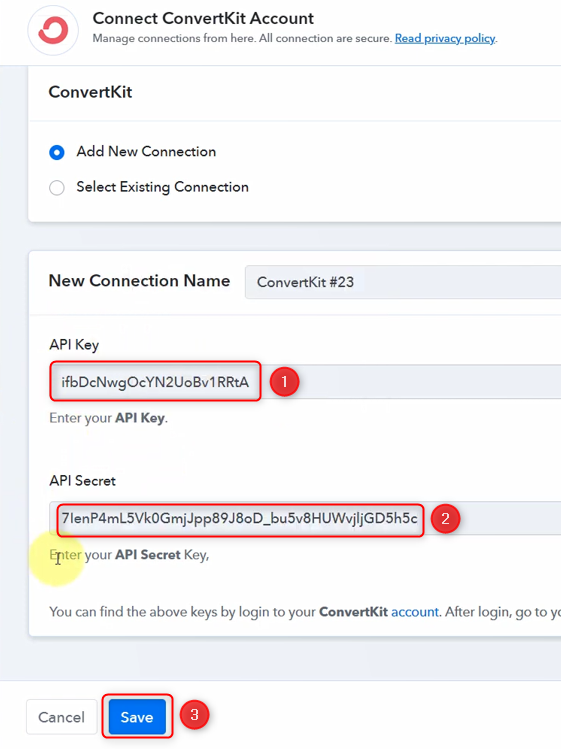
To link your ConvertKit account with Pabbly Connect. Click on ‘Add New Connection’
Go to ConvertKit dashboard, select User Profile > Settings 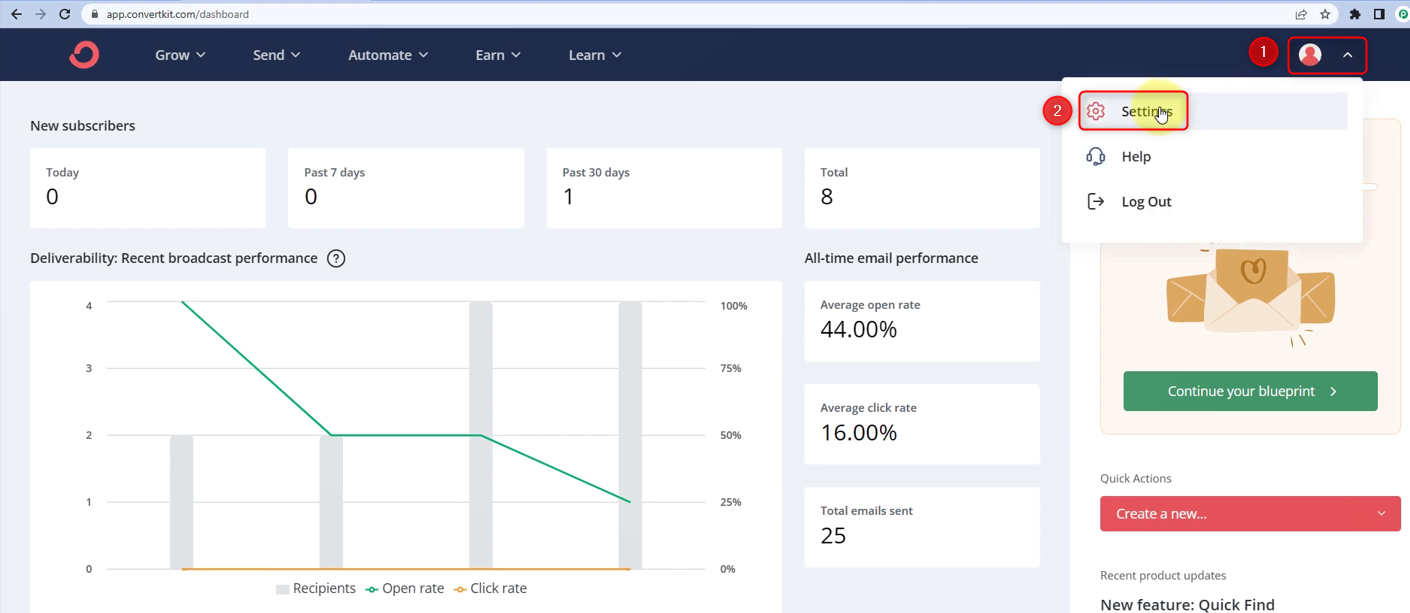
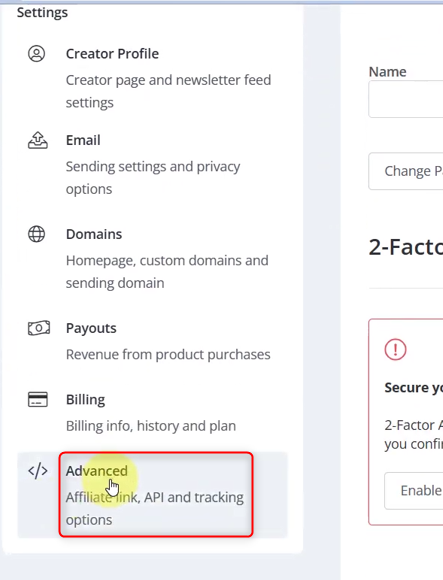
Scroll down and click on ‘Advanced’ present at the bottom left of the page
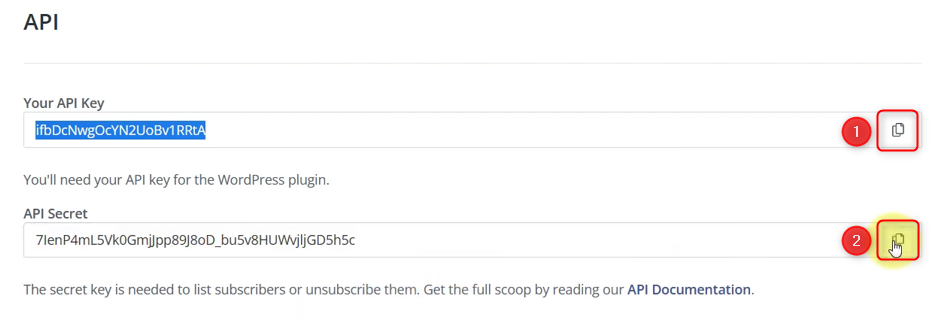
Copy API Key and API Secret
Paste both here and ‘Save’
C. Split the Full Name
Map the First and Last Name from above, but before doing that, we need to split the full name into two separate parts.
To split the name, click the ‘Add Action Step’ button.
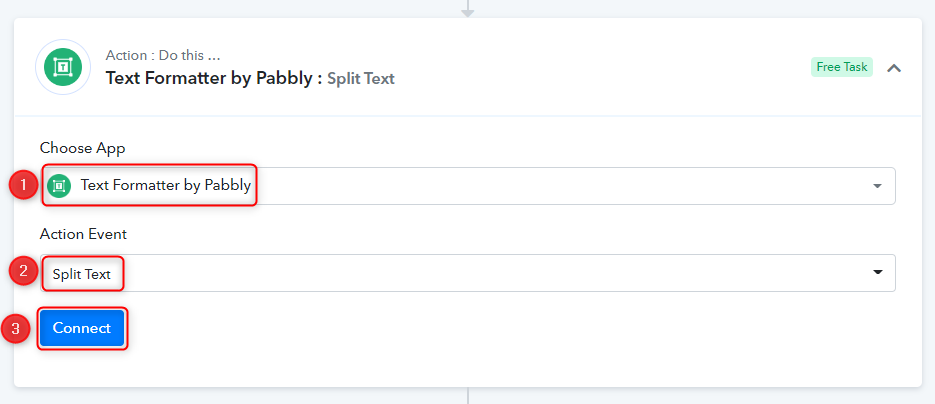
Choose ‘Text Formatter by Pabbly’ as your app. Select ‘Split Text’ as an action event and click on ‘Connect’.
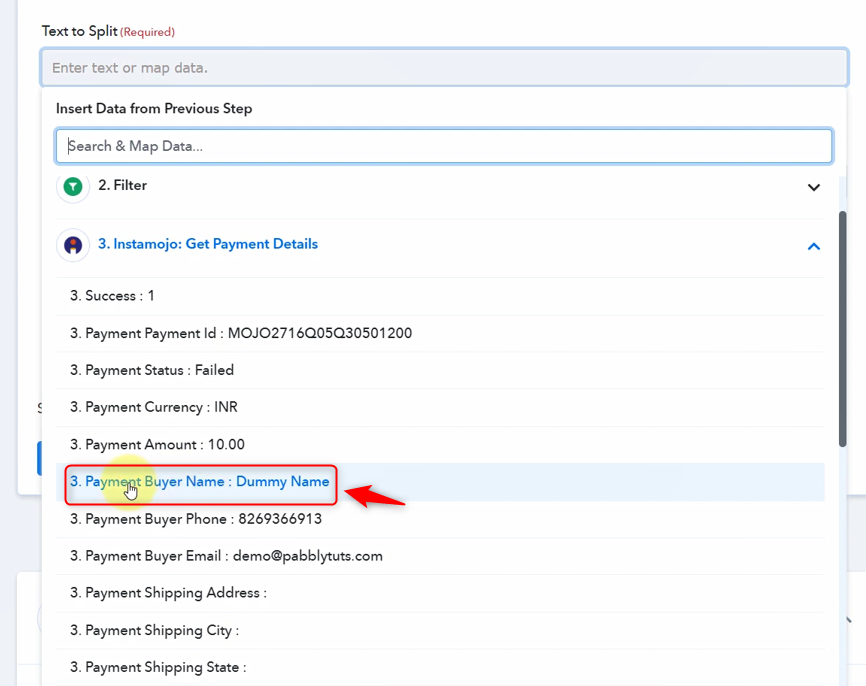
Map the full name of the customer
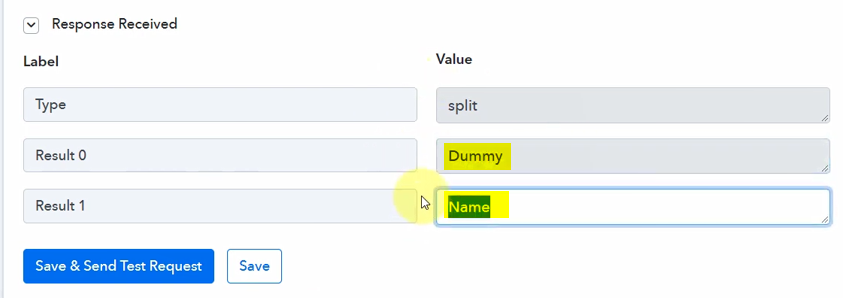
Enter ‘{{space}} as your Separator and select ‘All’ as Segment Index. Click ‘Save and Send Test Request’.

First and Last names are now separate.
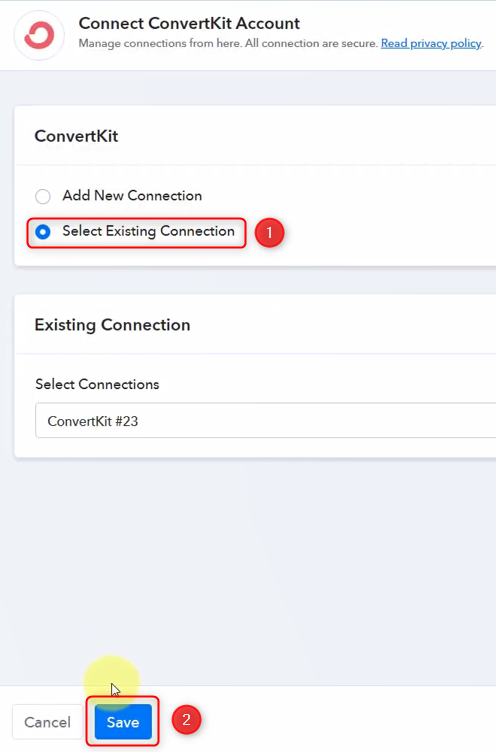
Reconnect your ConvertKit account by clicking ‘Connect’,
then select the ‘Existing Connection’ and ‘Save’.
D. Fill in the necessary detail

Select Form as per your choice
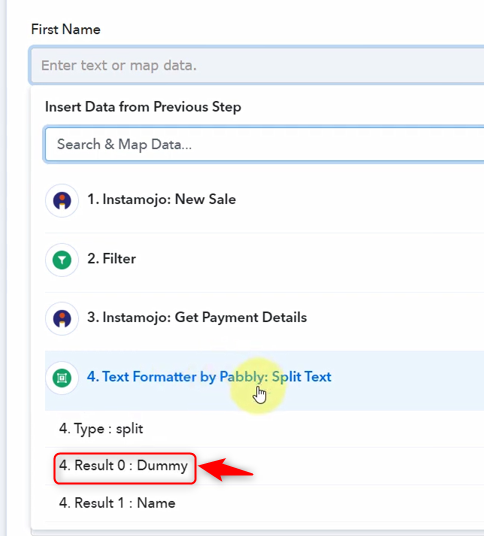
Map the first name
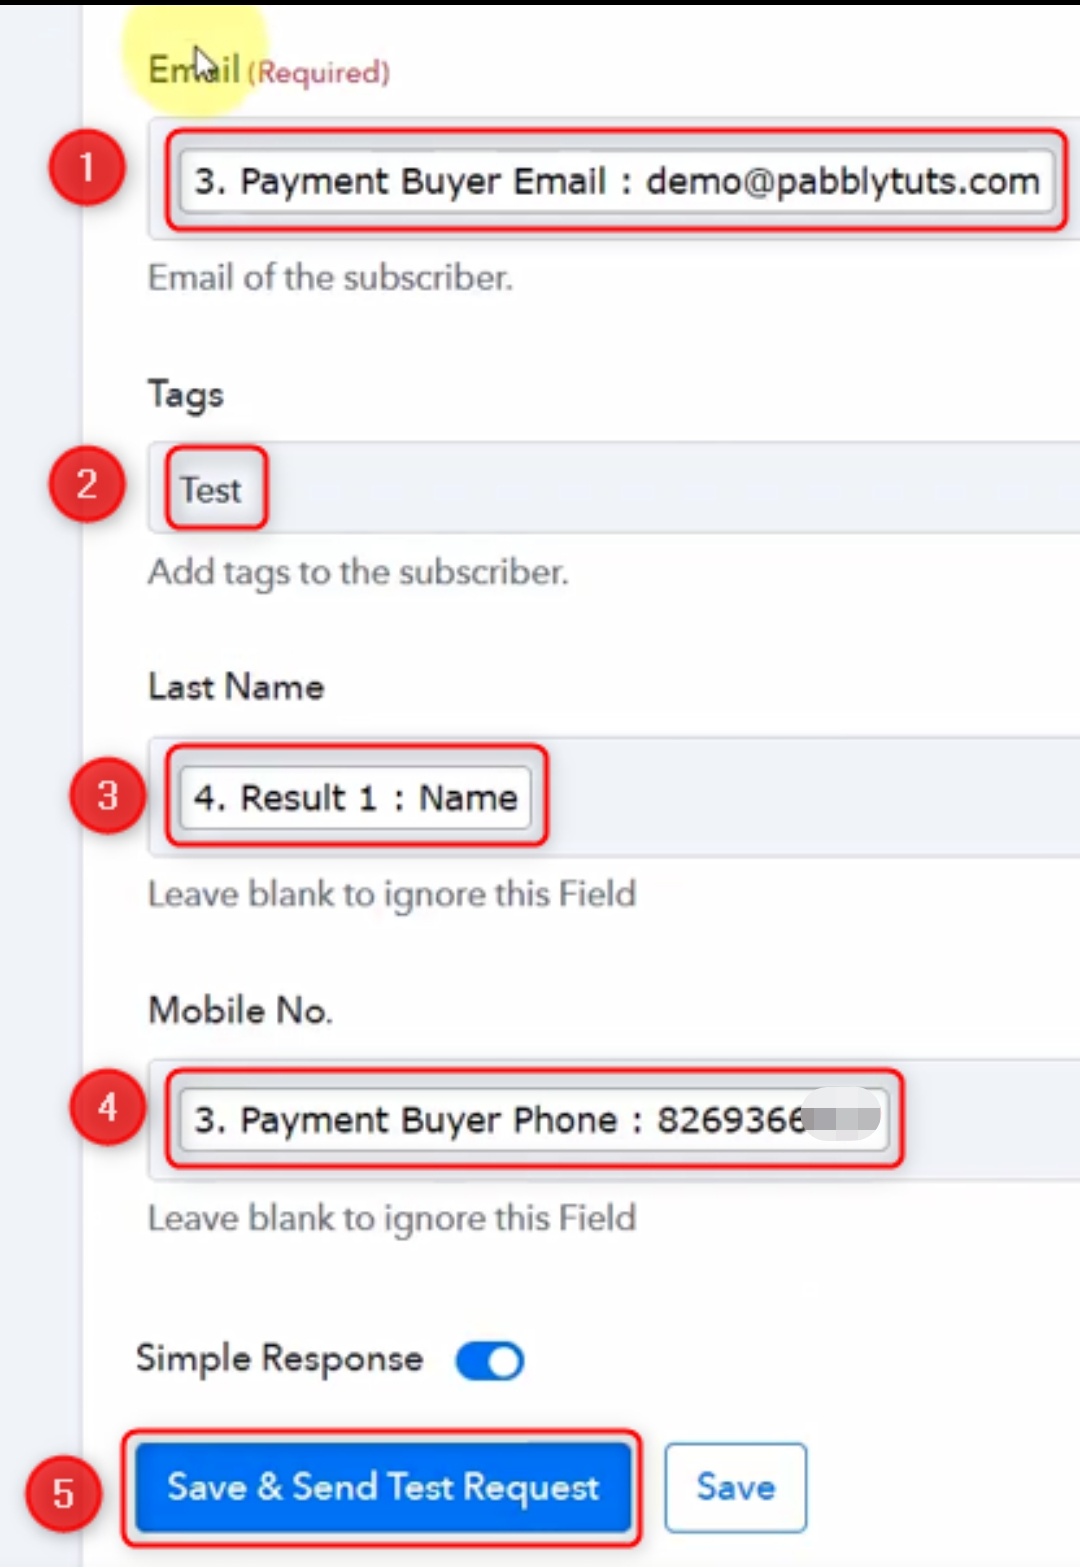
Similarly, map all the other details and ‘Save and Send Test Request’.
We have received a response.
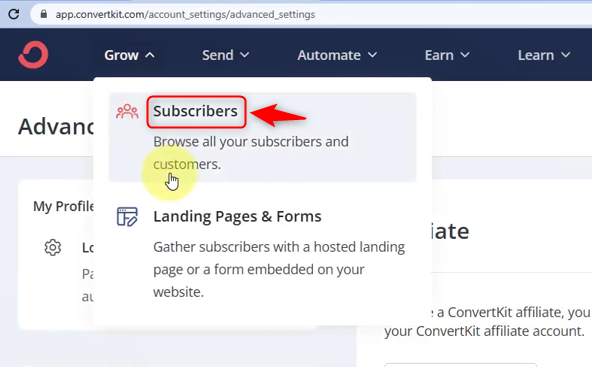
Switch back to the ConvertKit tab, expand ‘Grow’ and select ‘Subscribers’.
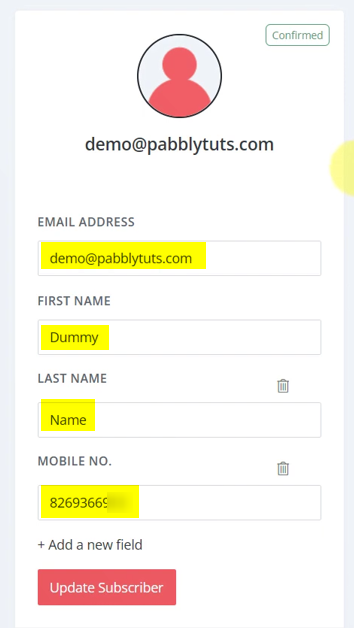
The customer has been added as a subscriber to our ConvertKit account, along with his details.

Step 6:- Set up Google Sheets as the Action App
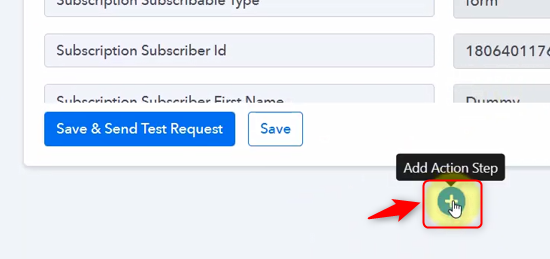
‘Add Action Step’ by clicking the + button
Choose ‘Google Sheets’ as your app, ‘Add New Row’ as an action event, and ‘Connect’.

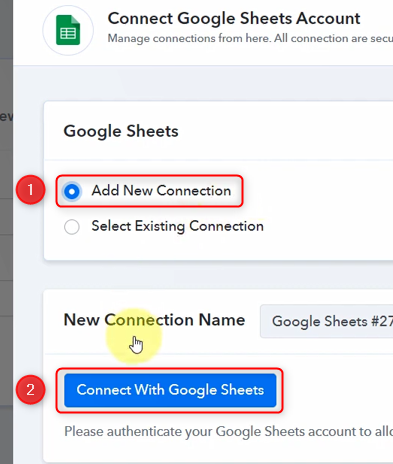
‘Add New Connection’ and click on ‘Connect With Google Sheets’.
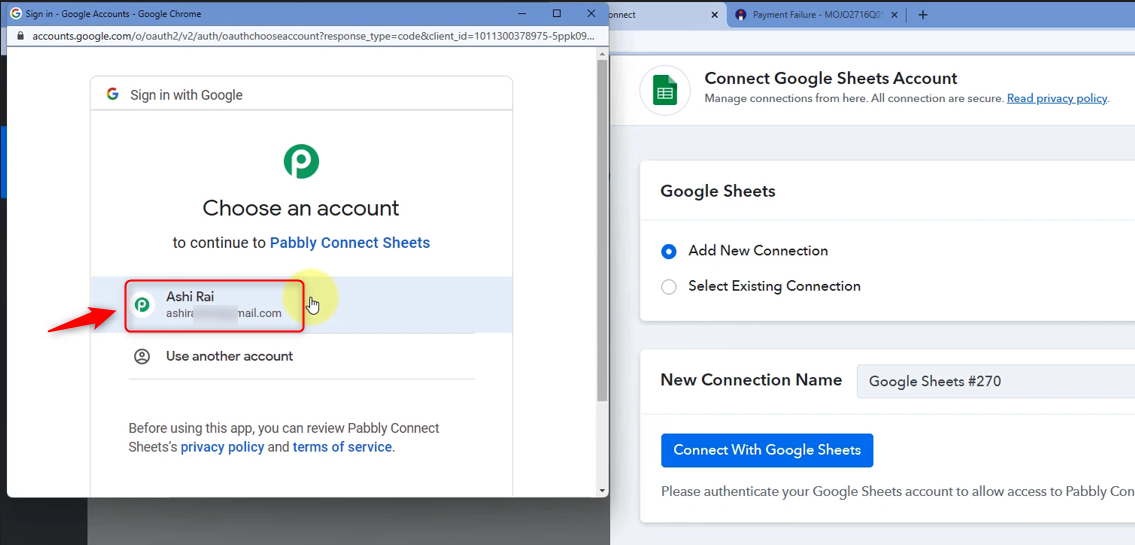
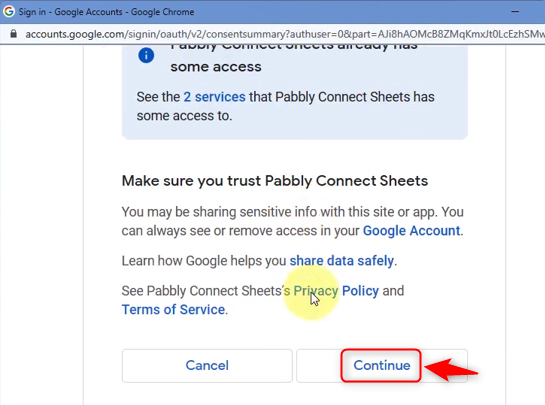
Select your Gmail account and ‘Continue’.
Map a spreadsheet from your list. E.g., we have selected Instamojo Failed Payments as our spreadsheet.

Select a Sheet from your spreadsheet, and you will notice that the fields correspond with Google Sheets column data.
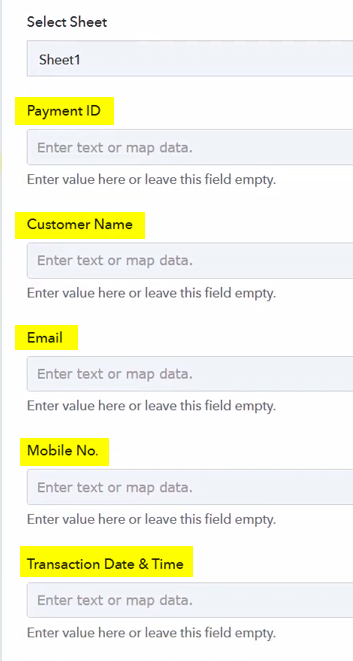

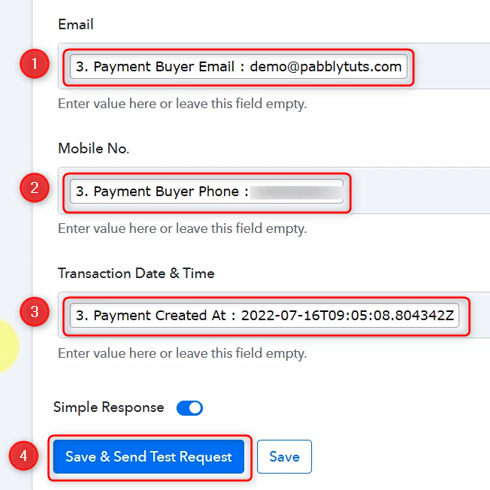
Map the details from above and click ‘Save and Send Test Request’.
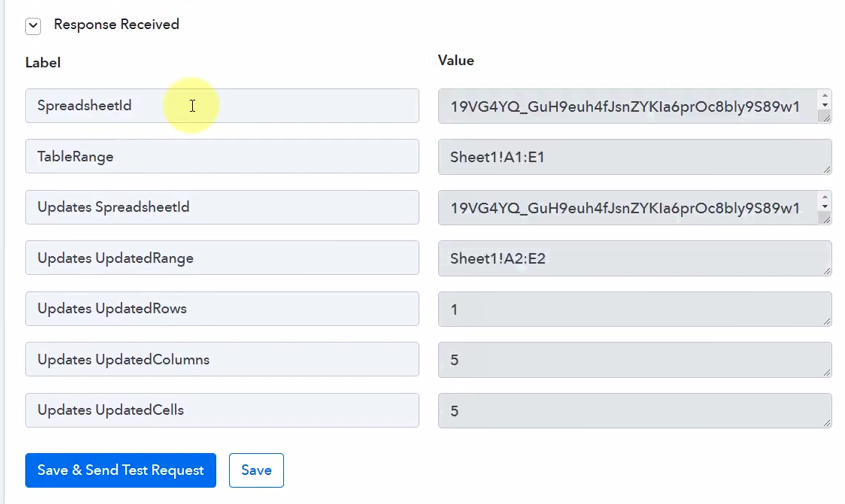
We have received a response from Google Sheets
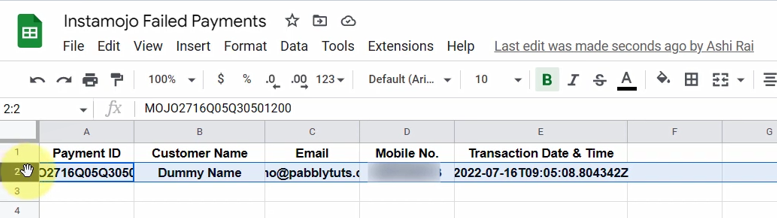
Data is also visible on Google Sheets, thus confirming the successful integration.
Our automation is complete. The data for each failed payment on Instamojo will now be visible on ConvertKit and Google Sheets.
Sign Up for a free Pabbly Connect account, and start automating your business.
Subscribe to our Youtube Channel for more such automation.
For any other queries, visit our forum